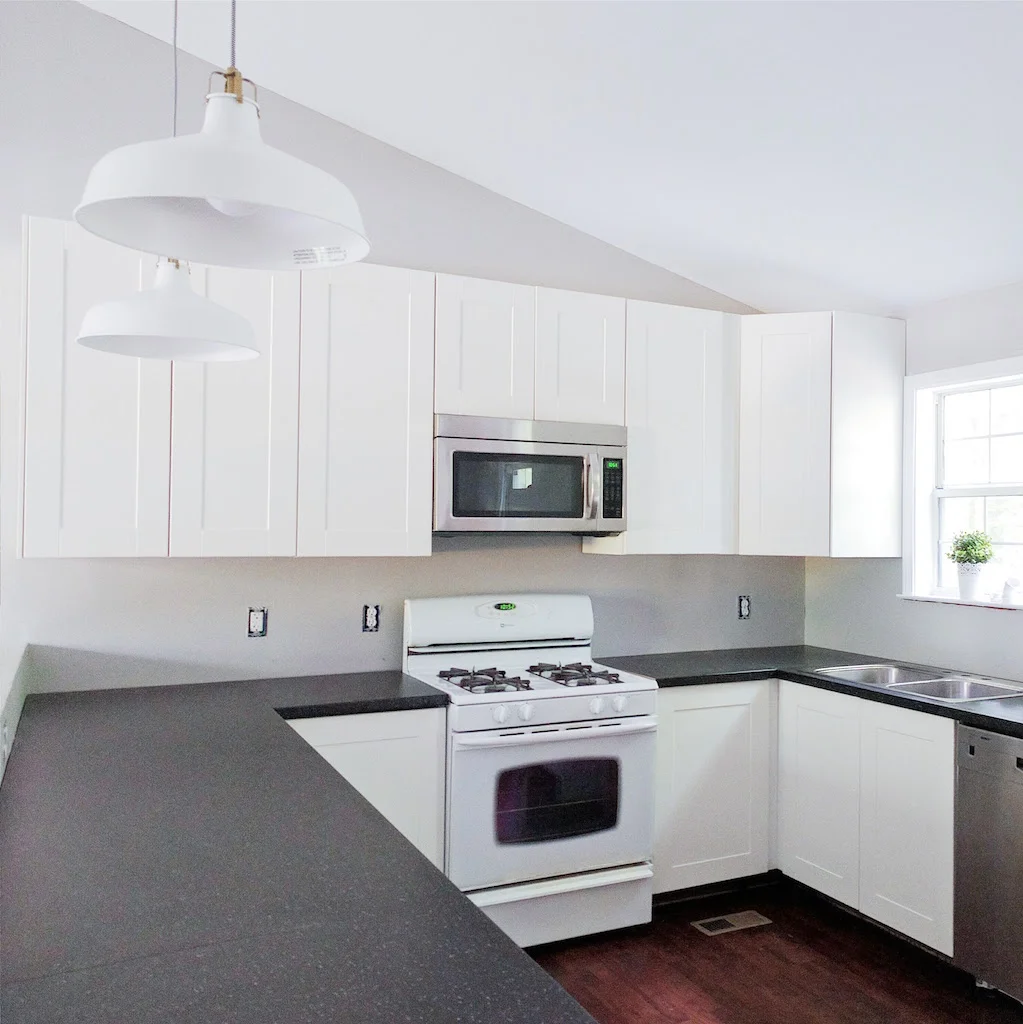
Cost Breakdown : The Kitchen
So renovations are supposed to be this crazy financial burden, right?
Well, yes and no.
No doubt, this renovation was the most costly update to our home, but it was a fraction of what it easily could have been. In fact, when we had Home Depot and Lowes give us a design and estimate, it was well over 12K for the cabinets alone (and they were using smaller room measurements than we ended up with).
We still have a few small bits and pieces to add, of course, because curating your home from a blank slate takes time. We are still learning our style, but we definitely lean towards a mid-century modern minimalist look. It's important to me that the items I put on display are meaningful or serve a purpose. I'm just not one who cares for excess :) There is nothing left to do in this home that is necessary for living our daily lives, though, so it is nice to relax and enjoy finding those final little pieces as they come.
However, now that this project is behind us, I have gone through and sorted out all the costs and will be breaking it down for you. I have not been shy about telling our real life friends how much this thing was, mostly because I think people really should know that a kitchen renovation does not have to cost an arm and a leg. Granted, we saved boatloads by doing it ourselves, but even then, we really hunted around for the best quality for the best price, and I'm thrilled with how it all turned out. I'm super satisfied with IKEA... not only their products, but their customer service. The process for this project (especially since it was DIY) meant we had to have a lot of involvement. IKEA is well aware of the fact that their customers may be doing this themselves, so they are happy to answer any 'dumb' questions concerning installation or what each item listed is used for. That being said, living 40 minutes away from a store was pretty essential to our success with them. For more photos, see the reveal post.
Okay, okay. Enough yammering on... here is the cost breakdown:
Demolition
Blades: $12
Brown paper & tape: $15
Trash bins: $20
Shop Vac & filters: $65
Total: $112
Ceilings
Scaffolding: $0 (We owned a ladder and a bunch of weird wooden island things that came in super handy)
Mud: $35
Industrial sander (rented): $50
Primer: $30
Paint: $40
Total: $155
Walls
Materials for half-wall: $60
Drywall: $70
Mud and tape: (used what was left from ceilings)
Primer: (used what was left from ceilings)
Paint: $80
Trim paint: (already owned from previous projects)
Outlets: $100 (switches, covers, GFCI, boxes)
Electrical: $200
Trim brush: $6
Paint rollers: $10
Total: $526
Plumbing
Piping, valves, p-trap: $160
Total: $160
Appliances
Stove: $499
Fridge: $979
Microwave: $250
Garbage disposal: $50
Sink: $180
Already owned faucets and dishwasher.
Total: $1,958
Other
Cabinets (including handles): $3,900
Countertops: $256
Lighting: $140
Ceiling fan: $35
Misc decor (towels, placemat, planter, drawer liners, utensil trays, plate holders, spice holder and bottles, cutting boards, coffee container, candles, etc..): $300
Total: $4,631
GRAND TOTAL: $7,542
The pictures really don't do this place justice. Our cabinets are huge and very sturdy, our appliances are wonderful (yay for an ice machine!), and the counter space has made such a monumental difference in how we prep and cook.
So for less than 8K we completely re-did our kitchen and part of our living room (it still needs some built-ins on either side of the fireplace). Again, thousands were saved by the fact that we did not hire out for any of the work, but regardless, we did such in-depth research on how to pull this off without breaking the bank and I am pretty proud of how it turned out.


