DIY Moss Frame
Lately, Tom and I have been feeling a little restless. Now that most of our big projects are done, we're on a hunt for a new one.... or we're trying to decide if we should permanently work remote from an RV for a year while we travel the country (I'm kind of kidding about that one). Regardless of where this restlessness sprouted from, it's caused us to tap a little deeper into that creative part of our brains.
Admittedly, I am not usually one for DIY decor. I've done enough of it to know that about a month later, I'll find exactly what I just made at Target... and it looks better and is cheaper. It's like my personal curse. It happens every time!
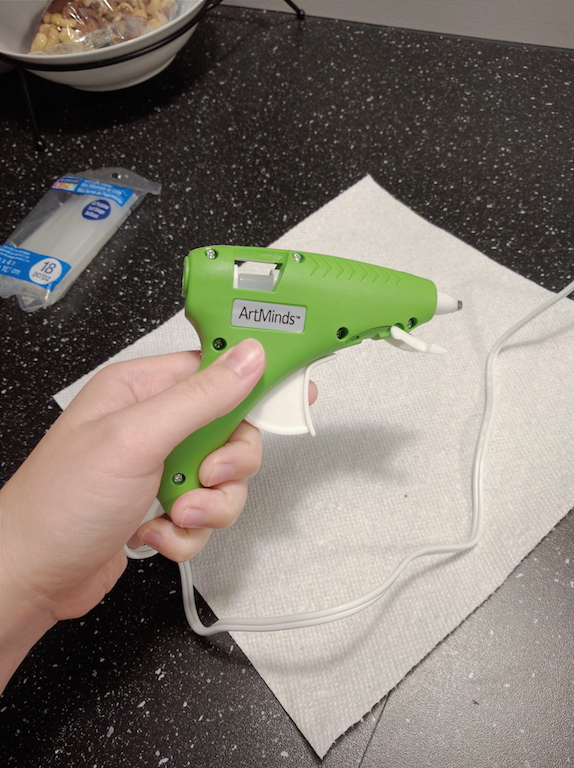
But amidst this funny little season, we've been having some fun. Let's just say, I discovered the way of... THE HOT GLUE GUN. Best four bucks I ever spent. Lemme show you what's up:
On a recent excursion to Michael's with Tom, I started to meander through the fake flowers while he found a good frame to mount a recently acquired print from Goodwill. 'Twas in this time that a small lightbulb grew atop my head... and the moss-covered-frame was born.
Materials
- Frame (I used this one) $6
- Hot glue gun and glue sticks $8
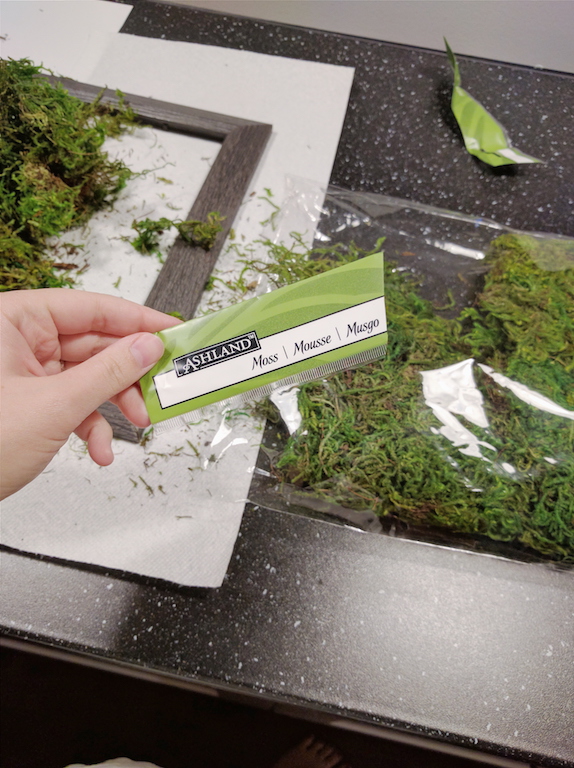
- Bag of moss $10
Total: $24 (though there is plenty more moss and glue for another project)
Directions
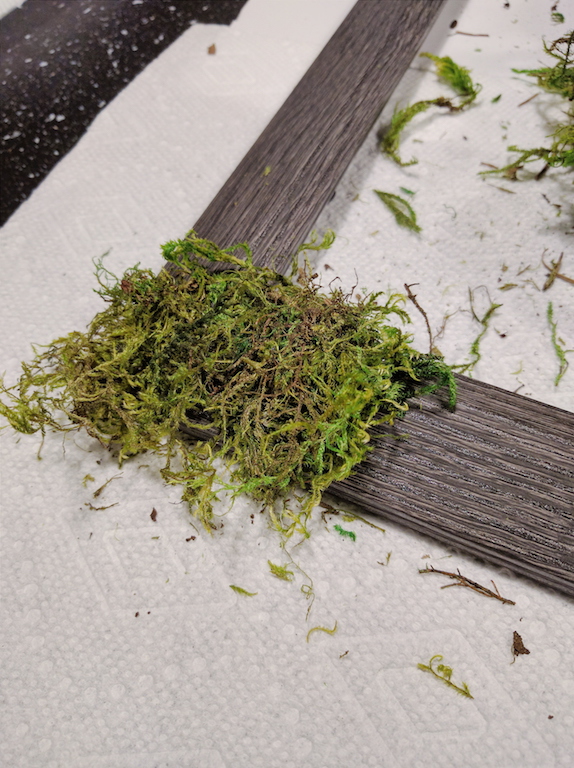
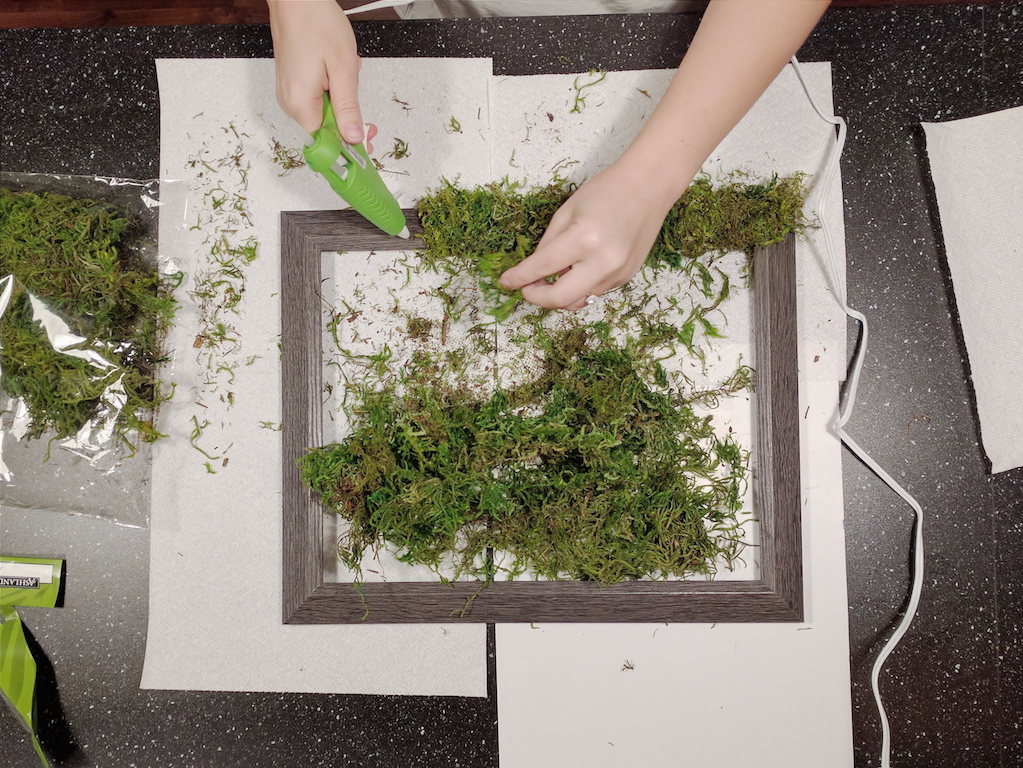
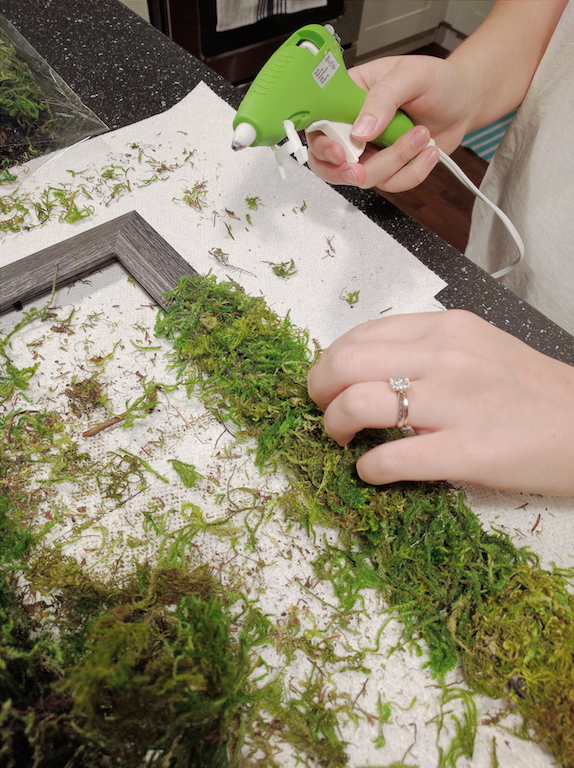
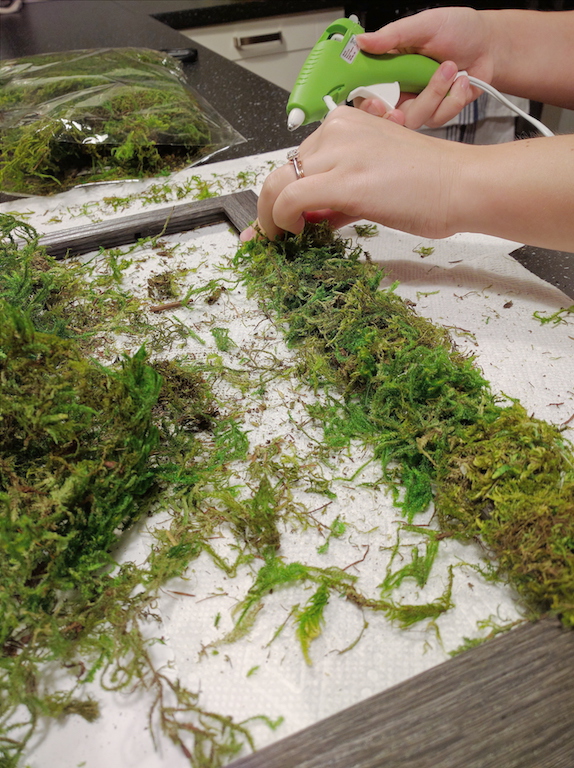
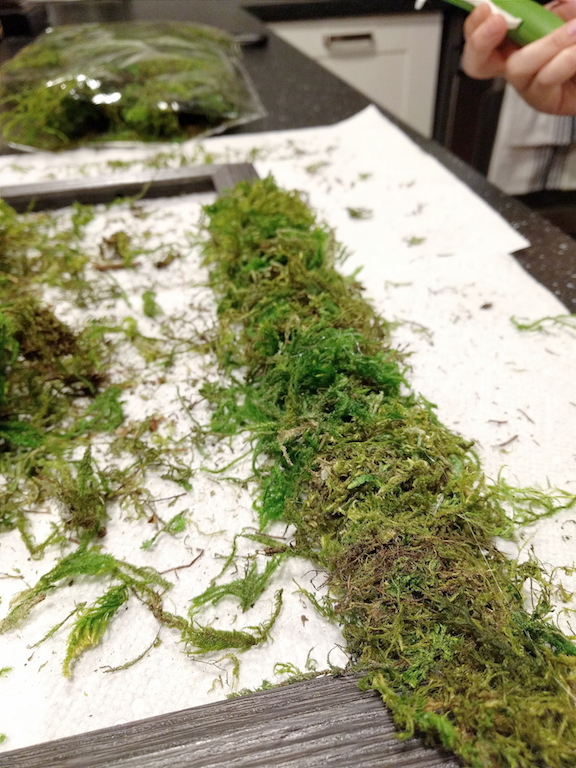
See the photos below.
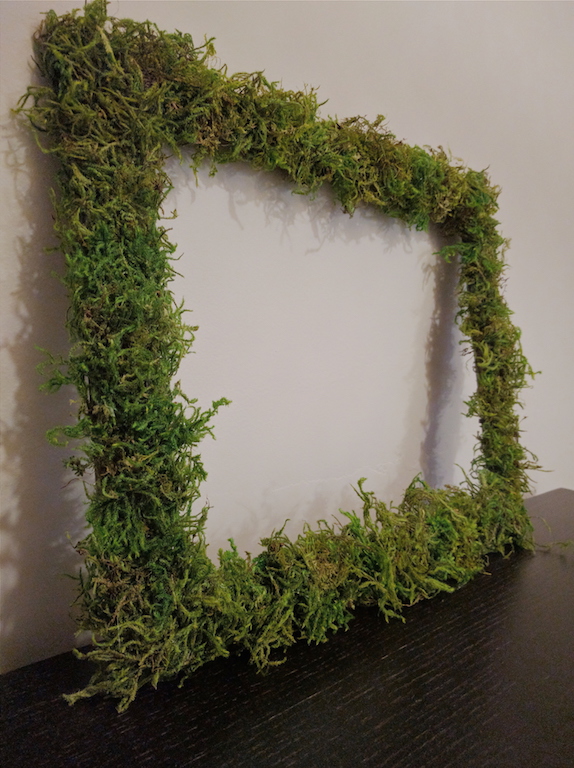
Basically, just glue chunks of moss around the frame and you're done! It was actually really fun, and I'm very happy with the results. I may hang it as-is, or add a very minimal print. We're hoping to create a bit of a gallery on either side of the TV and so far we've gathered a nice start. I snagged that lovely Monet print at Goodwill for $6 as well - thrifting is the way to go, my friends!


