

DSLR Tips & Basics
When you look at all the mumbo-jumbo next to the buttons, it can feel a little daunting to mess with - like you'll break something and not be...
I was talking to a friend recently who admitted that although she owns a nice little DSLR, she doesn't fully understand how to use the features. I get it! When you look at all the mumbo-jumbo next to the buttons, it can feel a little daunting to mess with - like you'll break something and not be able to get it back to the familiar "auto" settings.
However, I'm married to a guy that constantly reminds me to challenge myself. To learn something new, and maybe in the process, I'll become more proficient. Sometimes I fight this (because I like to play it safe), so his encouragement to take little risks has been such an awesome thing for me.
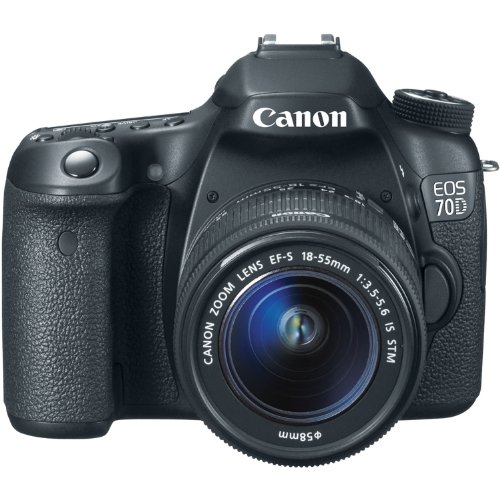
When we got our first DSLR (a Canon Rebel T6), we learned together all the basics and what they do. Let me break them down for you in this post so it'll be easy to navigate on your own, and maybe you can brave up and start using manual mode! We did upgrade to a Canon 70D, but these basics remain the same. Now keep in mind, I'm no professional, but I figured I'd share a few tips to help you move away from auto settings. So here.we.goooo!
ISO
This is what brightens or darkens your photos. A higher ISO, means a brighter photo. Essentially, each level up on ISO will double your brightness (ie. 200 ISO is twice as bright as 100 ISO). However, the higher the ISO, the grainer your photo will become, so I would suggest keeping that ISO as low as possible for clarity and quality, and try to brighten your photos through other means like aperture or shutter speed.
ISO is an important piece to consider when shooting, and keeping your ISO at the base level in low-light conditions can be challenging because it also means lower aperture or shutter speed which can cause photos to come out extremely blurry. You can remedy this by perhaps using a steady tripod, but even still, your focal point will also need to remain very still. Mess with your ISO and see what happens! Find the ISO ranges you're comfortable in and go from there. Though, again, keeping it low, will keep it from getting grainy.
The photos below look relatively similar, but if you look closer at the first one, you'll notice it's got more grain to it. It may not seem like an issue now, but when you go to edit this photo, it'll be more noticeable.


Shutter speed
That's the thing that looks like 1/200, 1/40, 1/blah blah ... it's the amount of time the shutter is open. A faster shutter speed will let in less light, but allow you to catch an action shot (for example), and a slower shutter speed will let in more light and allow you to blur some motion (like running water or light snow). If you go below 1/50-ish, your photos will likely come out blurry simply because it'll be hard to keep your hand steady at that shutter speed. As a rule of thumb, use a tripod for anything below 1/50 to keep it clear. Pay attention to the exposure control bar at the bottom of your viewing screen that looks sorta like -3...-2...1...^...1...2...3 and try to keep your mark nearest to the center for a well adjusted photo.
Below you can see obvious differences when changing the shutter speed. Because the right photo was a faster speed, it let in less light, which is why it's darker. However, had I been holding the camera when taking the first photo, it would have undoubtedly been blurry.

Aperture
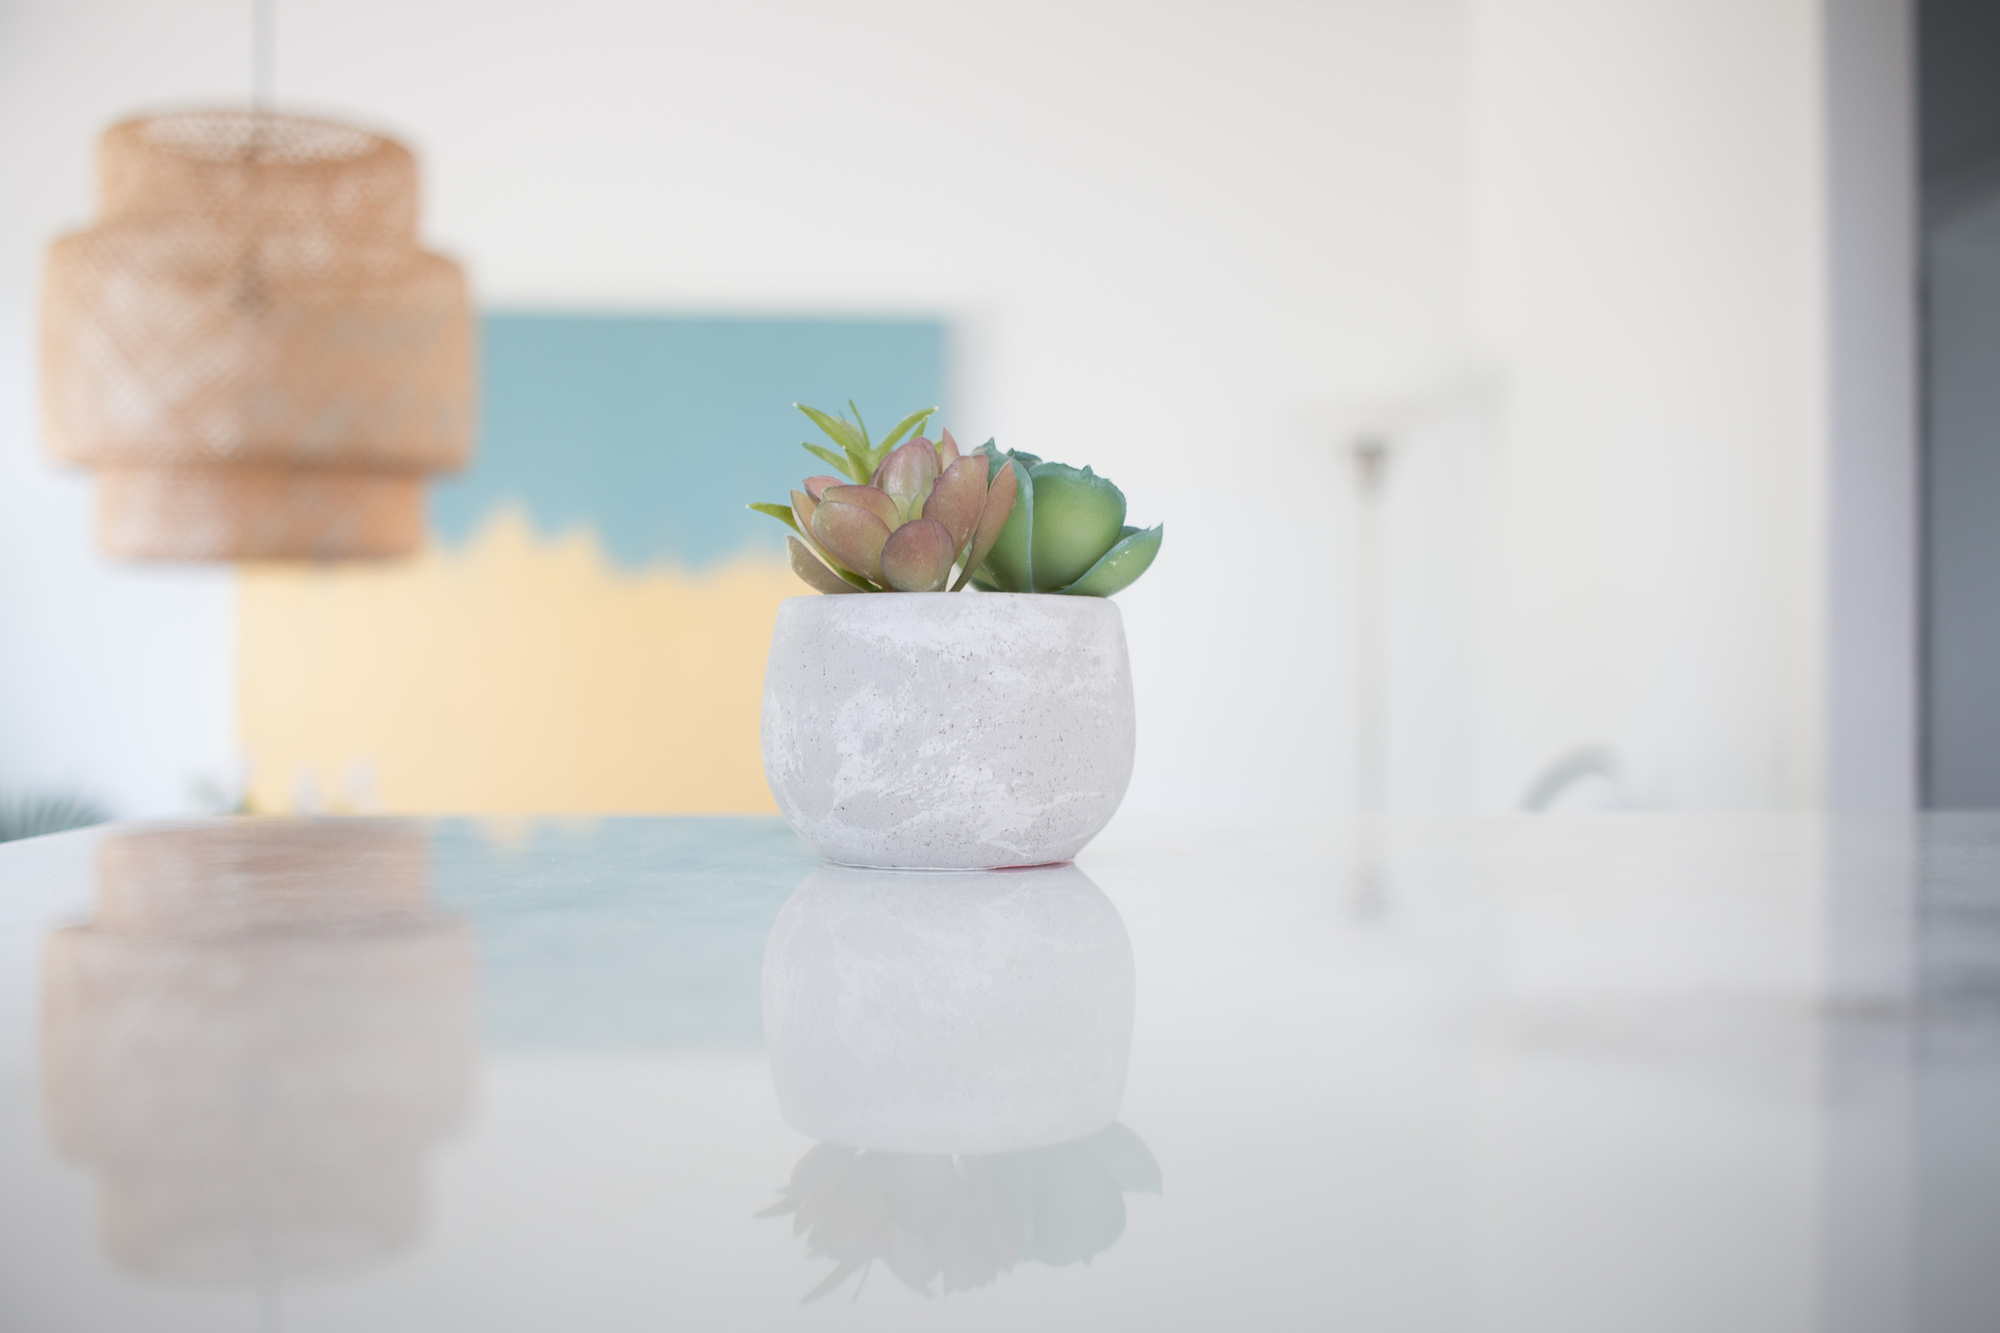
You know that weird number that looks like f 1.8, f 2.8, f 3.5, etc...? That's your aperture (aka f-stop). It controls the size of the opening in the lens when the photo is taken. It's also the thing that gives you that nice focal point with the blurred-out background. The smaller the f-stop, the larger the opening. Landscapes will likely shoot better with a high aperture, whereas a portrait would shoot better at a low aperture. Though, it totally depends on the look you're going for!
The first of these two photos has a low f-stop causing the focal point (the plant) to come in clear, while blurring out the background. The second photo still has that affect, but since it's using a higher f-stop, it's not quite as blurred. I also had to adjust the shutter speeds for these photos to bring the lighting to a more even point because the size of the lens opening (aperture) was being messed with.


Those are the three biggies! Play with them, don't be afraid of manual, and enjoy yourself. Learning how to use these features is really not that daunting, and it ends up being really fun. Just keep in mind that they all go hand in hand. If you mess with one, you'll at least have to mess with another one. It definitely takes some patience, and it means you may have to take a lot of shots to get something just right, but it'll help you when the time comes to edit (which, if you're curious, I typically use Lightroom, Snapseed, and VSCO).
Other tips:
- Start learning to choose your focal point instead of letting your camera choose it. This gives you so much more control over framing an image.
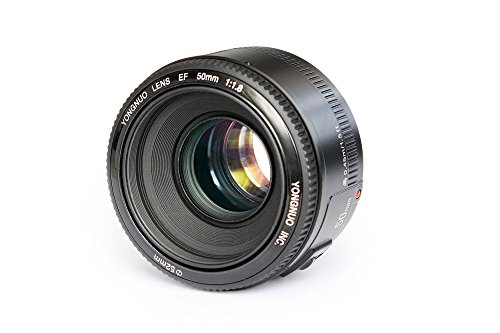
- Try out different lenses for different uses. For example, a 50mm with f1.8 aperture is great for portraits. Personally, my most used lens is a 24mm because it's very functional in lots of different scenarios.
- Buy yourself a 64GB SD card - especially if you shoot in RAW.
- On that note... shoot in RAW! It gives you so much more freedom when editing. Do a little research on that if you're curious. (Here's a helpful article about that)
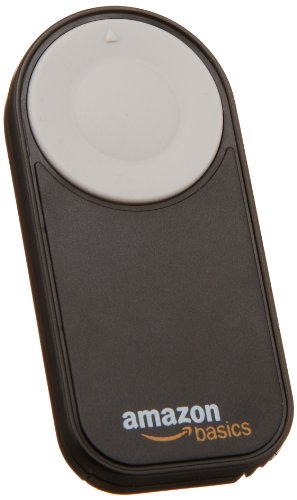
My favorite camera products:


I hope this short-sweet guide helps you learn a little bit about your camera, but no matter what, just have fun! You're not going to break it by messing with a few buttons, so brave-up and give it a try :)
Oh and here's a nice little cheat sheet for beginners that comes in handy for us even after a couple years of playing with our camera:

snagged via SLR Lounge

Choosing A Camera
So you're looking for a new camera, huh?
Well, don't ask me about specs or my "professional opinion." I'm just your little amateur hobby photographer friend.
That being said, my husband and I (okay, mostly my husband) do a lot of research before we make a significant or semi-significant purchase. I've talked about our intentional shopping habits before (read here) and this camera was no exception. It caused some healthy back-and-forth between two people trying to come to one conclusion together.
This hunt started for us (and maybe you too) when we just felt like our phone photos weren't "cutting it" anymore. Phones are easy. They're convenient to carry, fast to capture, and are improving with each new update to the technology. But for my work here on the blog and elsewhere, I was growing increasingly desperate for distinctive photos and more capabilities.
Soon into our hunt, we found ourselves on the teeter totter between Mirrorless vs. DSLR. Tom was very pro-mirrorless because it's a growing technology, and I was pro-DSLR because I like the look and feel of "old school" cameras. I think making that decision was half the battle. However, once you can at least decide that, you can narrow yourself down more easily. Instead of giving you all the pros and cons of different cameras and types, I'm going to give you a list (similar to my prepping for a puppy list - haha) to help you ask yourself the right questions. I'll include some of our answers so you can see why we ended up with the Canon T6, but mostly to give you food for thought. It's honestly such a personal preference, so my pros could be cons to you, or vise versa. Below the questions I'll also share with you the lenses we purchased, and a really helpful blog post that SHOWS you the differences between three of the most commonly used lenses.
Questions to ask yourself:
(Our own answers are bolded as reference)
- What will this camera primarily be used for? Personal and work
- Who will primarily be using it, and will they realistically carry it regardless of size? Joy - yes
- Are you looking for something more portable, or something larger but with good ergonomic handling? Good handling - already had a smaller version and it didn't make portability any easier
- Is battery life a deal breaker? No - we're good about charging
- Are you planning on buying different lenses? Some brands/types of cameras have more and cheaper lens offerings than others. Yes - would like plenty of lens options in various prices
- Is a viewfinder important to you? Yes. No more looking at a screen to take shots!
- How much would you like to spend on a camera body? No more than $400
- Are you willing to learn the capabilities of a better camera? Yep
These are all pretty basic questions, but I thought maybe they'd get your wheels spinning in the right direction. Tom was leaning towards mirrorless, but we decided that even though the body is more compact, it actually made handling sort of awkward. Plus, once you put a larger lens on a mirrorless, it's still going to be bulky no matter how you cut it.
I personally appreciate an actual mirror image view. We differed here because Tom liked the digital viewfinders. I found them laggy and choppy. When push came to shove, we realized I'd be using it more often and we knew we could trust the ol' DSLRs. This was just the second camera we've owned and decided it would be a good stepping stone. We can go a different route in the future, but for starters, the T6 would treat us well.
Here's a (slightly odd) video that explains some of the differences between mirrorless and DSLRs. Granted, mirrorless cameras really are catching up to DSLRs and are increasingly more competitive across all areas, so give them a look!
What ended up breaking the deal for us was... well... the deals. We were able to get a DSLR body and two lenses for nearly the same price as a mirrorless camera and kit lens. We went for a 50mm lens and a 35mm lens. I wanted to avoid the kit lens because after doing plenty of research, I knew it would never give me the depth of field I was looking for in a new camera. We only used a kit lens with our previous camera, and it ended up just gathering dust. We didn't want to make the same mistake, so we ordered some super cheap lenses to try. If they break after a few months, I won't even be mad - they're too cheap to get upset over! I'll tell you, though... so far, so good.


Check out this great post to actually see how different lenses shoot the same objects. It helped me a lot in trying to decide what would be most fitting for us.
However... the only thing I would change, going back, would be to get a 24mm over the 35mm, only because the 50 and 35 aren't all that different in terms of the range they capture. Other than that, we've loved our new camera and lenses. I am in no way being paid to say any of this, but we put so much time into this, I thought I'd share our thoughts and end results with you lovely readers! We've used it significantly more than our phones and have even joked that we may need to buy TWO cameras because we're starting to fight over it - haha!!
P.S Though I'm not being paid for anything in this post and these opinions are my own (as always!) any Amazon links you find on my blog are affiliate. By purchasing through my links - whether the actual item purchased, or something else in the same session - I may receive a small commission at no extra cost to you. It helps keep this blog a-runnin' and supports someone's dream. Thank you to those of you that shop my affiliates! It never goes unnoticed and is so appreciated :)