

Home Tour
Well this has been a long time coming! The way I figure, our house will never be as pristine as it is right now (now that we will have a puppy to muck it up in TWO DAYS), so I whipped out my camera and went to town.
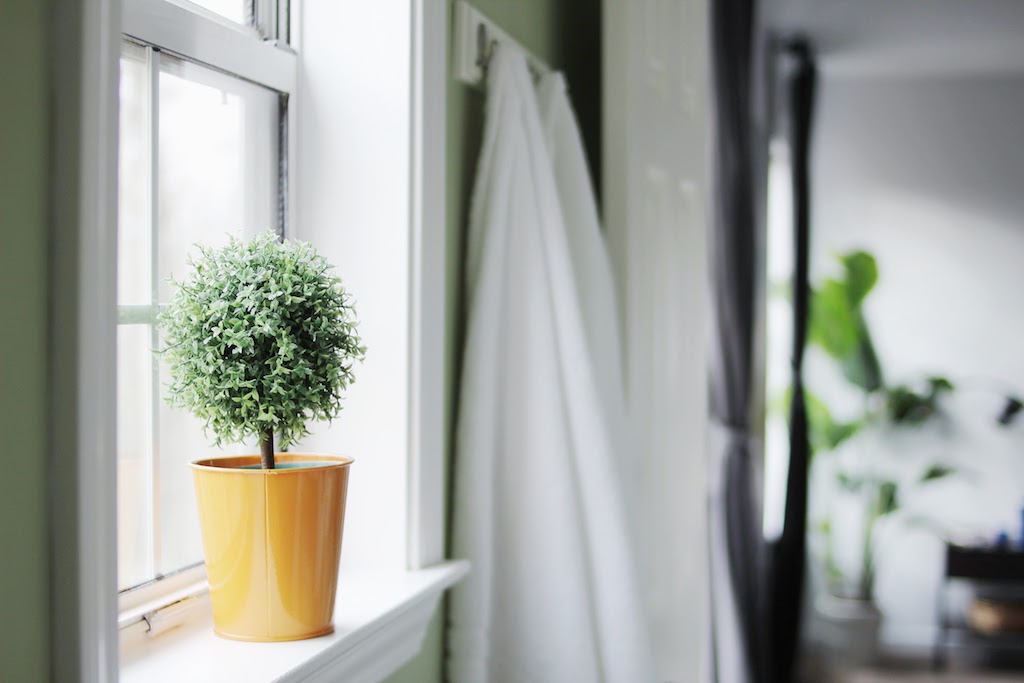
Our style is very much modern, mid-century, minimal. We like subtle accents of wood and plant life amidst our greys and blues and greens. I shared this photo on Instagram a while ago, and it sums up the aesthetic we go for pretty well.
A little about our casa:
- 1,300 sq. ft.
- Split level - kitchen, dining, living are downstairs, and bedrooms and bathrooms are up
- 3 bedrooms
- 2 bathrooms
- No basement - just a crawlspace
- Laundry located in the garage
- 2 car garage
- Built in 1990
Below, keep an eye out for the links to each room's individual posts where you'll find some before and after photos (I'll be going back and updating the photos for those posts soon). Every inch of our home has been updated and the kitchen was completely gutted a few months ago. Without further ado, let me walk you through our home!
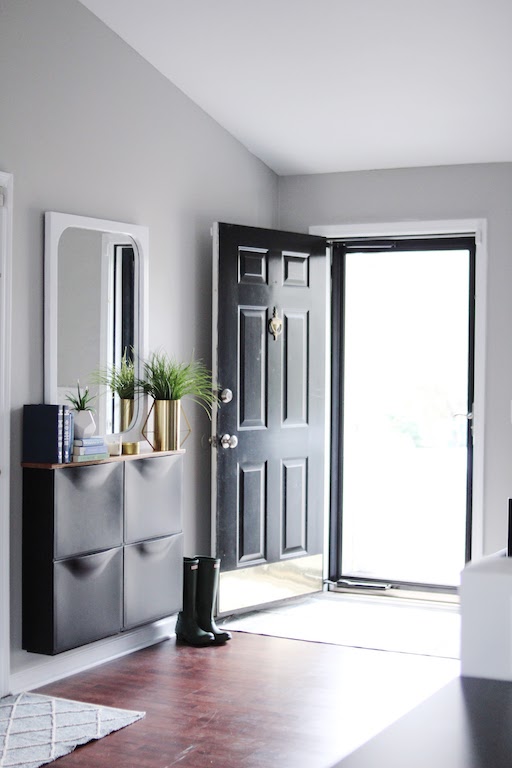
Entryway and Living Room
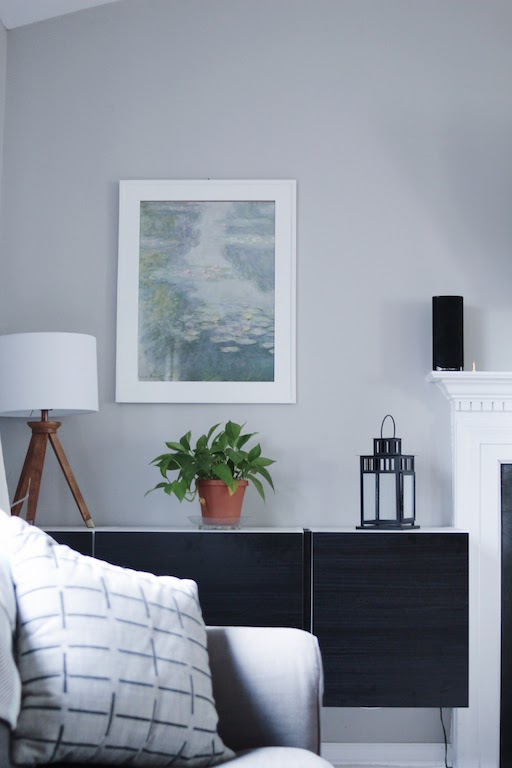
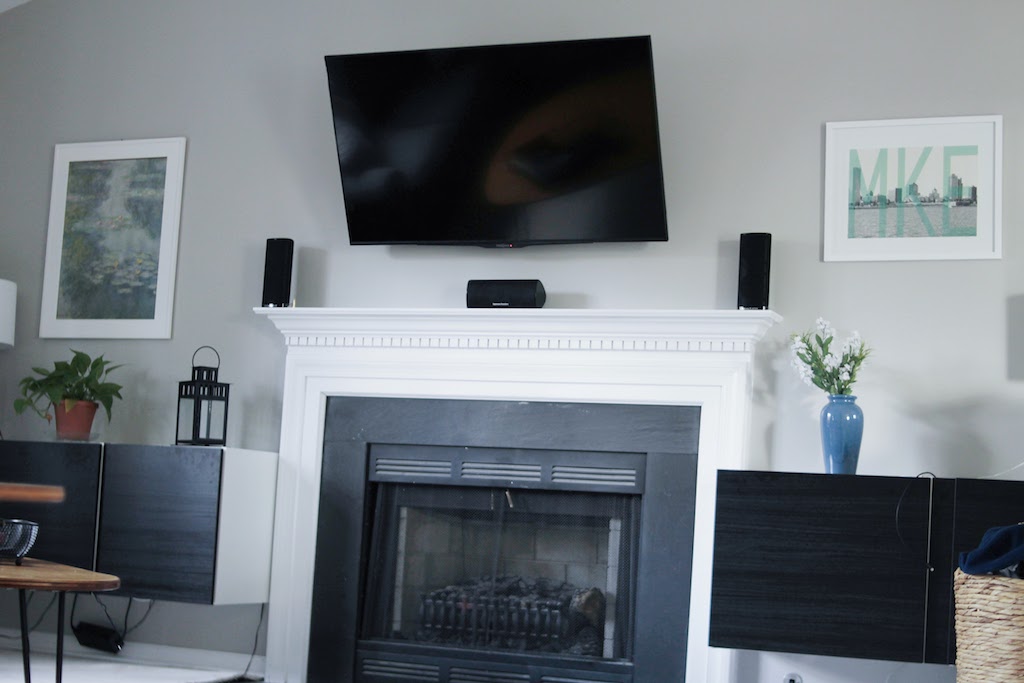
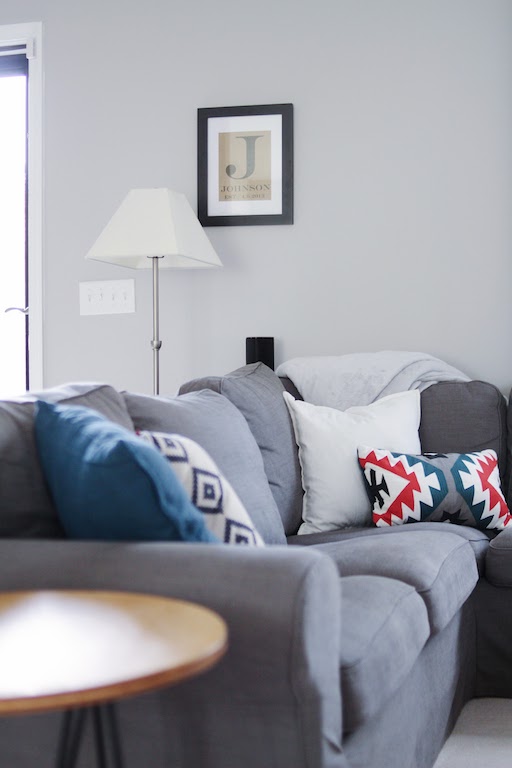
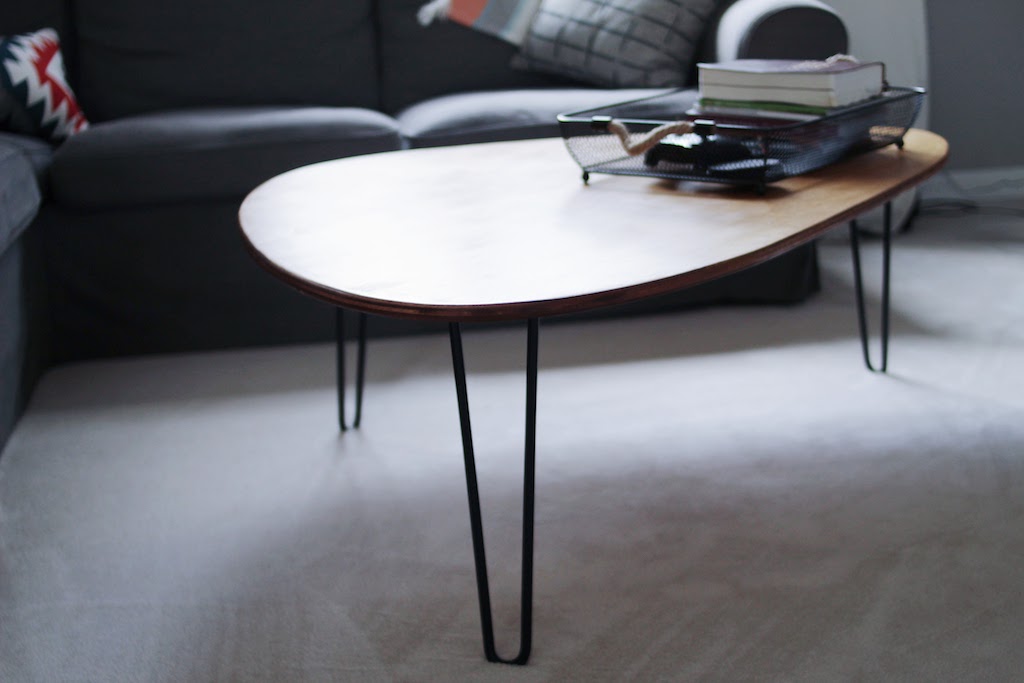
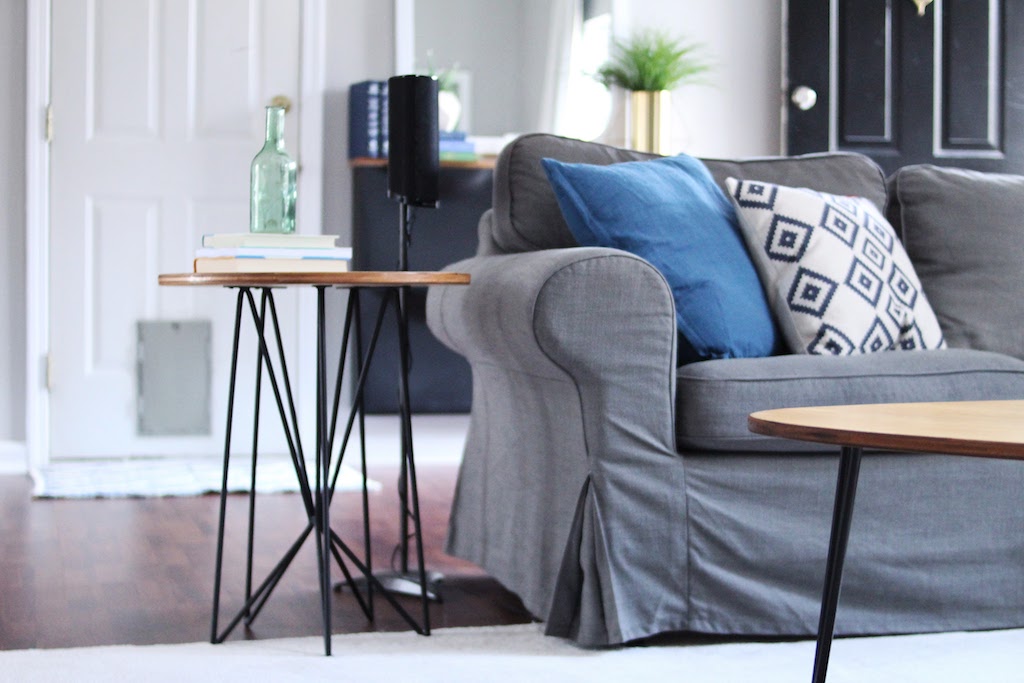
Our entryway was our most recent project. We picked up those black shoe containers at IKEA and added a stained piece of wood to the top to make it look more finished. It's been an awesome "dumping grounds" of sorts, for our random odds and ends. Our living room is obviously one of the main places we spend time. The coffee and side tables were DIY by Tom, and the rest of the room is pretty minimally decorated. It's bright, clean, and functional. Those floating built-ins have been wonderful for electronic storage. They still need tops to finish them off, and we're on the hunt for a different floor lamp behind the couch, but it's a great living area none the less.
Entryway post
Living room post (coming soon!)
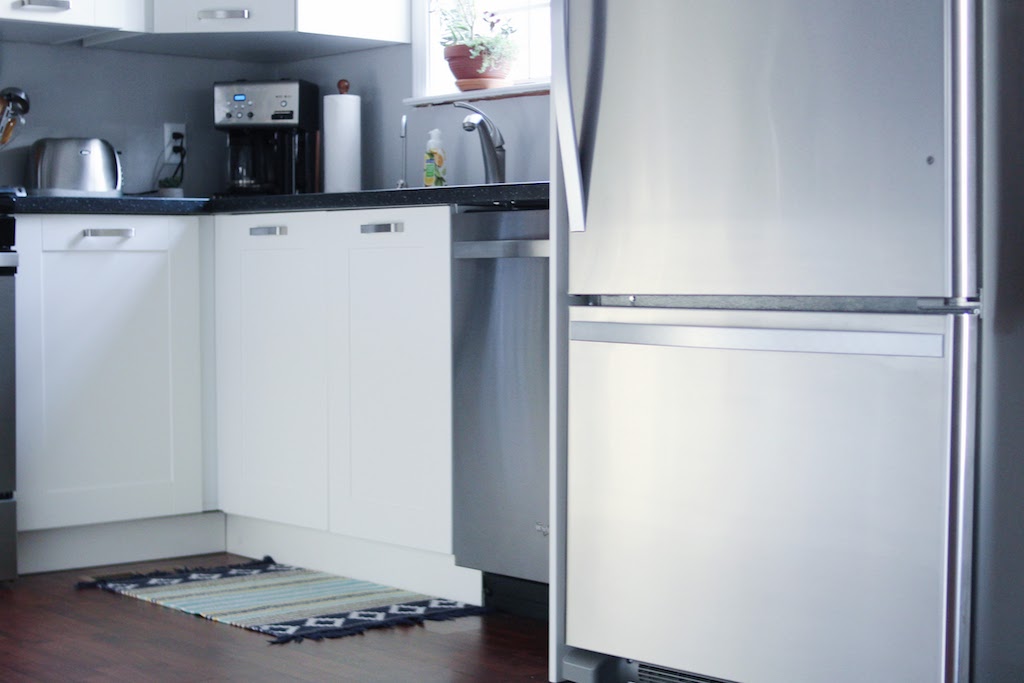
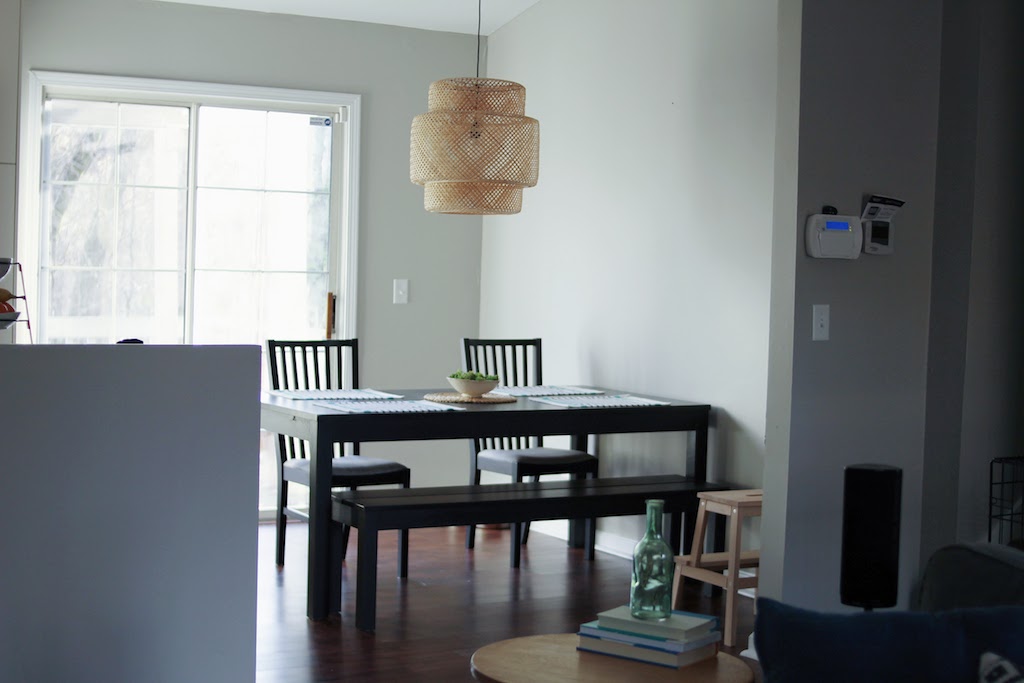
Kitchen and Dining
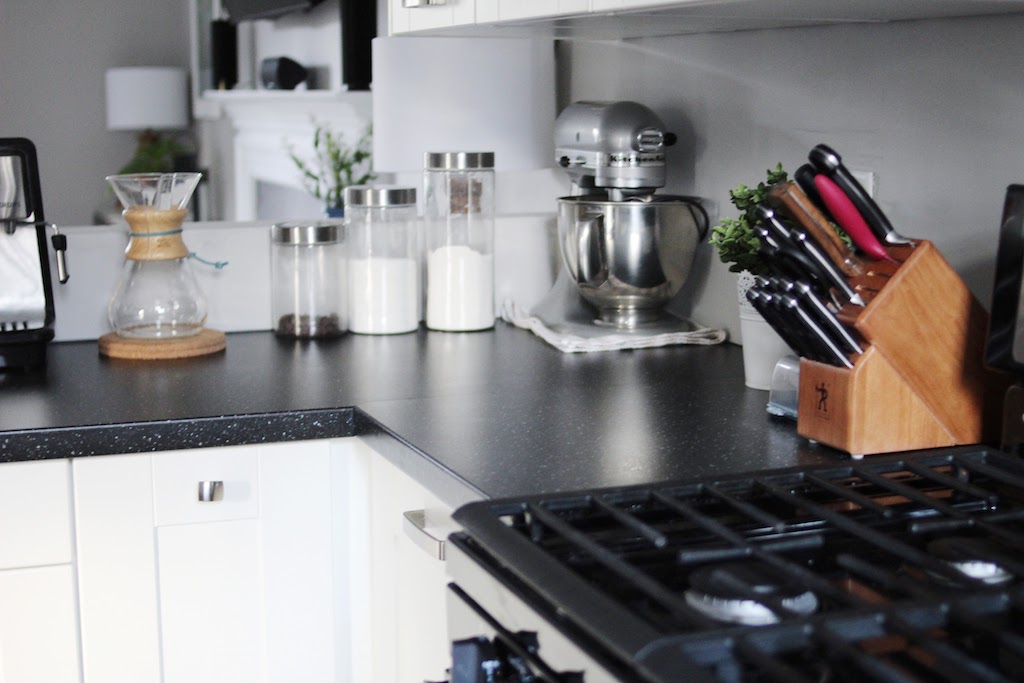
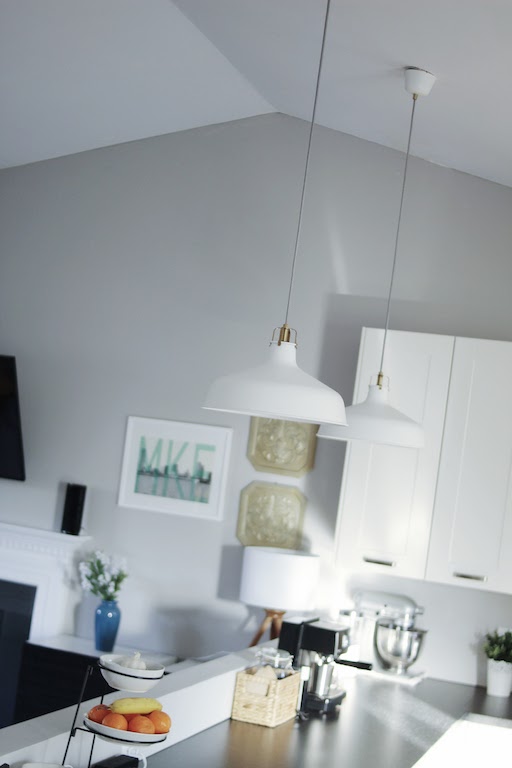
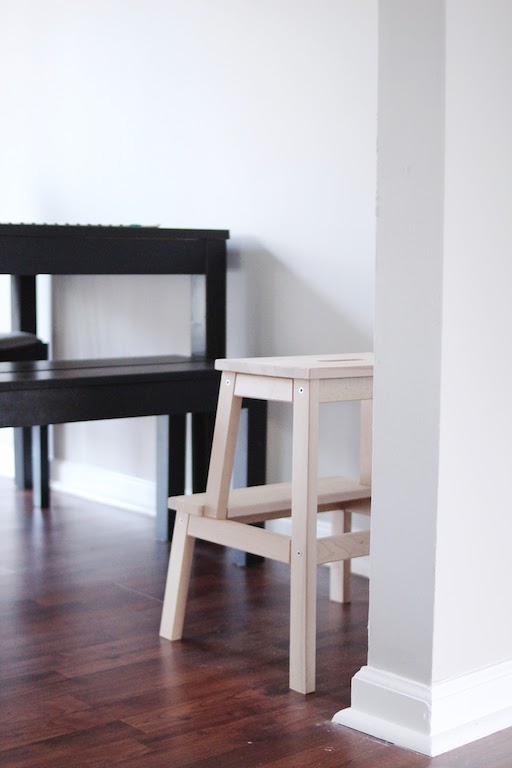
The kitchen that came with this house was the one major vice for us. We knew we'd have to re-do the whole thing, and about a year later, the task was done... all by US (well, Tom). It's added so much to our lives and we absolutely love using our new kitchen. Hidden storage for brooms or mops is tough in this space, but we've managed to make things work. Also, being a shorty, my handy little step stool/ladder is a must :) We still have to add a backsplash, plus some other minor additions, but overall it's done and we adore it.


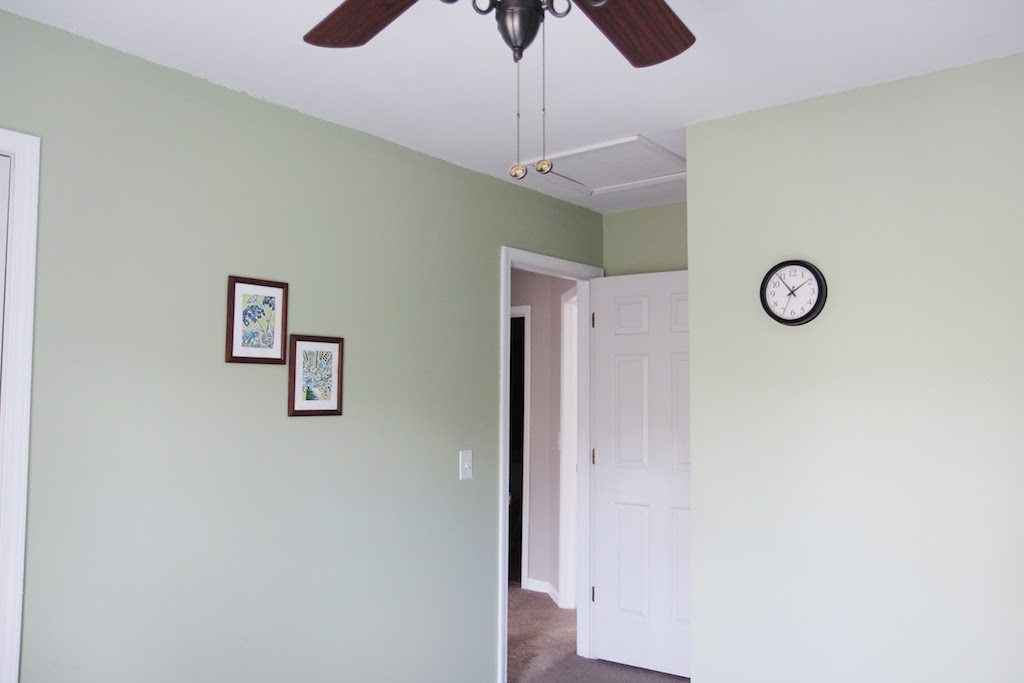
Hall and Landing
This wasn't a huge task, but it made such a difference to have the ceilings smoothed out and the walls brightened from dark tan to light grey.


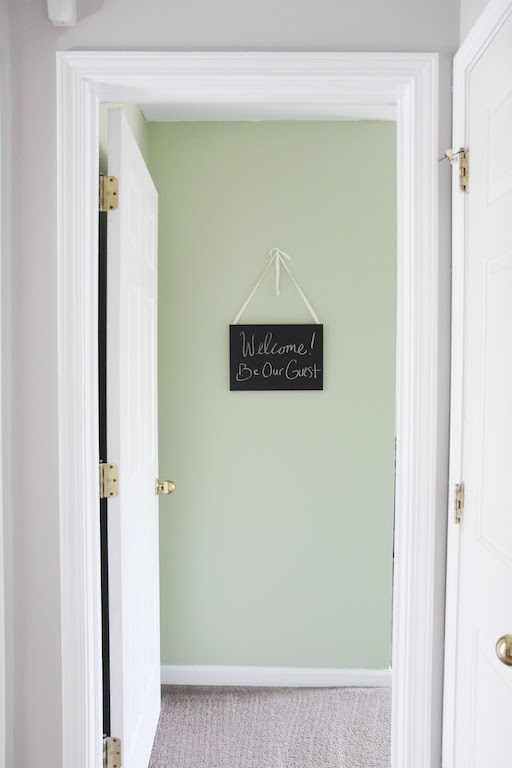
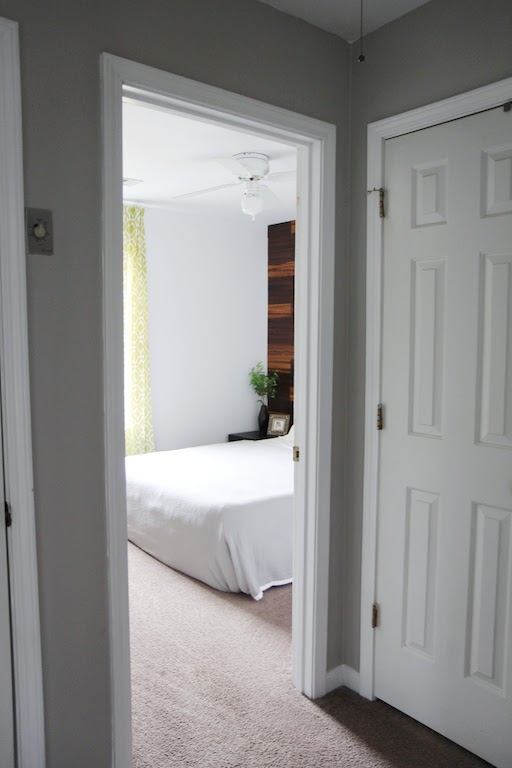
Guest Room
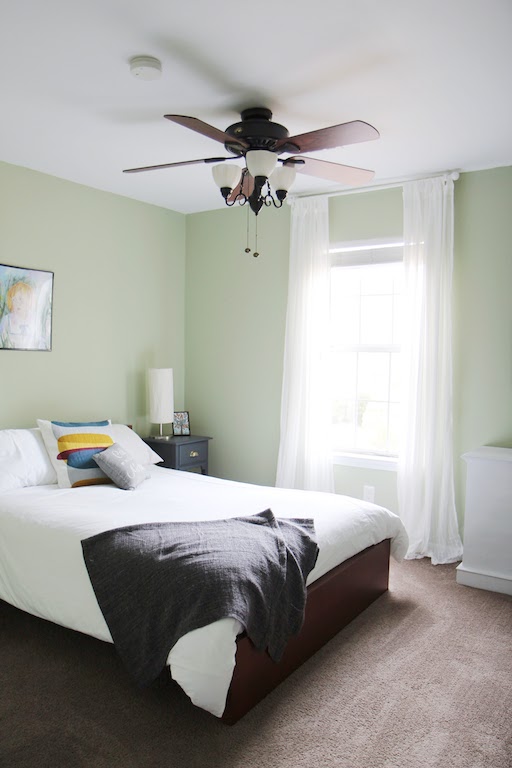
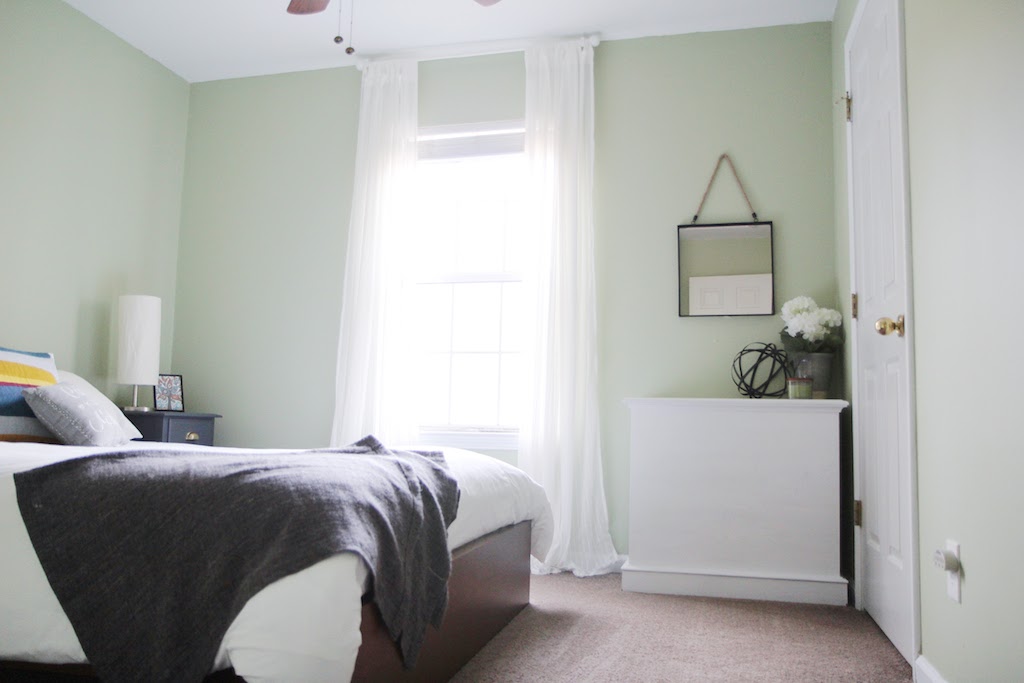
Finding a good shade of green for a room can be tough, but we're pretty happy with this one. It's a calm, soft little retreat for our visitors, and every now and then I'll spend an afternoon working from the bed in here. Just for the change in scenery.
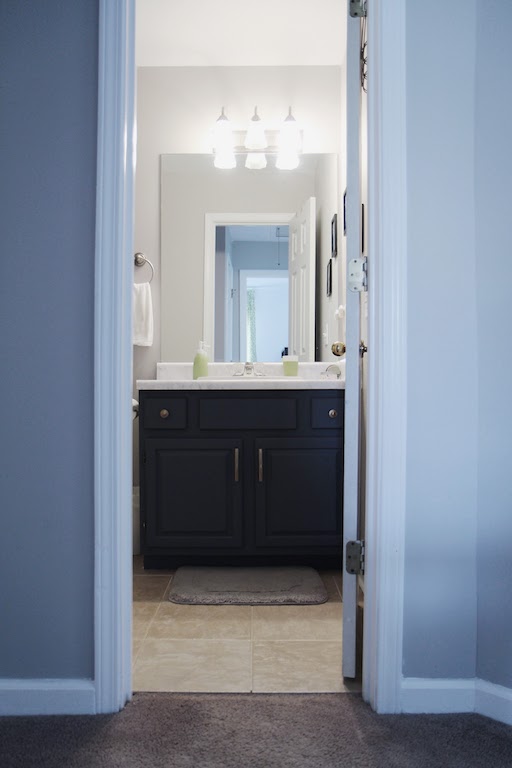
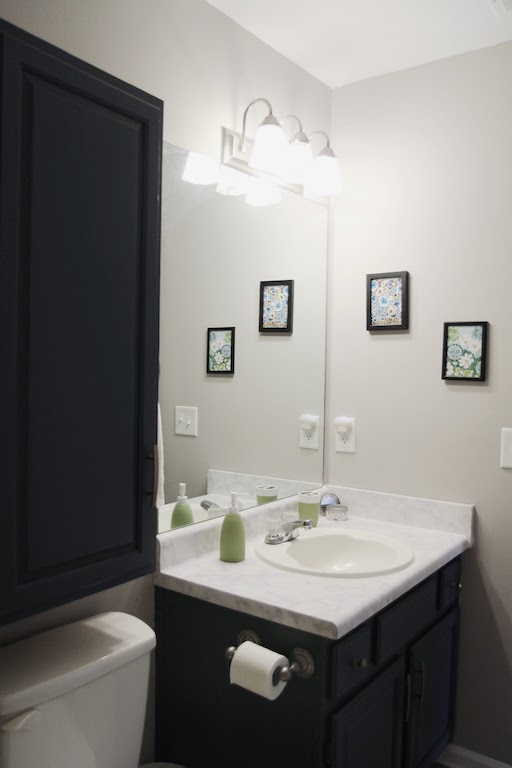
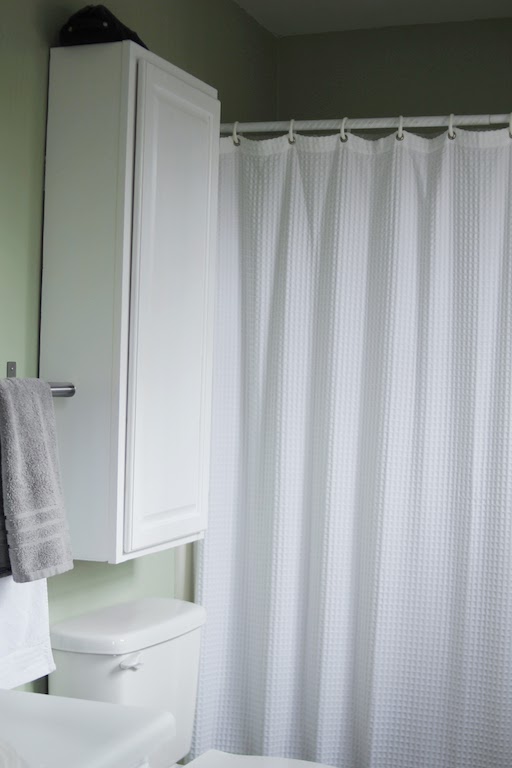
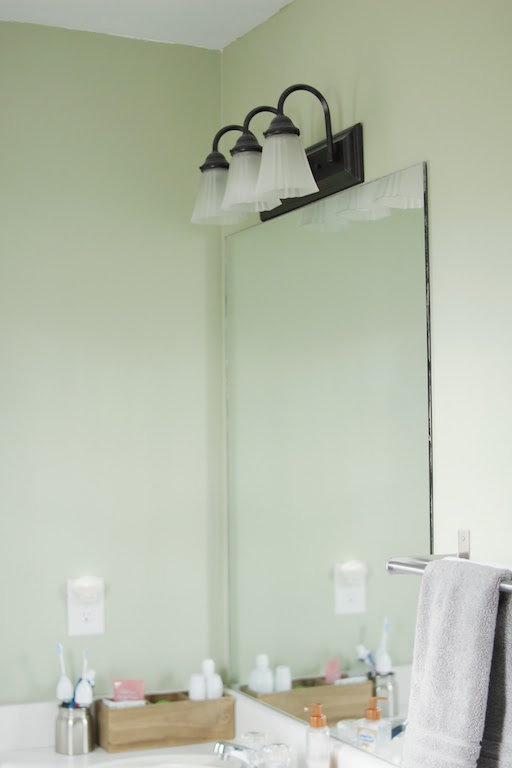
Guest Bathroom
The vanity and upper cabinet color matches the side tables in the guest room... just a little touch to bring the guest spaces together! It's a simple little bathroom but comfortable and functional.

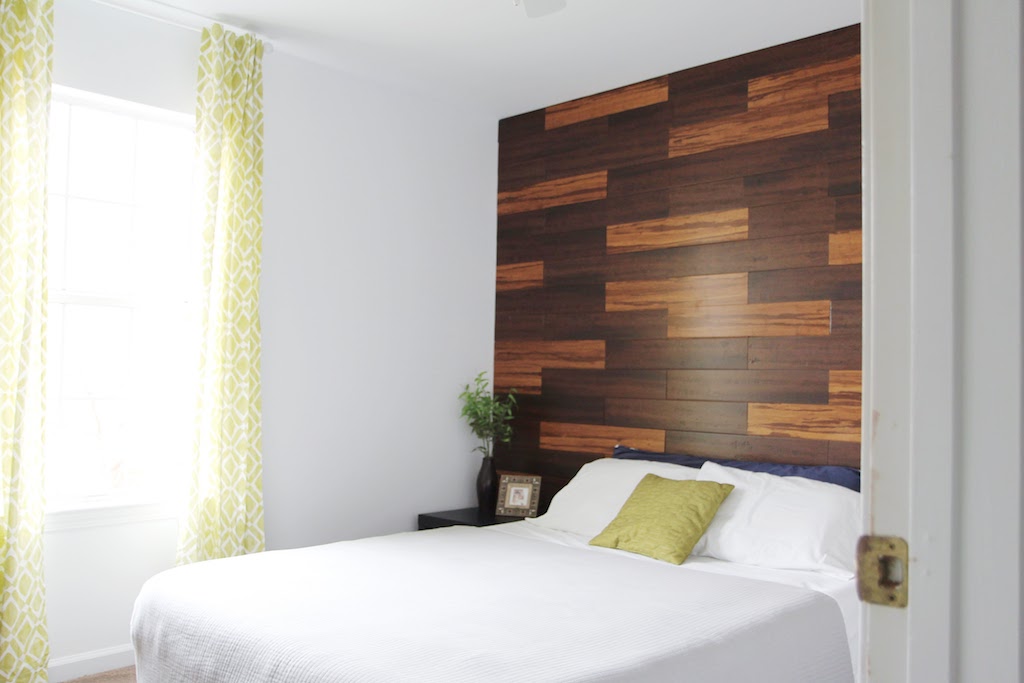
Spare Room aka Wood Room
This room is sort of our floater room. We've had ideas or plans for it in the past, but nothing has really come to fruition. So we use it as an extra guest space. But we're also toying with creating a shared home office! We added the wood wall and feel it adds a neat feature to an otherwise small, boring little room. Maybe you'll see a post on this in the coming months!
Spare room post (coming soon!)
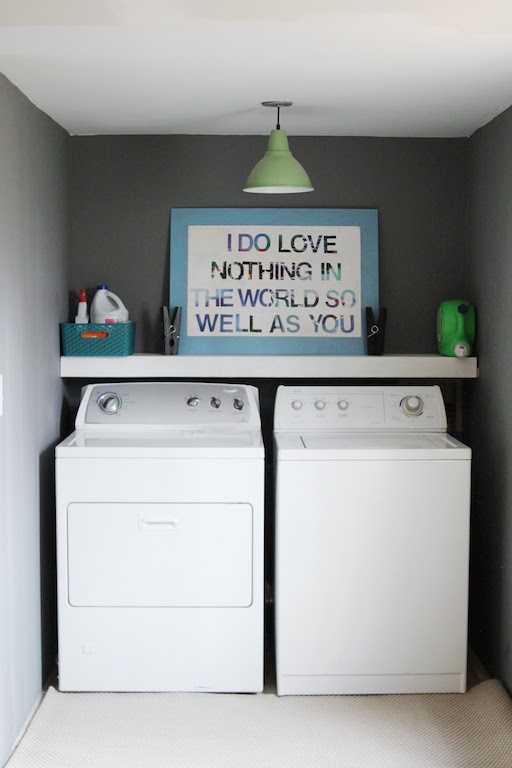
Laundry Room
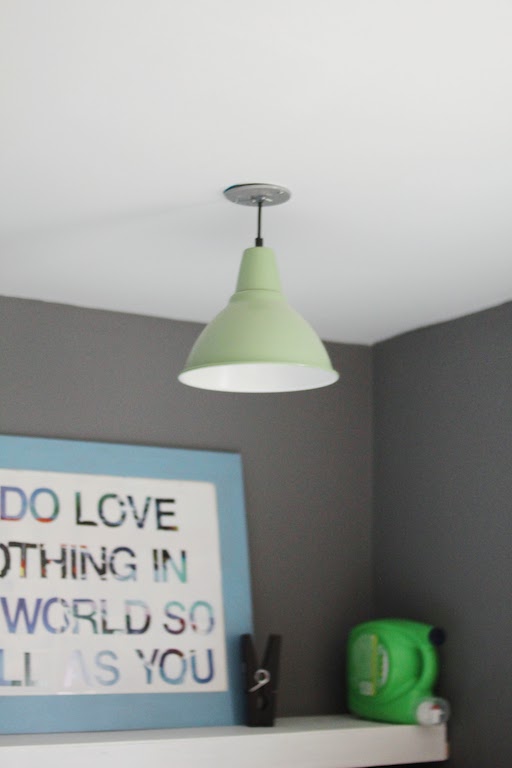
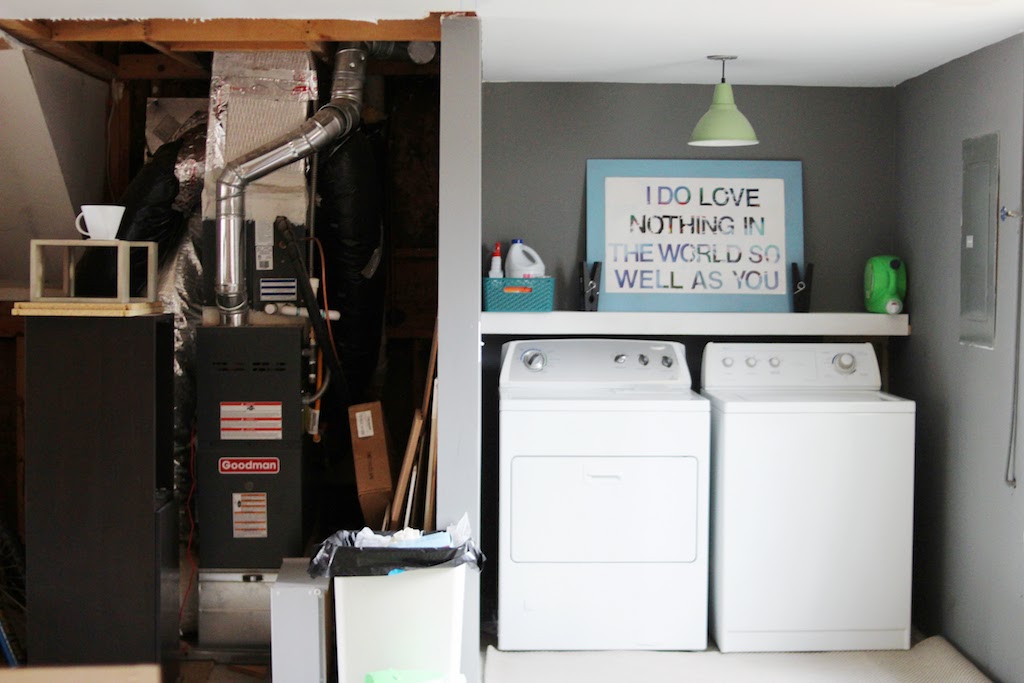
You know, having the laundry in the garage really doesn't bother me. When our water heater died on us shortly after we moved in, Tom bought and installed a tankless one over in our crawlspace to save room in the garage so he could create this little corner for me. I had no qualms with doing this task in the garage, but I was wishing it felt more sanitary. Husband to the rescue! One of the photos shows how it's in its own little oasis away from the rest of the garage.
Also, I had made that piece of art some time ago, and could never find the right place for it. The words are from Shakespeare's Much Ado About Nothing (which holds a special place in our relationship) and I finally realized this spot was better than anywhere. Tom made me this little space, but I do all our laundry... so the words are a sweet reminder every time I do this monotonous task each week to remember how blessed I am to love someone so much.
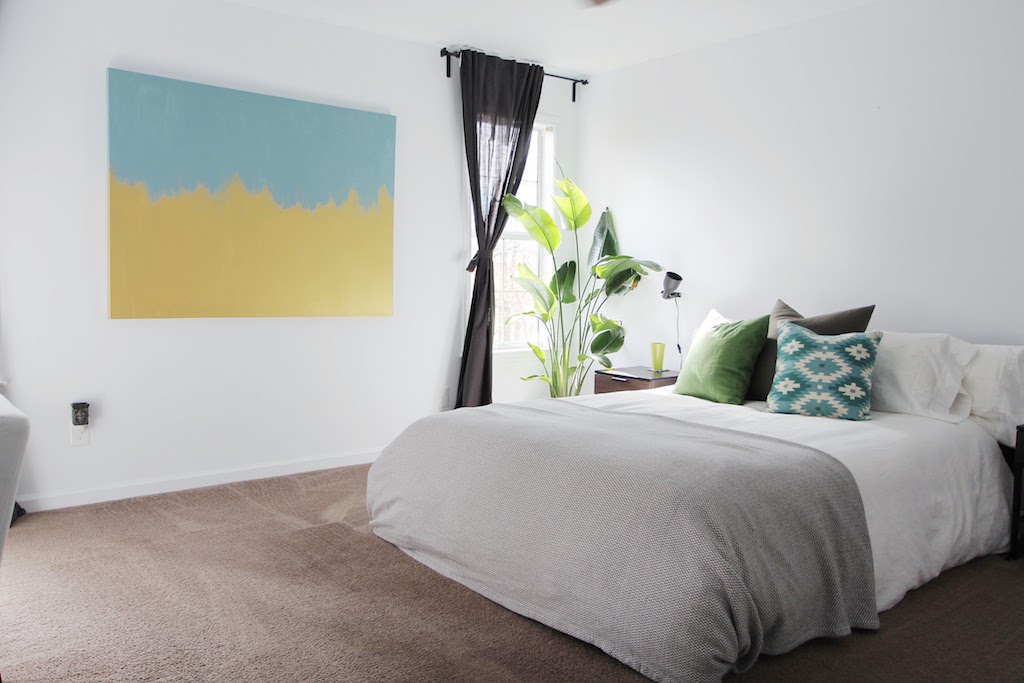
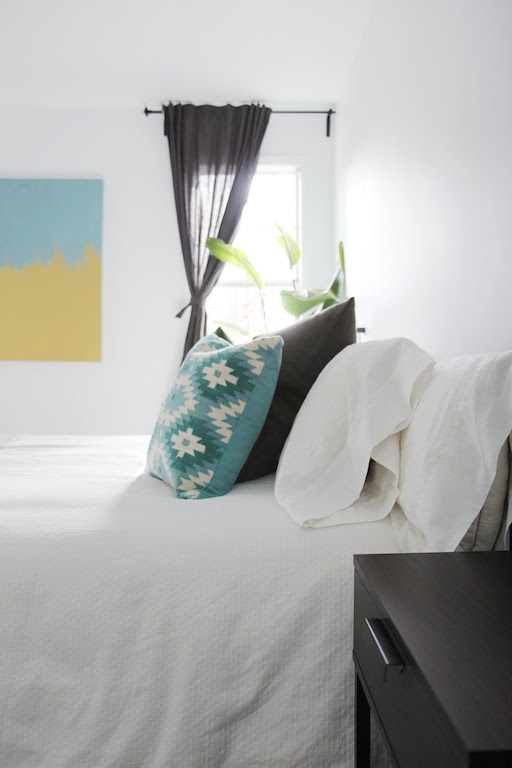
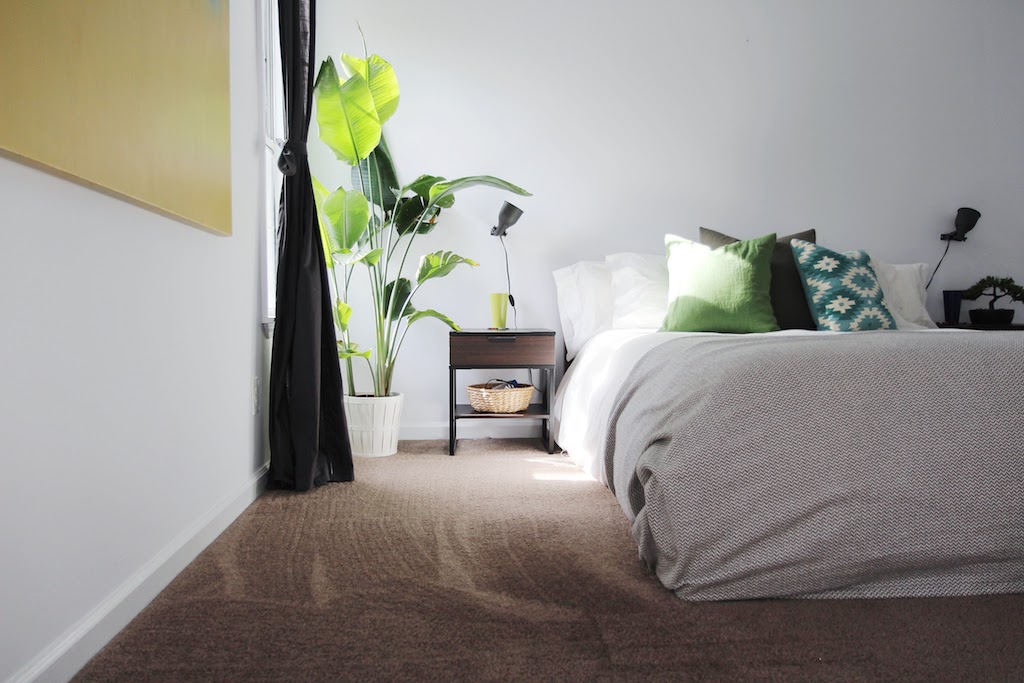
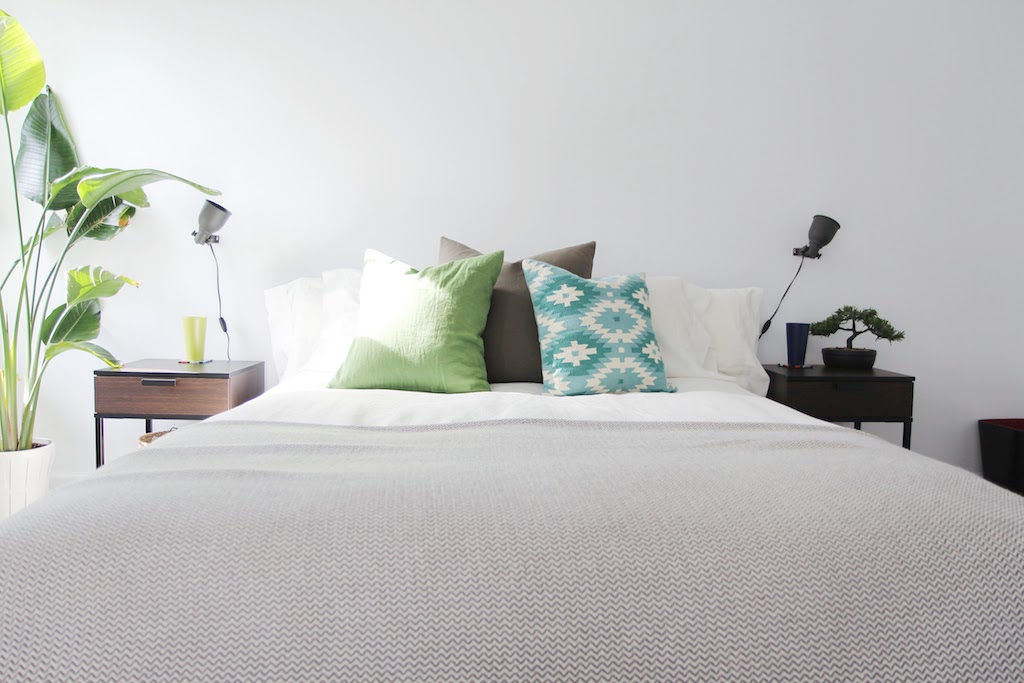
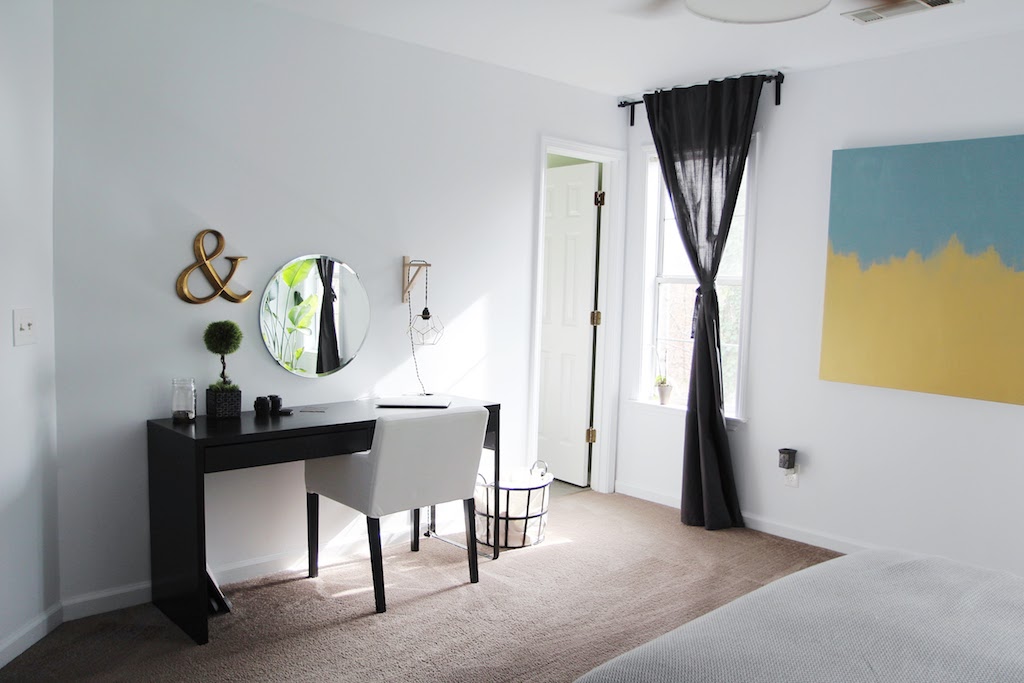
Master Suite
This room is our escape, so the stark white mixed with hints of green life and grey create such a bright place to wake up each morning. We sip our coffee, talk, and get ready for the day together (my desk doubles as a makeup vanity). Our bathroom is the same shade of green as the guest room. We love our suite and will hopefully be updating our furniture in the coming year or so to styles that suit us a bit more.
I hope you all enjoyed the tour! As you can see, we are very much minimalists and find joy in our home's clean, simple aesthetic. It'll be fun to see how this little space of ours might change in the coming months in terms of decor, or with the addition of a giant breed dog. We shall see!

DIY Moss Frame
Lately, Tom and I have been feeling a little restless. Now that most of our big projects are done, we're on a hunt for a new one.... or we're trying to decide if we should permanently work remote from an RV for a year while we travel the country (I'm kind of kidding about that one). Regardless of where this restlessness sprouted from, it's caused us to tap a little deeper into that creative part of our brains.
Admittedly, I am not usually one for DIY decor. I've done enough of it to know that about a month later, I'll find exactly what I just made at Target... and it looks better and is cheaper. It's like my personal curse. It happens every time!
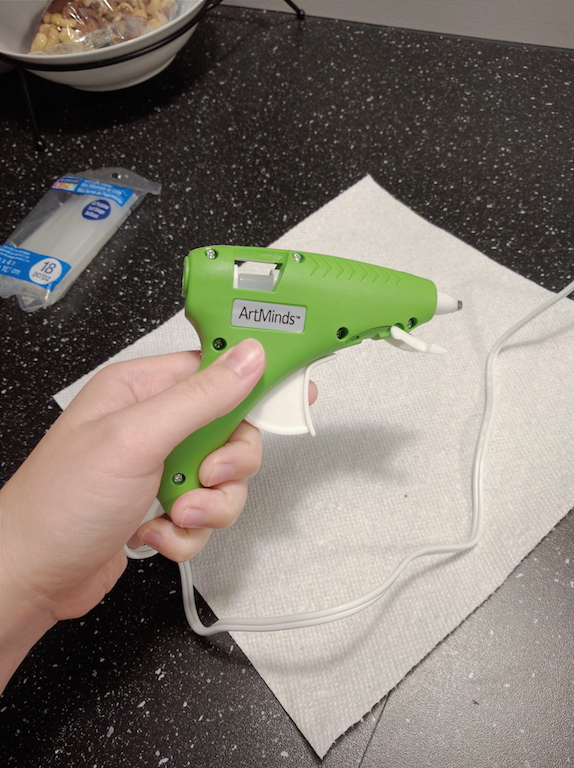
But amidst this funny little season, we've been having some fun. Let's just say, I discovered the way of... THE HOT GLUE GUN. Best four bucks I ever spent. Lemme show you what's up:
On a recent excursion to Michael's with Tom, I started to meander through the fake flowers while he found a good frame to mount a recently acquired print from Goodwill. 'Twas in this time that a small lightbulb grew atop my head... and the moss-covered-frame was born.
Materials
- Frame (I used this one) $6
- Hot glue gun and glue sticks $8
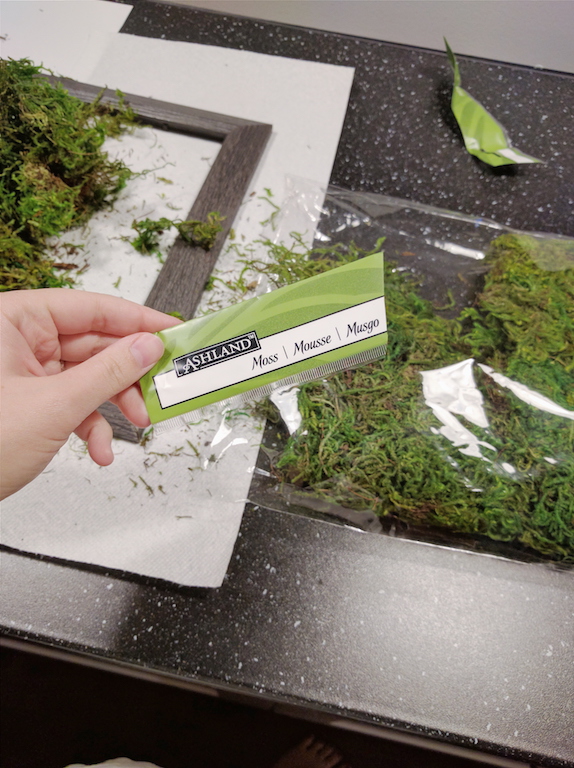
- Bag of moss $10
Total: $24 (though there is plenty more moss and glue for another project)
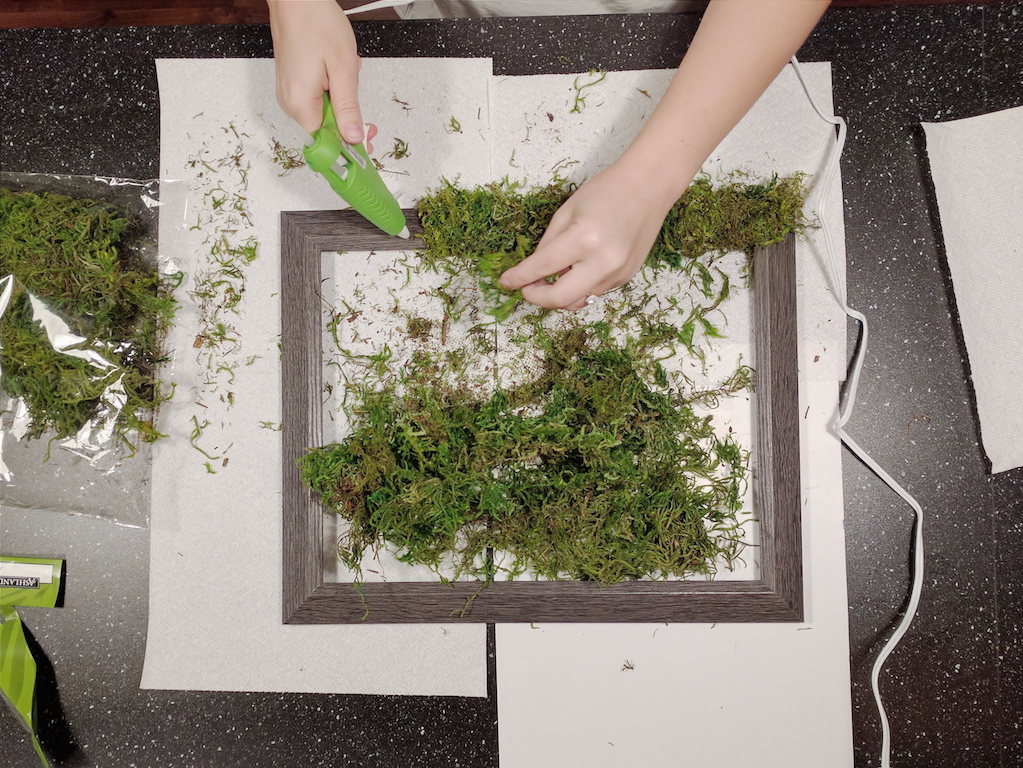
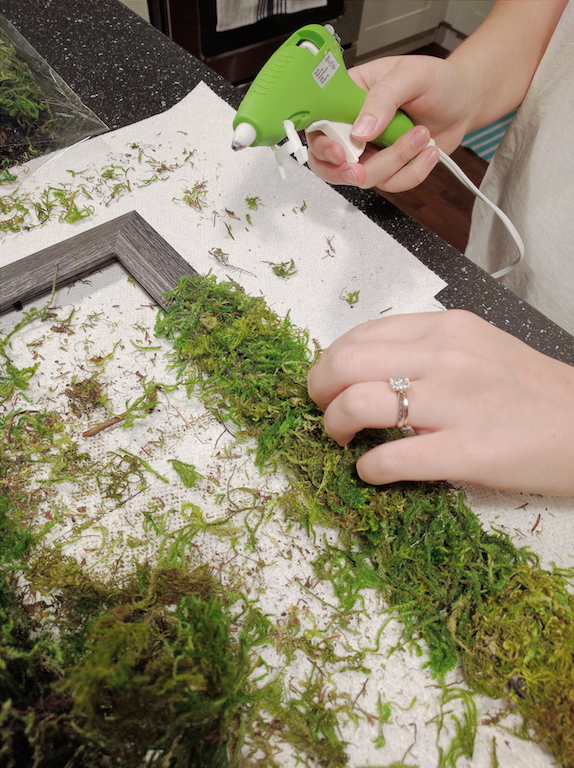
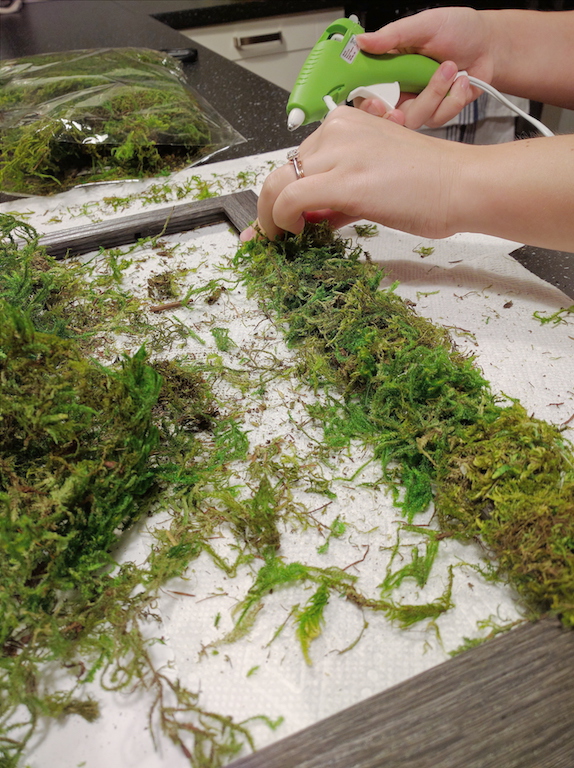
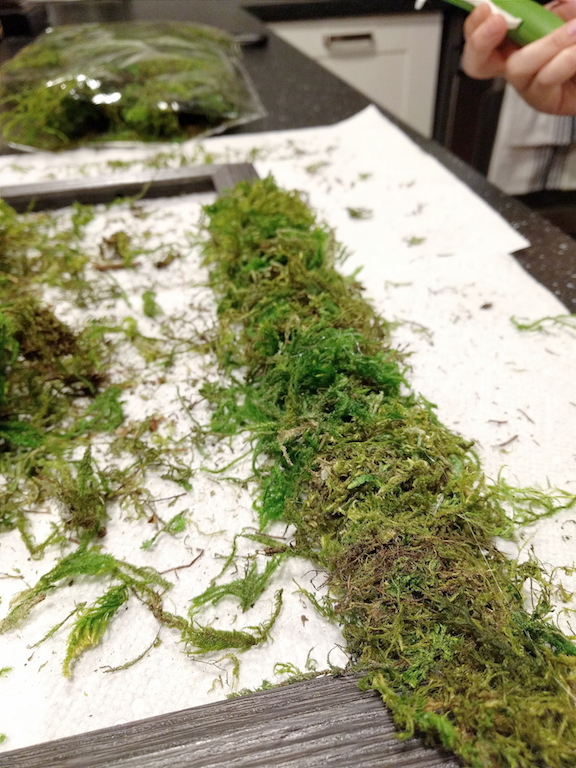
Directions
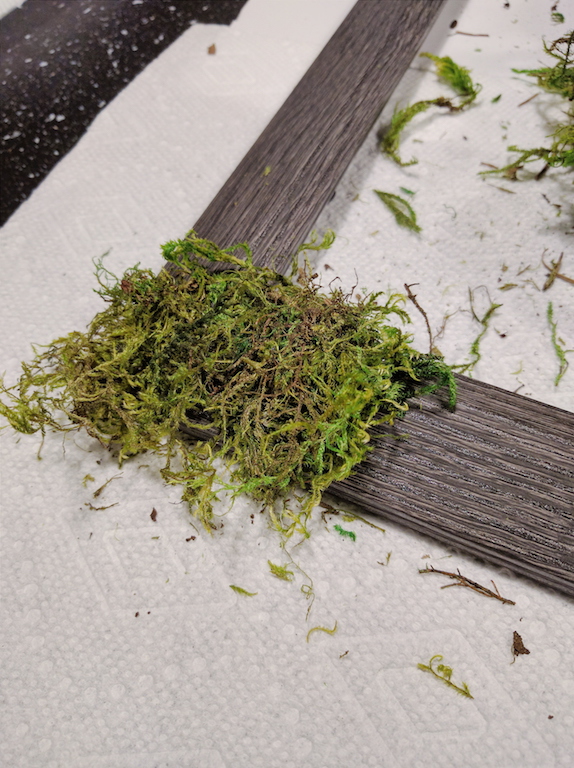
See the photos below.
Basically, just glue chunks of moss around the frame and you're done! It was actually really fun, and I'm very happy with the results. I may hang it as-is, or add a very minimal print. We're hoping to create a bit of a gallery on either side of the TV and so far we've gathered a nice start. I snagged that lovely Monet print at Goodwill for $6 as well - thrifting is the way to go, my friends!
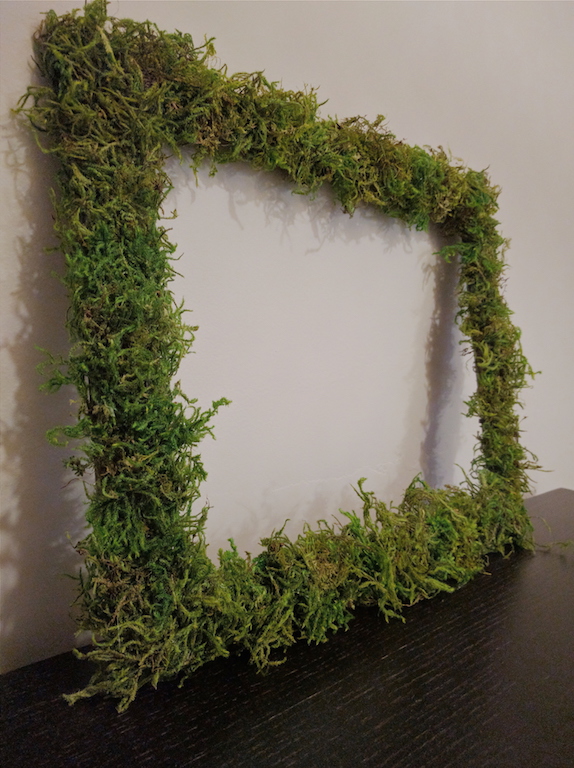
What do you think? For about twenty minutes and minimal effort, I'm not disappointed in the least! Time to moss up everything I own... get it "moss up" ...like, "mess up"..?

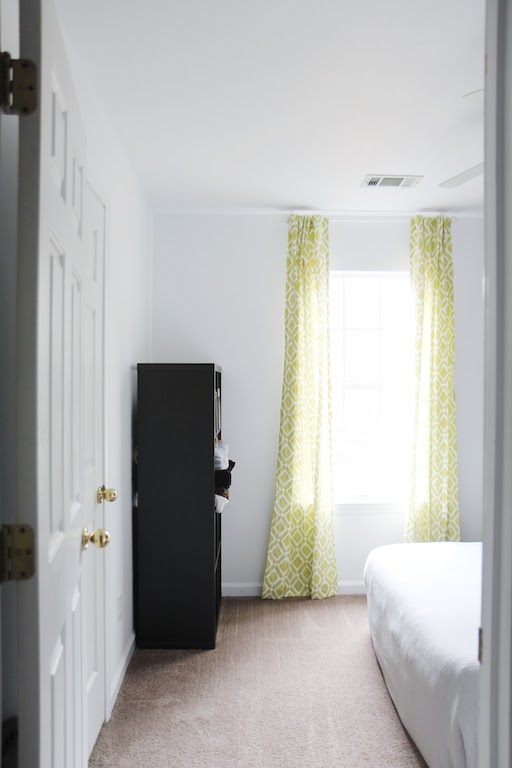
Guest Room
Welcome to our guest room - the very first room we worked on in our humble little home.
If you look at the first couple photos, you'll notice the slap-brush textured ceilings. We just couldn't stand the cobwebs they gathered and shadows they cast, so we knew they had to go. It was quite the process (not nearly as simple as popcorn texture), but after several rooms, Tom has become quite the pro at it.
After the ceilings were smoothed, our wall paper literally peeled off the walls! In great, big sheets. So we had to refinish the walls as well. They were painted green, and the trim was given a fresh coat of a brighter white.


Here's what all we did:
- smoothed the slap-brush ceiling texture
- refinished the walls
- painted every surface
- spray painted the fan
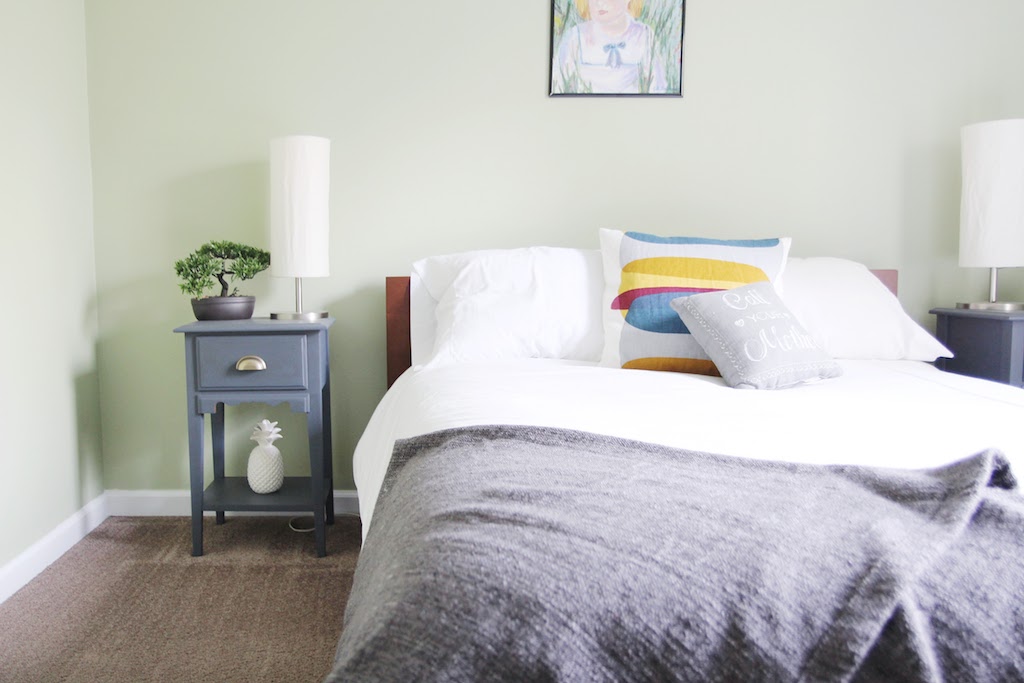
- refinished/painted thrifted side tables
- hung curtains
- picked up decor from IKEA, Target, ReStore, and Home Goods
If you notice that lovely art piece above the bed -- it was painted by my oldest sister when she was in high school of me as a toddler. I adore it, and the creepiness of baby Joy watching over her guests! Oh, and those tables were $11 total. What a steal!!
Any questions? Drop me a line!

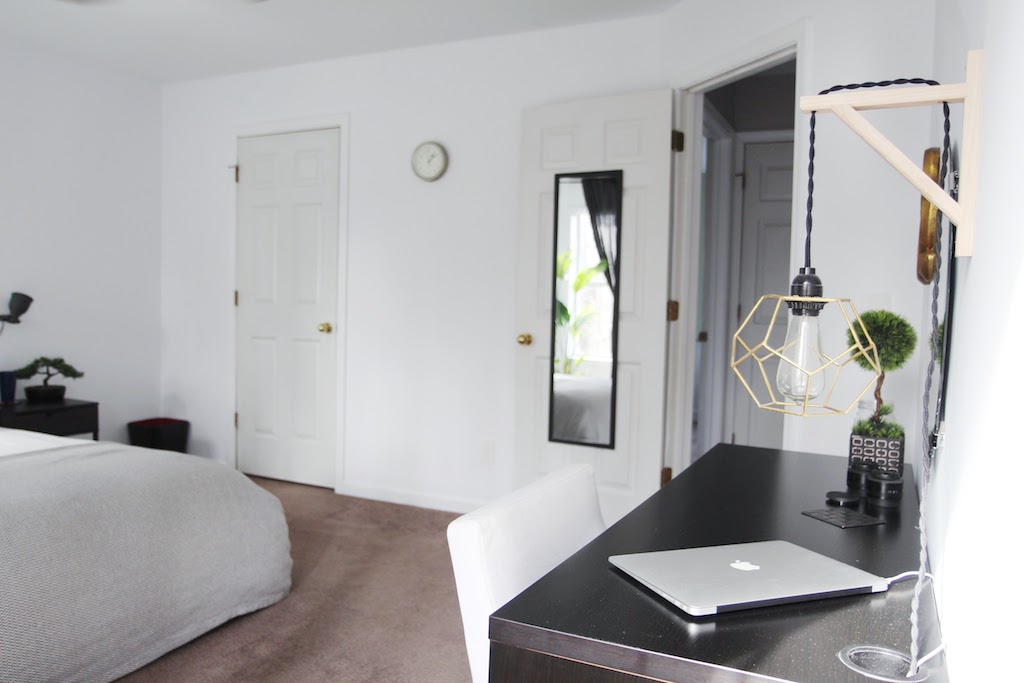
DIY Geometric Pendant Light
My desk/vanity area in our bedroom is now at completion. I'll probably add a plant to the right of it and maybe hang a couple more items... but for the sake of usability and functionality, it's done-zo! The finishing touch was my light. I was (annoyingly) picky about what I wanted, but I found all the pieces (with the help of Tom of course) and got it done once we could take the time to swing by our IKEA. I saw a Pinterest photo that was close to what I wanted, but I didn't even pin it because I figured out how to accomplish the right look just by looking at it. I found the actual post (here) and Natalie's blog is actually really awesome, so I'm glad I did. She used this $23 cage light from Target and the EKBY VALTER bracket from IKEA (I used this smaller one).
Here's some glamour shots of this DIY in its finished glory:


Here's what we used to pull it off:
Gold geometric candle holder: Target $15
Edison bulb: West Elm $7 (on sale)
Fabric-twisted cord, plug, and socket: Vintage Wire and Supply $18
Wood bracket: IKEA Ekby Valter $2
TOTAL: $42
Honestly, now that I added this up, I'm really surprised! Ahhh whatever. It was worth it for the exact custom look I wanted. The bulb was honestly the hardest part to find. The actual work just took a few holes to be screwed (for the light socket and one for the cord). I also need to give a huge shoutout to Vintage Wire and Supply - they had great customer service, gave us more cord than necessary, and wrote "just in case you need the extra length" on a little card. They have a ton of really awesome products. I'm not being paid to say this, I was honestly just really impressed!
What do you guys think? I'm sure you could make it for far cheaper, but I'm kind of in love with all the unique elements we used.

How To Paint A Ceiling Fan
Ceiling fans are weird. Honestly, it is so hard to go into a home improvement store and actually say the phrase, "Ohhhh that ceiling fan is gorgeous!"
They're fans, and they aren't super attractive.
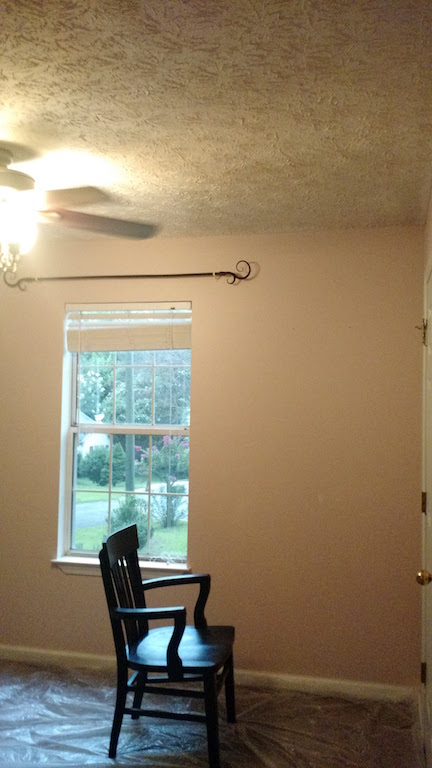
That being said, we had been really on the fence about keeping the fans throughout our home (they're everywhere). In the guest room, the temperature tends to get a little warm because it's the only room in the house that gets a lot of light, so we are for sure going to keep one in there. Below is said fan:
Personally, I found the dingy, brushed silver to be pretty ugly... and in general, this fan has such weird curves to it. Of all the ugly fans in our house, this one was the ugliest (Tom disagreed). When redoing the guest room, after much discussion, we decided that instead of spending money on new fans, we'd just try to "update" them a little. Though ugly, the quality of them are actually pretty good. So until we could throw down a lot of cash on better looking, high quality ones, we're fixing up these babies.
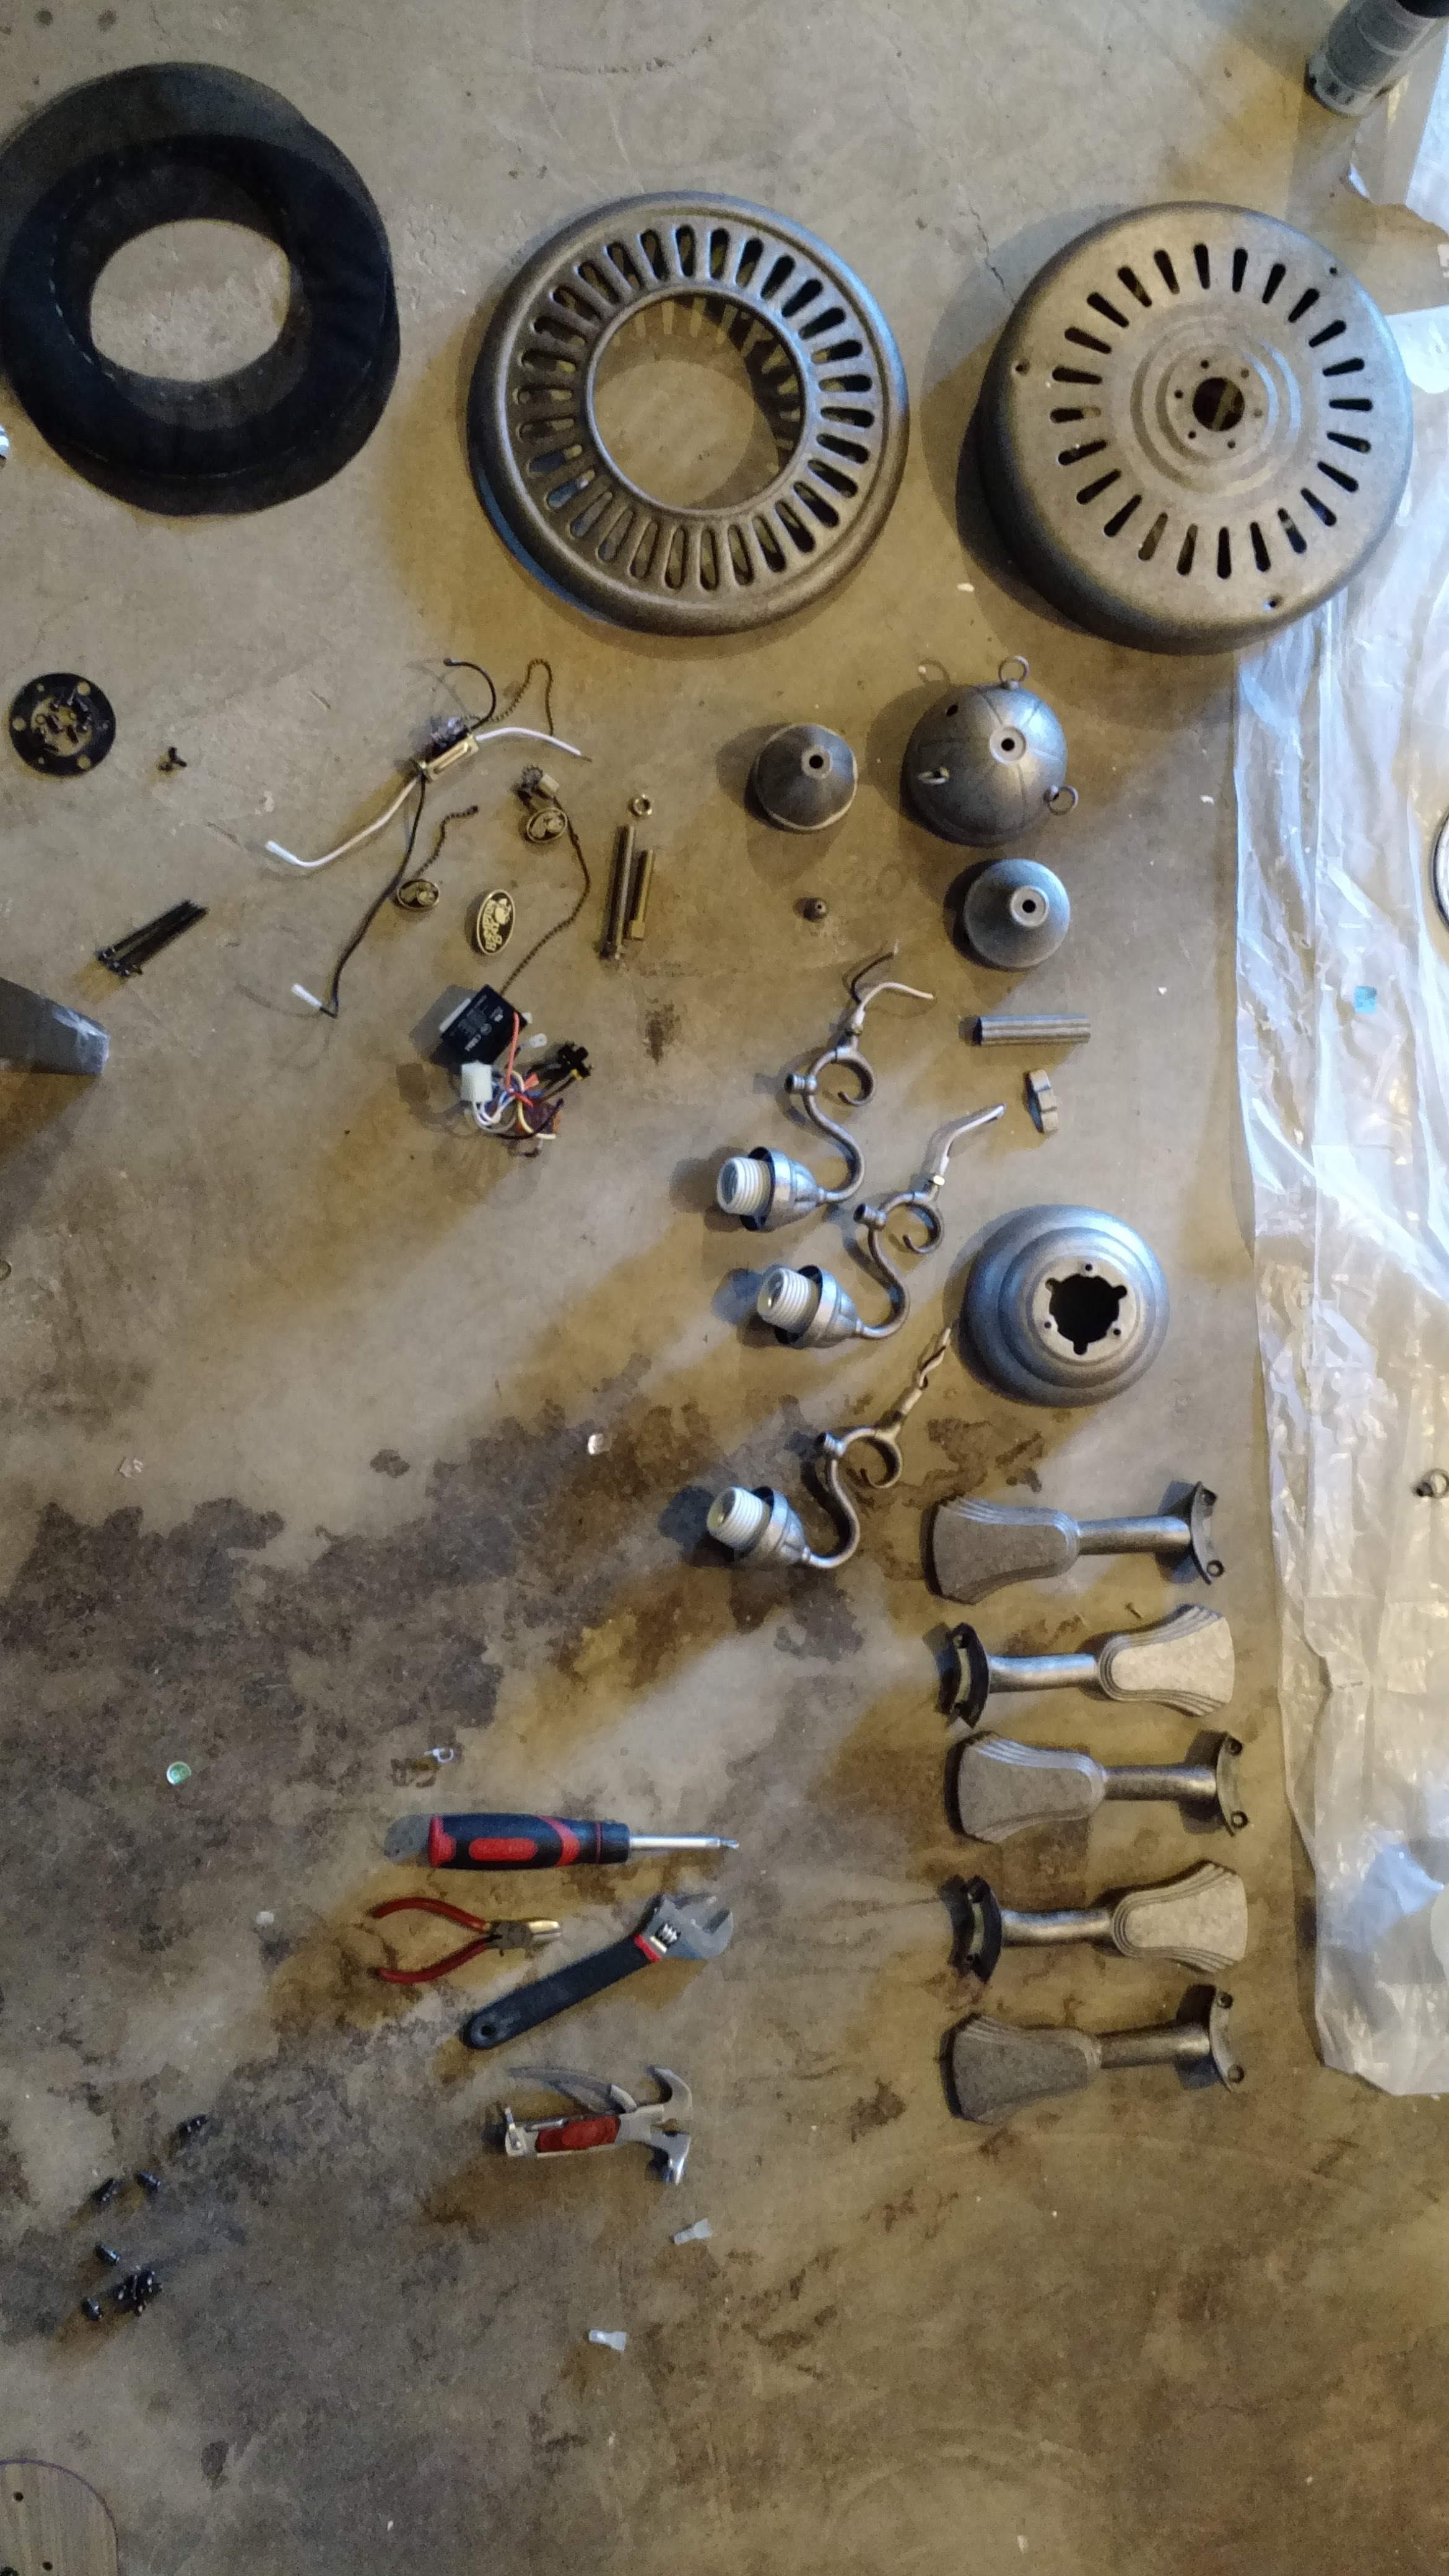
I have to admit though, I really didn't think about the fact that you actually need to take the entire fan apart in order to spray paint it (oops!). Tom was all duh... did you just want to tape it up, spray paint it, and let it goop up all the gears?? And I was like uhhh... oh right, can you just like take it apart though? thankkksssss..
This guy puts up with me and I'm super blessed. Taking apart a fan and putting it back together is actually a real pain in the tush (not that I would know.. but Tom said it stunk).
Anyways, I found this color of Rustoleum on Young House Love when they sprayed some hardware on their door handles and such. It looked really great on their post and since I don't know the first thing about spray paint, I went with it. Here's a few photos for your general enjoyment:


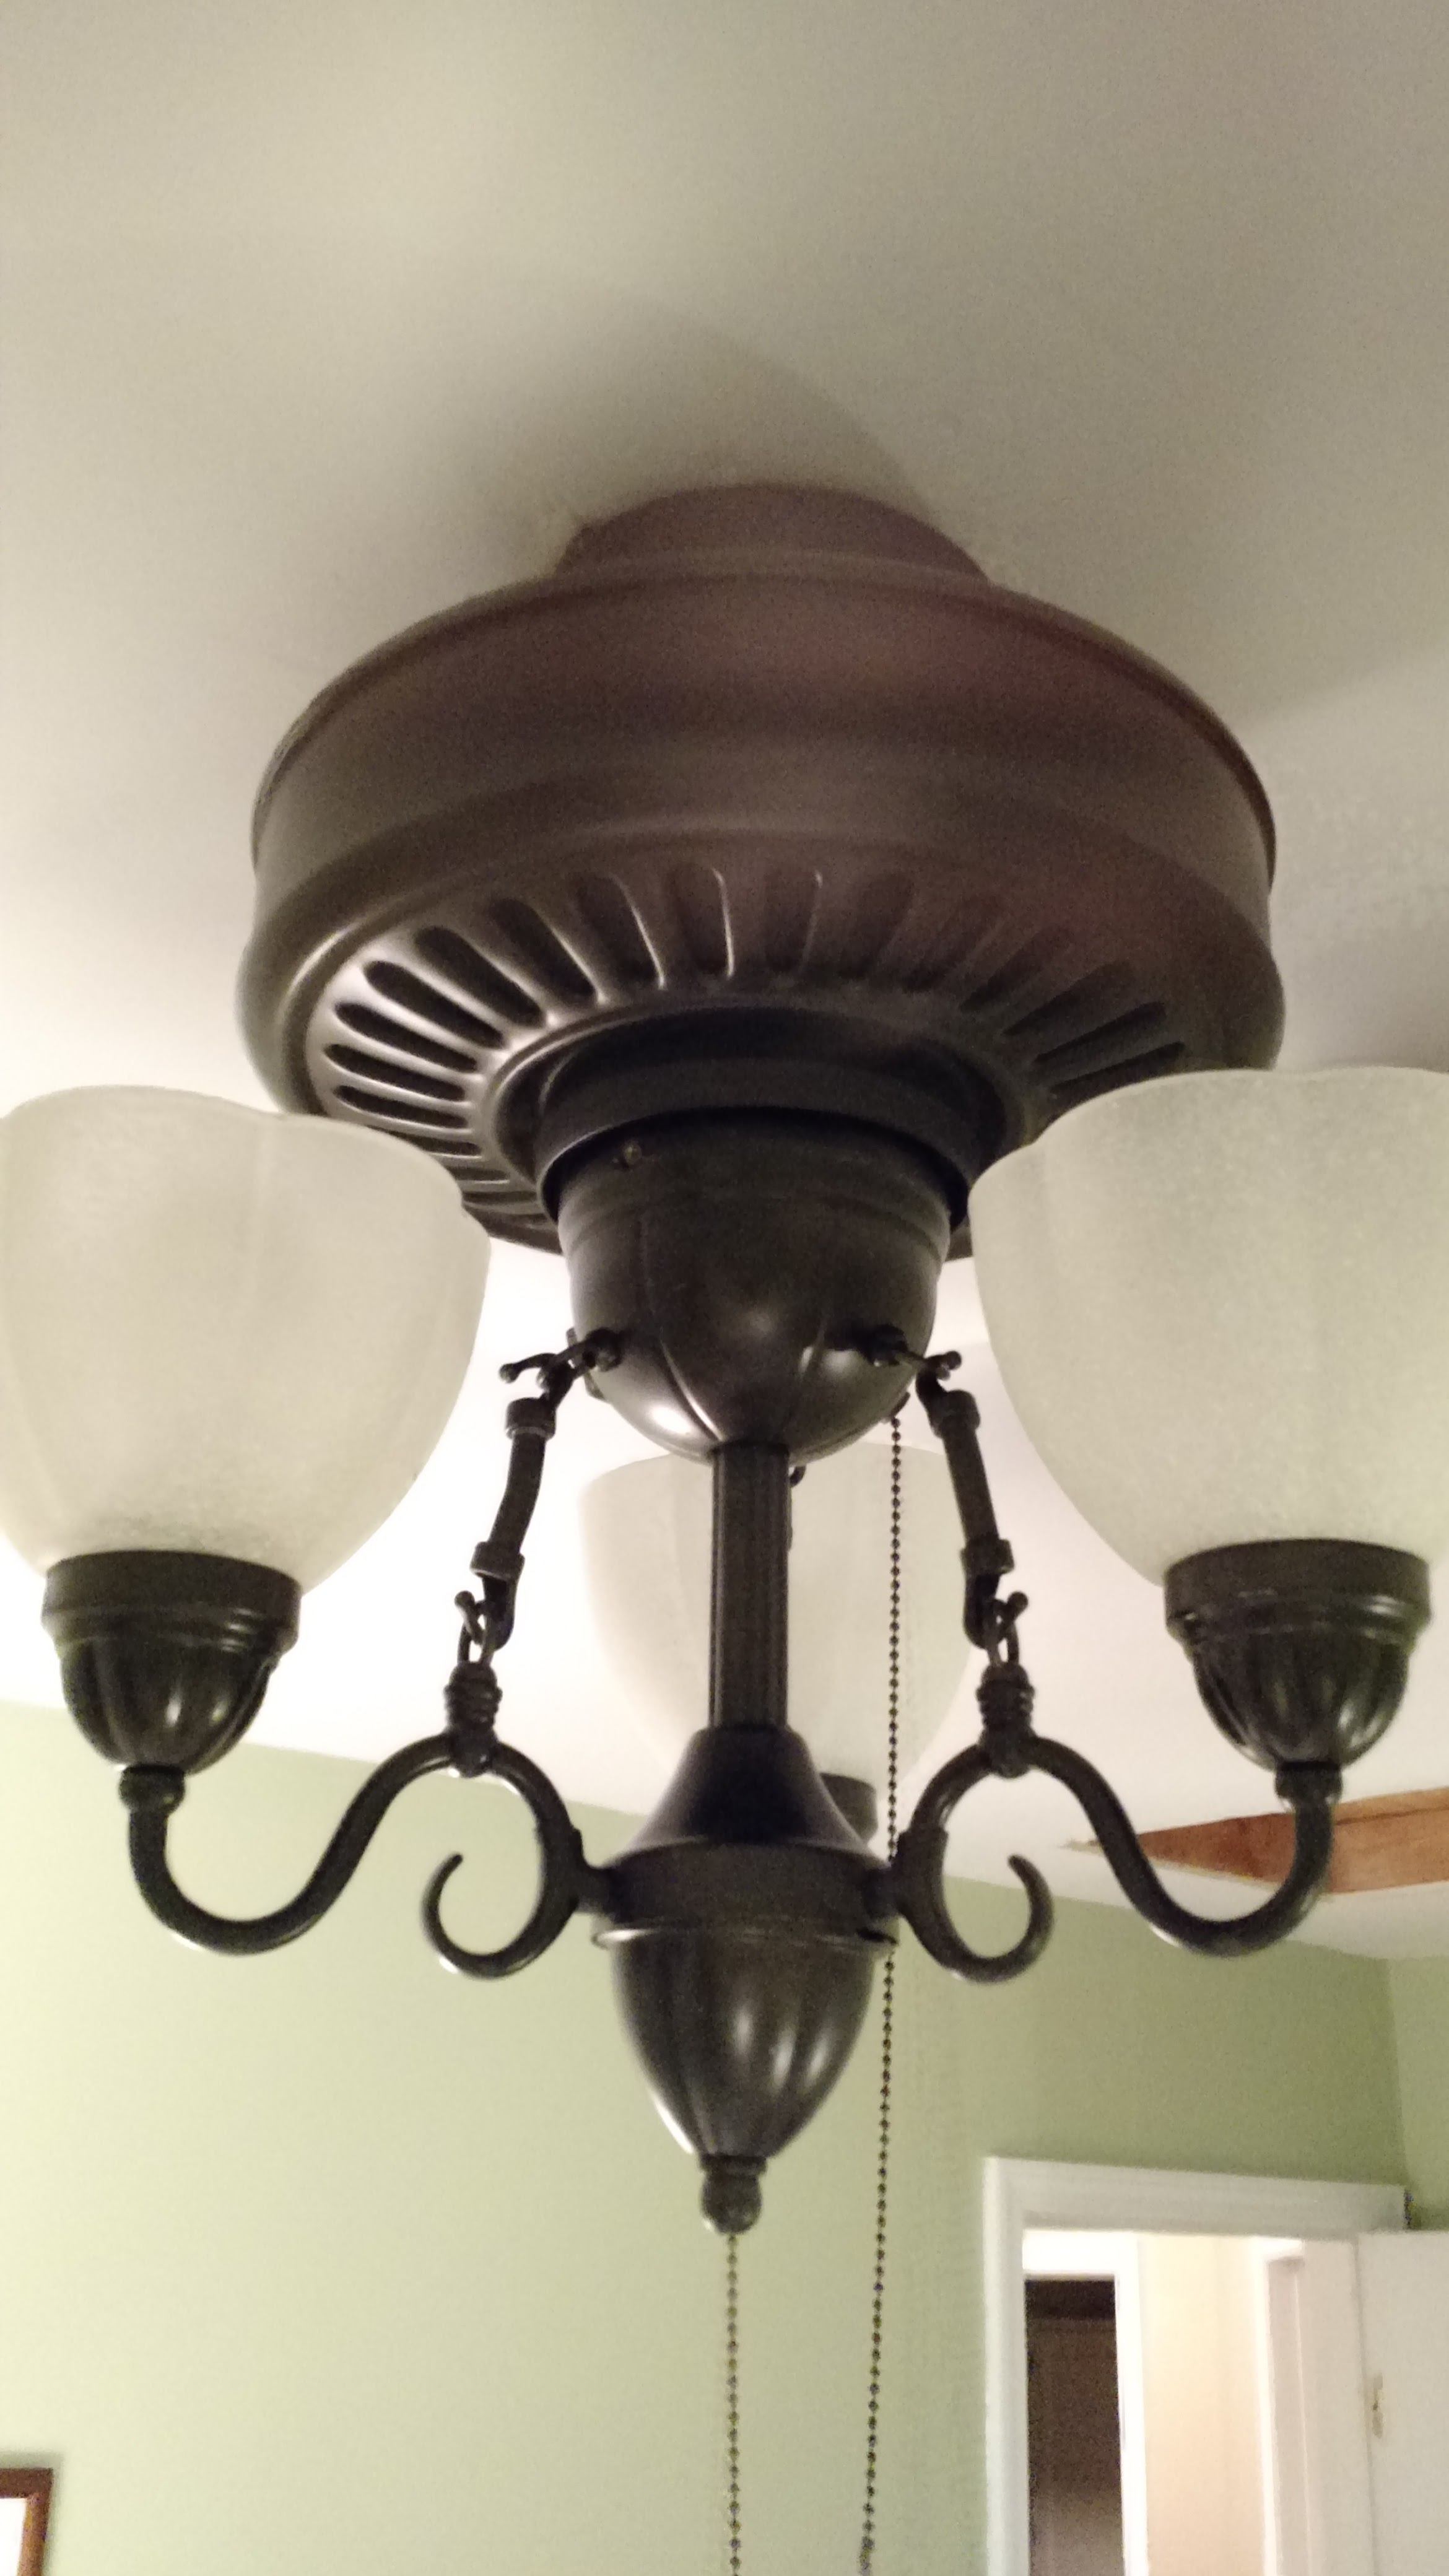


After a good 24+ hours to let them dry, Thomas got to work putting it back together.
The thing we loved about this color is that it isn't completely matte (which I thought I wanted). It gives off just the smallest hint of bronze metallic... we both really love the final product.
What do you think? Big improvement, or not so much?