
Complete Guide to Packing for Europe in a Backpack
Hey guys! If you don't already know, Tom and I are going on our first overseas vacation this fall. We'll be spending nearly THREE weeks traipsing...
Hey guys!
If you don't already know, Tom and I are going on our first overseas vacation this fall. We'll be spending nearly THREE weeks traipsing around Iceland, France, and Italy and seeing all the things, and eating all the bread and cheese, and drinking all the wine. It's our first real vacation since our honeymoon over four years ago, and we are overflowing with excitement.
This post is a "dumping ground" of sorts, for all my packing tricks, videos, and details. I'll do my best to stay brief, but there's a lot to consider, and as we're doing the whole "backpacking" thing, I want to be sure I'm thorough and clear about everything so it will be as helpful as possible. Keep checking back to this post - I'll be adding as I go.
The packing challenge I wanted to take on was bringing everything. Seeing if I could sacrifice no part of my routine and still pack super minimally in my carry-on size backpack. I set out on this, knowing that I very well may have to give up on some conveniences, and the prospect of that was perfectly fine with me.... but I just wanted to try. Just to see if I could hack it and bring it all.
Spoiler: I managed it all with room to spare!
I'll lay out each section the same, with a detailed written portion on each of my topics, with the corresponding video below. I'll cover makeup, hygiene, clothes/shoes, daypack, and how everything fits together.
If you have any questions whatsoever, please comment below or send me a message. I'd be happy to answer anything you're extra curious about.
Trip Overview
- 3 weeks
- 10 separate flights (2 of which are red-eyes)
- 16 nights in accommodations
- 9 Airbnbs
- 1 46L backpack each
- 1 daypack to share
Quick Itinerary
- Arrive in Newark, NJ
- NYC during the day, then evening flight from Newark-Iceland
- Iceland
- Iceland
- Iceland
- Paris
- Dijon, France
- Dijon, France
- Châlons-en-Champagne, France
- Florence, Italy
- Florence, Italy
- Florence, Italy
- Riomaggiore, Italy (Cinque Terre)
- Barolo region
- Barolo region
- Pisa, Italy
- Beauvais, France
- Newark, NJ
- HOME
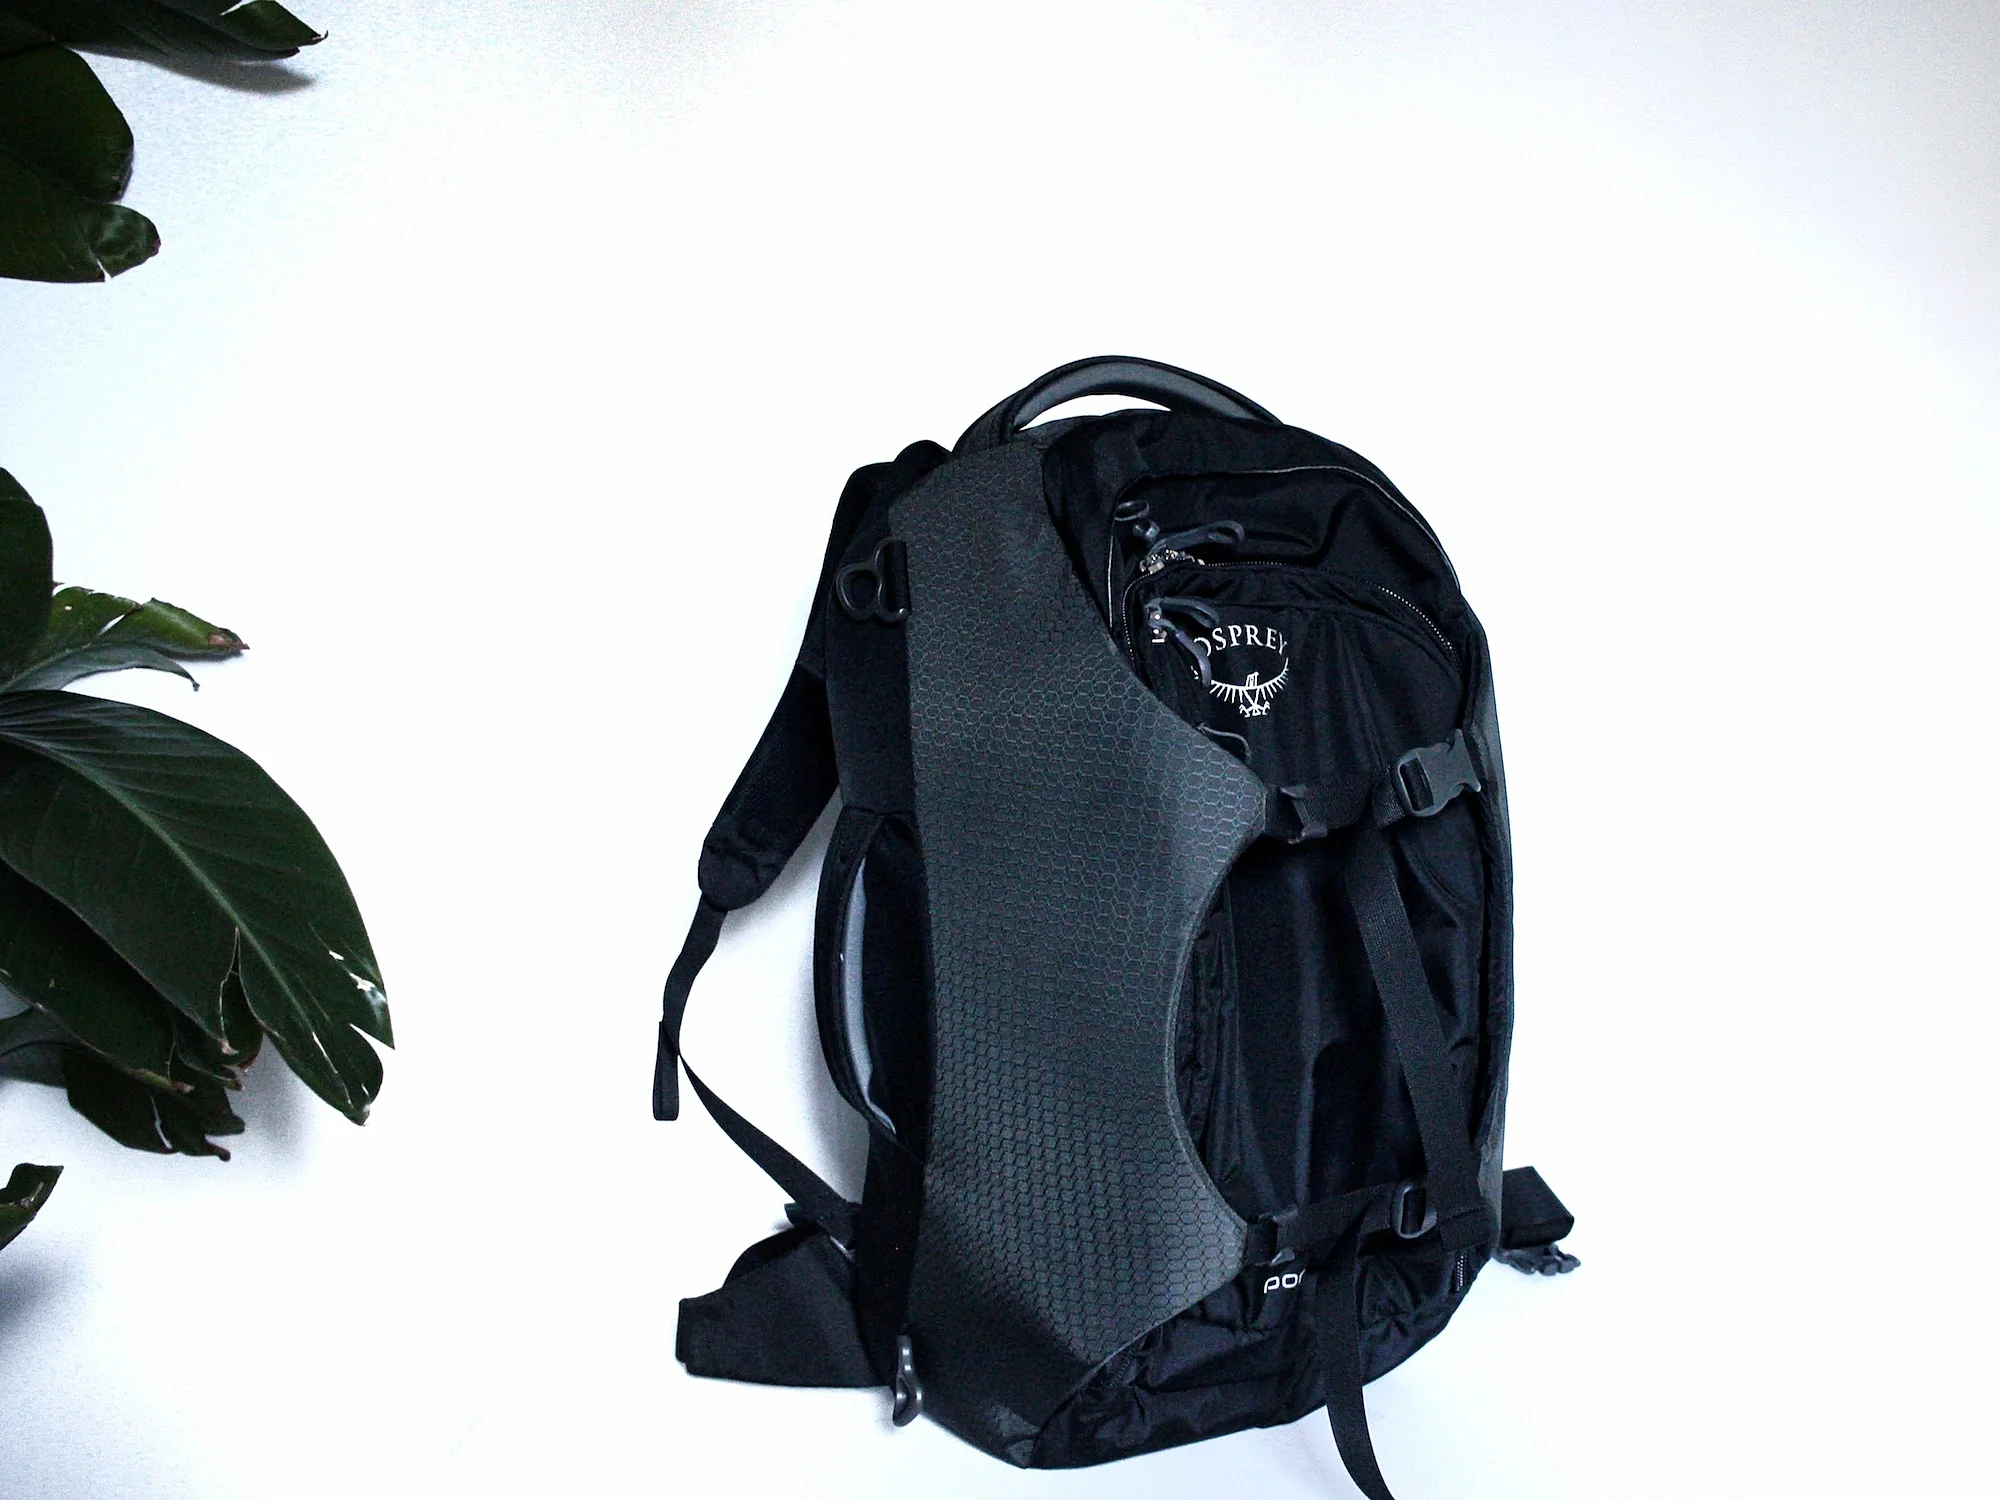
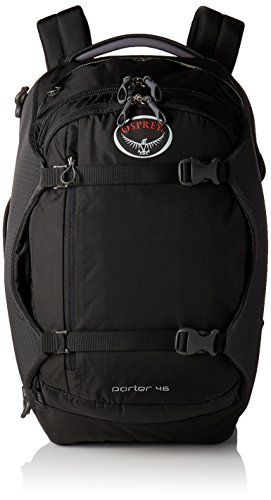
For reference, these are the main items I'll be mentioning.
The packing cubes, the Osprey 46, and the daypack.

Makeup
I did it. I managed to fit my entire makeup routine (with room to spare) in one small packing cube!
Using the smallest of the cubes in the 4-piece set, I have packed:
- primer
- foundation
- concealer
- tinted powder
- bronzer, blush, highlight
- translucent setting powder
- eye primer
- eyeshadow palette
- eyeliner
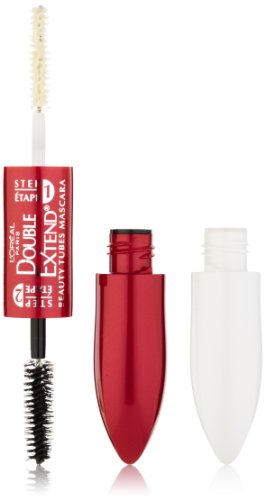
- mascara
- waterproof mascara
- lip color
- brush set
- foam applicators (Target)
- lash curler (Target)
- 1 week pill container with misc items/extra product (Dollar Tree)
This is what my makeup typically consists of vs. the condensed, minimal version:


So the challenge with this was the time-frame we'll be gone. Three weeks with sample sized products seemed like a stretch, so the pill container will act as a nice little catch-all if needed (like for extra primer). Plus, I can even throw some floss or ibuprofen in there as well.
I don't know if you're like me in this sense, but when I'm traveling domestically for a week or so, I'm always sure my nearly-full bottle of foundation WILL run out while I'm traveling so I pack two. It's so dumb, because when I'm at home, I know just how long any amount of makeup will last me, but once I pack it, it's suddenly near empty. Haha! So before going on a trip with limited packing space, realistically think this through.
I'd definitely suggest trying to get away with sample sized products if you can. A sample sized mascara, for example, should be plenty for honestly even a month. And if you're not going to some third world country, I'm pretty sure you'll be able to pick up more wherever you go.
My primer, mascara, lip color, and eye shadow all came in a great sample set from Smashbox (linked here).
I also grabbed a travel size concealer and brush set. The rest of the products (tinted powder, translucent powder, foundation, eye primer, waterproof mascara, eyeliner, lash curler, and contour set) are actually full-sized. I just looked for smaller ones or condensed sets. For example, I usually use three different products for bronzer/blush/highlighter, so having all three in one set is saving me tons of room.
Lastly, be sure you actually TRY the products before you blindly pack them. I bought a different foundation for the smaller container, tried it, and hatedddd it. So I'm bringing one that's tried and true instead. Practice using the new brushes, or bronzer, or whatever, and be sure it's something you'll like for the duration.
Below, check out the makeup packing video for a 2 minute summary and see how they all actually fit into that small bag!

Hygiene
This was the toughest area for me. The carry-on liquid limits (one quart sized bag per person, with products 3oz or less) definitely threw a wrench in my ideas, but I think we'll get by (barely). But, I did it again! I managed to fit my entire routine yet again. Here's the full list of my hygiene stuff (and Tom's liquids too).
Tom doesn't have any liquids beyond his shampoo, hair styling goop, and face wash (which we're sharing), so he's a gem and will take a few of my liquids as well.
Liquids (Bag 1)
- Contact solution
- Face wash
- Men's shampoo
- Shampoo
- Conditioner
- Toothpaste
- Tom's hair goop
Liquids (Bag 2)
- Dry shampoo
- Mousse
- Hair Spray
- Exfoliating face wash
- Contact solution
- Face lotion
We'll keep our liquids bags in a convenient location so we can pull them out easily for security checks, but once through security, I''ll move most of them to my hygiene packing cube for the sake of keeping things organized.
I also have a couple secrets...
I'm bringing a HALF bottle of shampoo and a HALF bottle of conditioner. If you look at the lower right-hand corner of the photo above at the small, clear, stacked tubs, there they are. Tom had the idea to dry them. The first ingredient in these products is water, so doesn't that make sense? I poured them on large sheets of parchment paper and let the water evaporate for a couple of days. This left me with gel-like substances that easily fit into less than 3 ounces. Just a small amount in the shower - where you (duh!) add the water back in - and it lathers up just the same as at home (I've tested this). It's a wonderful way to bring a lot more than 3 ounces in a concentrated form.
HOWEVER, because of the containers or the lack of labeling or whatever else, I could see TSA confiscating them. Oh well! Worth a shot. I'll be sure to circle back afterwards and let you know how it went.
Another concentrated item is our laundry soap (pink/red bottle, lower right photo). Several of our Airbnb's have washers (or else we'll be using sinks) and since we're gone for nearly three weeks, we'll need to do laundry. I didn't want to bring another liquid thing and we really wracked our brains trying to figure out what to bring. Then I remembered a sample of Norwex laundry detergent a friend had given me and I forgot about. For an entire load you only need a teaspoon, and since our loads will likely be smaller, we can probably get away with a half teaspoon. I think it'll be the perfect travel detergent.
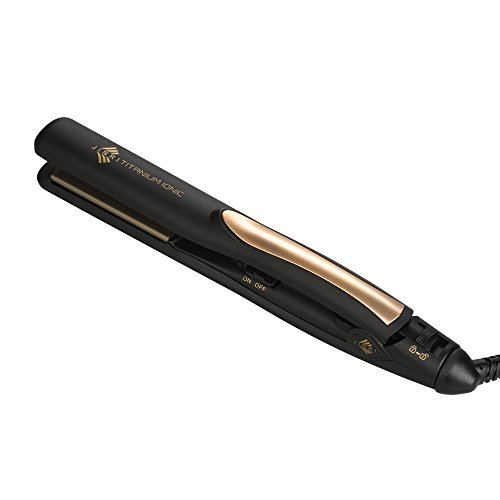
Lastly, I really wanted to bring my hair straightener. Most of the places we're staying will have hair dryers (yay!) but I need a straightener to add texture to my hair (I actually use it to curl or add waves rather than straighten). Well, I discovered that even with a plug adapter, you would also need a voltage adapter so as not to blow fuses or break your appliance.
UNLESS you get a dual voltage appliance! After just a little bit of looking, I found this travel sized straightener (but not the teeny tiny kind) for only $11 on a lightening deal. It's about nine inches long - so just slightly smaller than a normal one. Every little bit helps! It doesn't have a temperature control, but it heats up to 410 degrees fahrenheit. I've tested it and am thoroughly impressed. Honestly, I'm pretty sure it's better than my usual one. Watch the video below to see what it looks like next to an average hair straightener.
The only thing I would recommend, is to buy a heat resistant case (which I did). I don't know about you, but I always do my hair last and then get stuck having to pack/awkwardly carry my hot styling tool. The case saves you that trouble and you can pack up your hot appliance and go. In fact, I should have bought one ages ago!
Below are the three main items I mentioned and the correlating video so you can see how all of this works. It's a bit longer than my last video but I wanted to be thorough :)


Clothes and Shoes
This took a little discipline to stay within a few boundaries, but I'm so glad I managed to stick to my guns. Clothes ended up being pretty easy for me!
Clothes List:
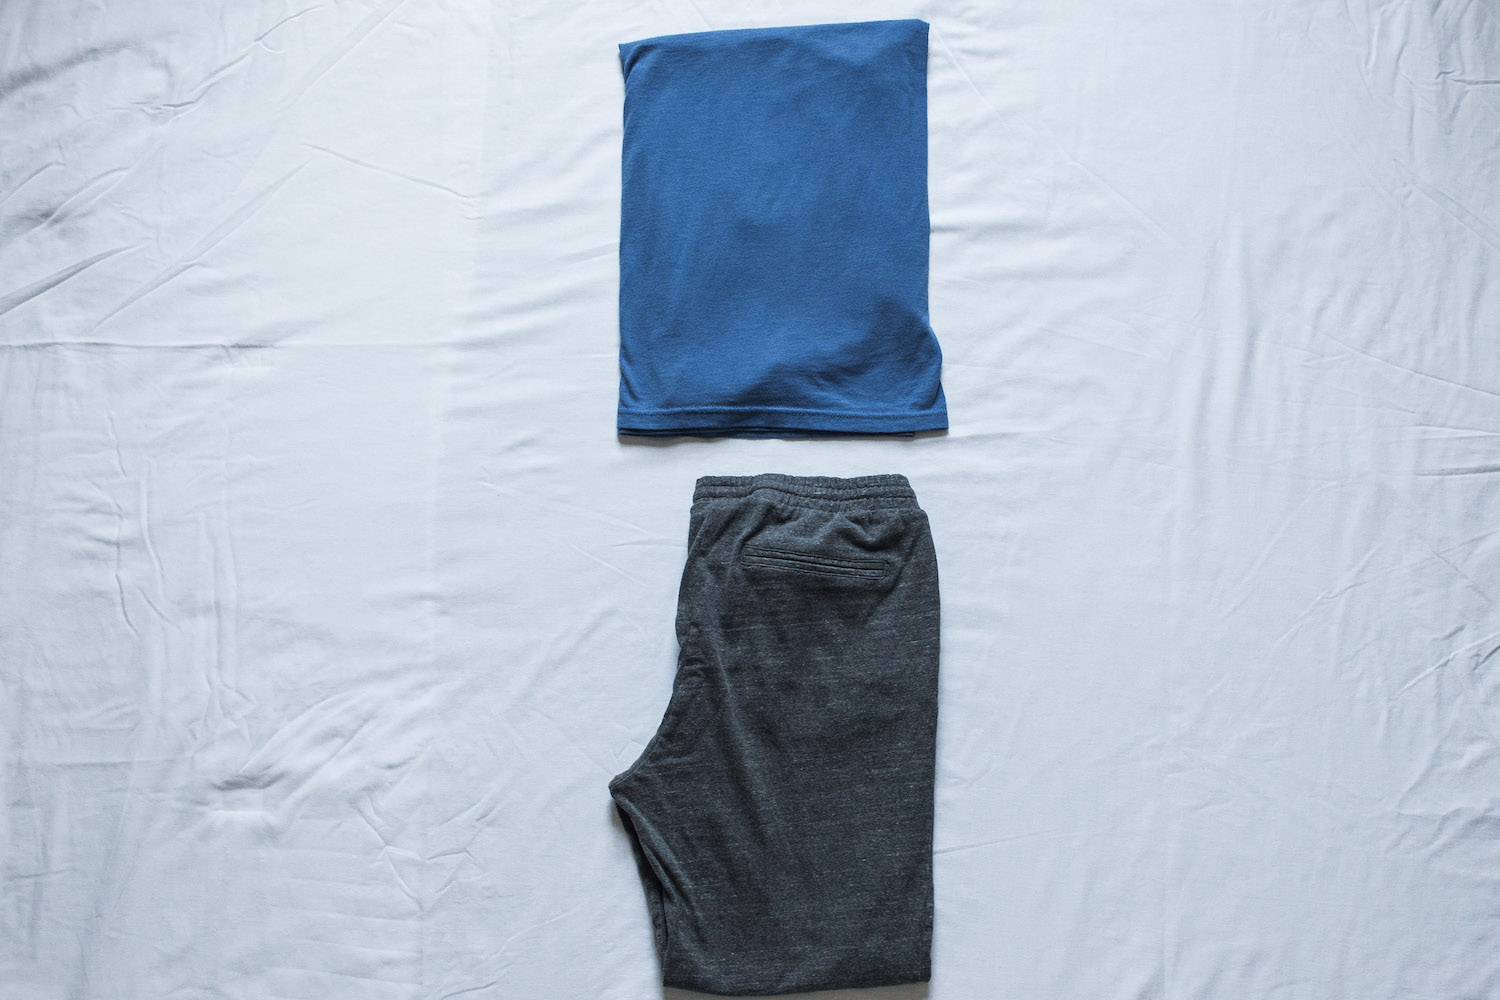
1 pajama top
1 pajama bottom
3 dresses
2 sweater cardigans
6 tops
4 bottoms (3 black pants, 1 pair of jeans)
1 blanket scarf
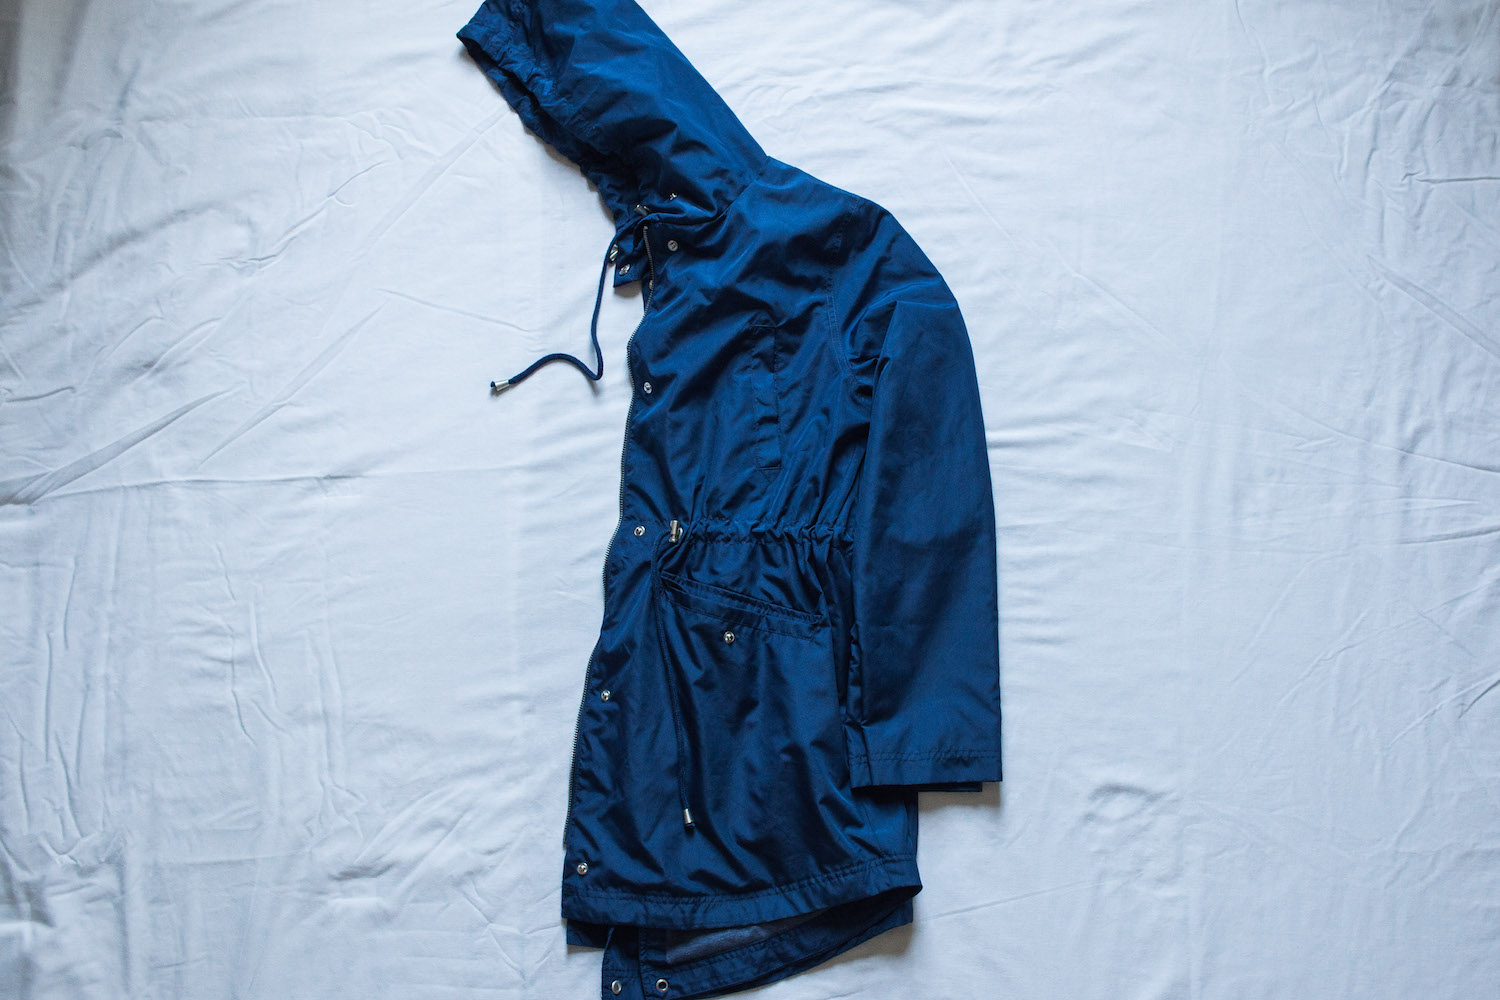
1 rain jacket
3 shoes (rain boots, cute flat/sneaker, tennys)
11 underwear
2 camis
8 not-socks
2 tall, thick socks
1 regular sock
1 pair of black tights
1 belt
1 swimsuit
In order to bring a lot of outfit options with a few pieces, I stuck to neutrals. You've probably heard this tip before, but make sure every top can go with every bottom and vise versa. I limited my colors to black, grey, green, and blue. Honestly, I typically wear this palette at home almost exclusively, so it wasn't that hard for me. I mixed it up by throwing in the patterned dress and a scarf, but I also wanted to leave room to buy a few small pieces overseas as well. I made sure I was realistic about what types of clothes I'm most comfortable in and how they would work together or layer. Layering is your friend - especially if the temps during various seasons can go up or down by the day. Since we're traveling in the fall, I decided to bring a mixture of dresses, short sleeves, and long sleeves. Easy enough!
My shoes are all insanely comfortable (which was my top priority) and they each have a purpose.
The boots will be used just for Iceland. I was sent them courtesy of Sperry, and they gave me free reign to choose what I wanted, and I couldn't pass them up! They're so cute and will be perfect for whatever climate or terrain Iceland throws at us. Though they're too bulky to pack, I was willing to wear them on each flight. That's not a bother to me, but maybe to others it is.
The pointed flats were sent to me courtesy of Dr. Scholl's and again, they let me choose. These just had the perfect sneaker/flat mixture I was looking for, and they were included on a bunch of lists online as "great travel shoes." They are crazy, crazy comfortable and I am super happy with them.
The lace-up sneakers are from Target and they are meant for days where we might go off the beaten path a little more. They're also very breathable, so if my flats get wet, they're a cute alternative. They even look cute with my dresses!


This video is longer, but I explain my shoes in detail and show them on my feet walking around. Plus I'll show you some outfit mixtures, and how all of my clothes fit into the last two cubes with ease. (Seriously you guys, buy yourself some packing cubes - they are incredible!)

Don't forget to follow me on social media to stay up to date and connected. Feel free to message or email me with any content requests, ideas, or collaborations!

Makeup Favorites : Volume 1
Hi guys!
I'm trying something out today just for kicks.

Little background:
I was looking at old pictures, and started to realize my "evolution of makeup routines." Like, I didn't wear a spot of foundation until late into college - as in, junior or senior year - so really, I've only been wearing a "full face" of makeup for about five or six years! And until recently, I have only ever used ONE brand/type of foundation.
(Can we take a moment to appreciate that dorm photo from just before my 21st birthday? Nothing but some eye makeup and concealer. Those were the days...)
So just for fun, I'm sharing with you the products I use every day, along with a time-lapse video of my routine. Sometimes I skip a step, sometimes I get a little more fancy, but this shows pretty well how I go about makeup right now. The products may change as soon as next month, but so far, I like what I've got. Most of it you can buy at Target or Walgreens, but I must admit, my beauty guru blogging buddy, Christine (Simply Stine), has shown me the dark side of beauty stores like Sephora, The Cosmetic Market, and Ulta. Haha - she's great though, and lets me take baby steps ;)
This will change. Just like it has already changed from six years ago, but even if just for my own reference, it'll be fun to see what happens as the years go on. Like what continues to work for me, what I get better at, and what I leave to the youths. I hope you guys enjoy! Leave me a comment and let me know if you'd like more like this.
I have oily skin, so you may notice in my routine that I use more powder based products, and fewer creamy ones. I've personally found that as the day progresses (or a couple of hours pass) my matte powder look turns dewy... which is fine with me! Creamy based products start to give me shine almost immediately, so I stay away from them since they never last long on me and start melting off.
Anyways, here's the product breakdown:


The order I use them:
- Face primer
- Foundation (with a latex free makeup wedge)
- Under-eye concealer
- Pressed powder
- Bronzer
- Translucent setting powder
- Eye primer
- Eye shadow
- Eyebrows and lower lash line (using shadow)
- Eye liner (upper lash line)
- Mascara
- Lipstick
If I had to choose some favorites, my Smashbox eyeshadow palette is up there. Even though it was far more pricey than I'm normally willing to spend, it's going to last me such a long time, I love the variety of colors that stay within neutral parameters, and it gives me so much to play with! Plus, I use it as a bottom lash liner and eyebrow filler. It rocks my face off. Literally.
My second favorite would be the tubal mascara. My lashes are not long, so I always tend to go for something lengthening. This literally creates "tubes" of mascara on your lash hairs. If you think it's a gimmick, when you wash your face, you can literally gently pull the tubes off and see them in your fingers. Sounds weird, but now I'm kind of addicted. HAHA.
Also, that dang ELF eye primer is THE BOMB. Since I started using it several years ago, I have never gotten a crease. It's amazing.
Here's a little time lapse of me doing my makeup exactly how I normally do:

Thanks for watching and reading, friends! This was fun for me to do, and I hope you enjoyed it - let me know in the comments!