

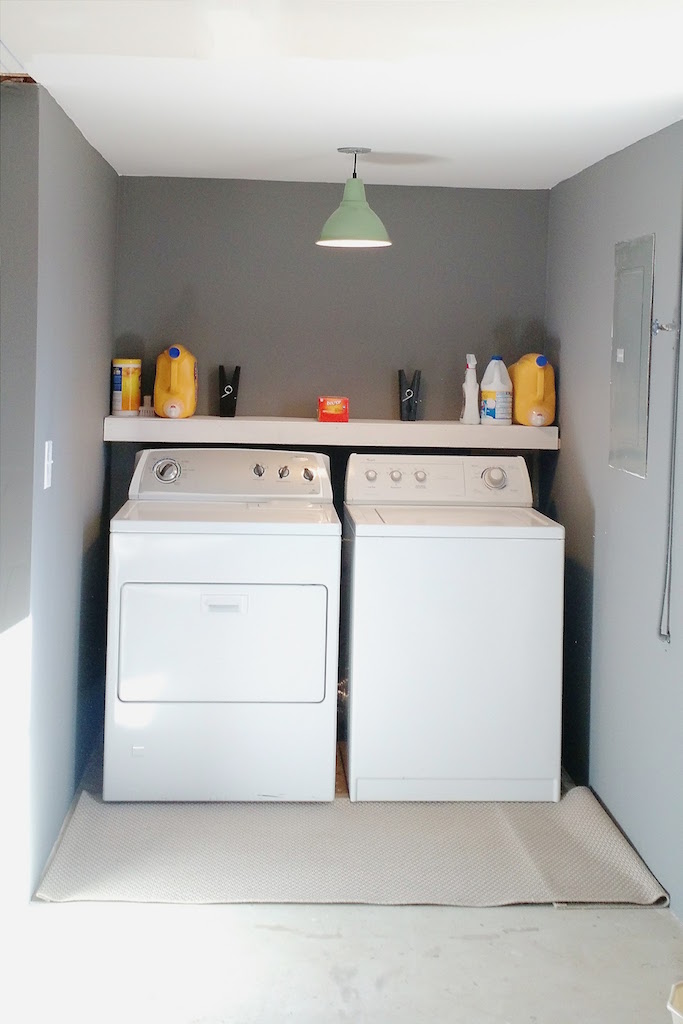
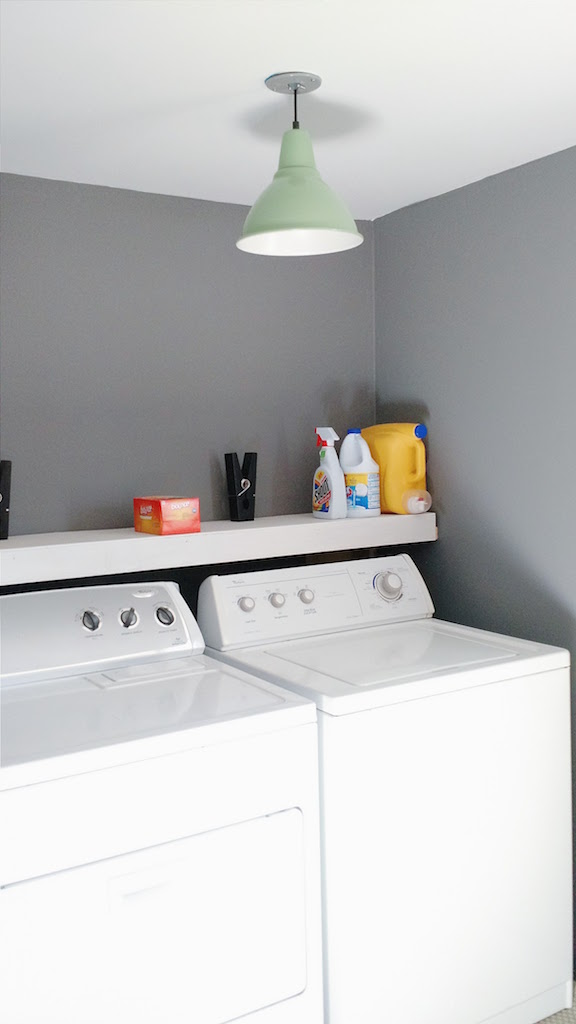
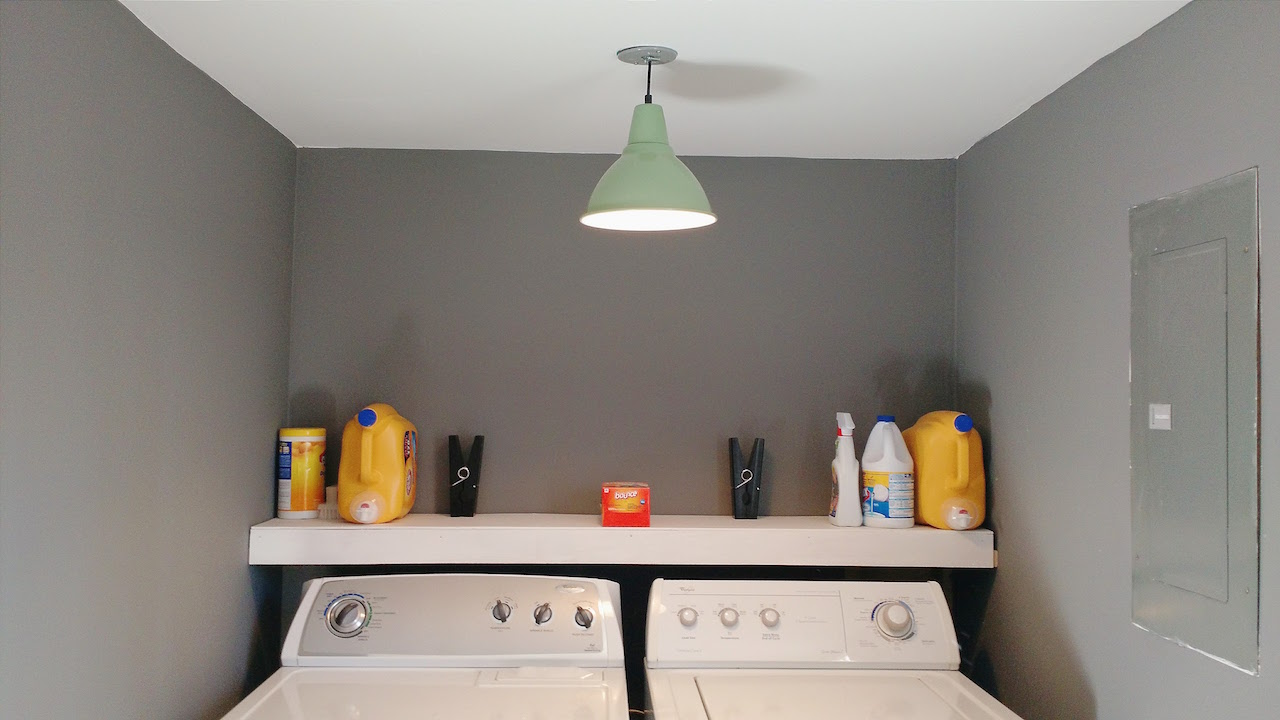
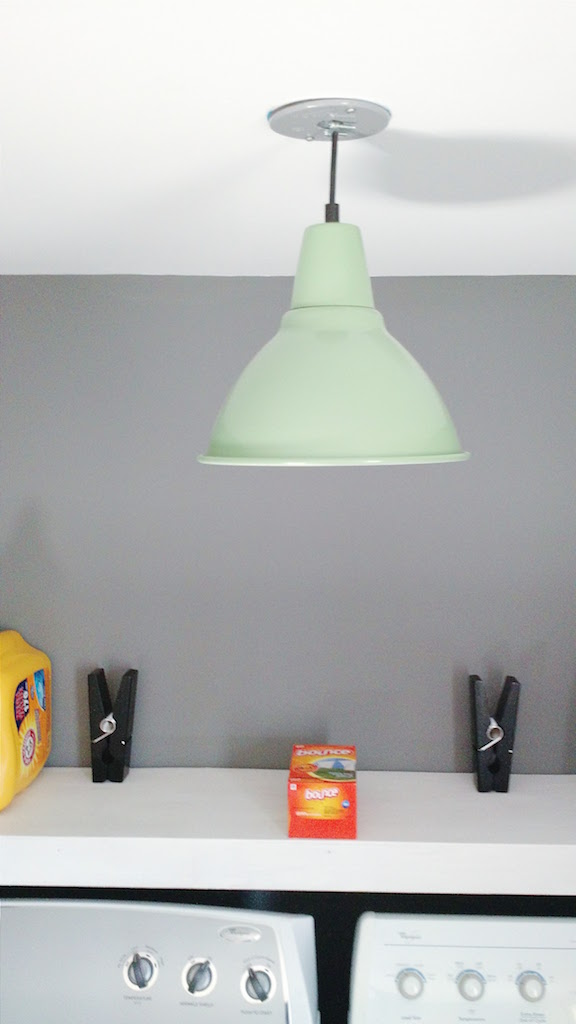
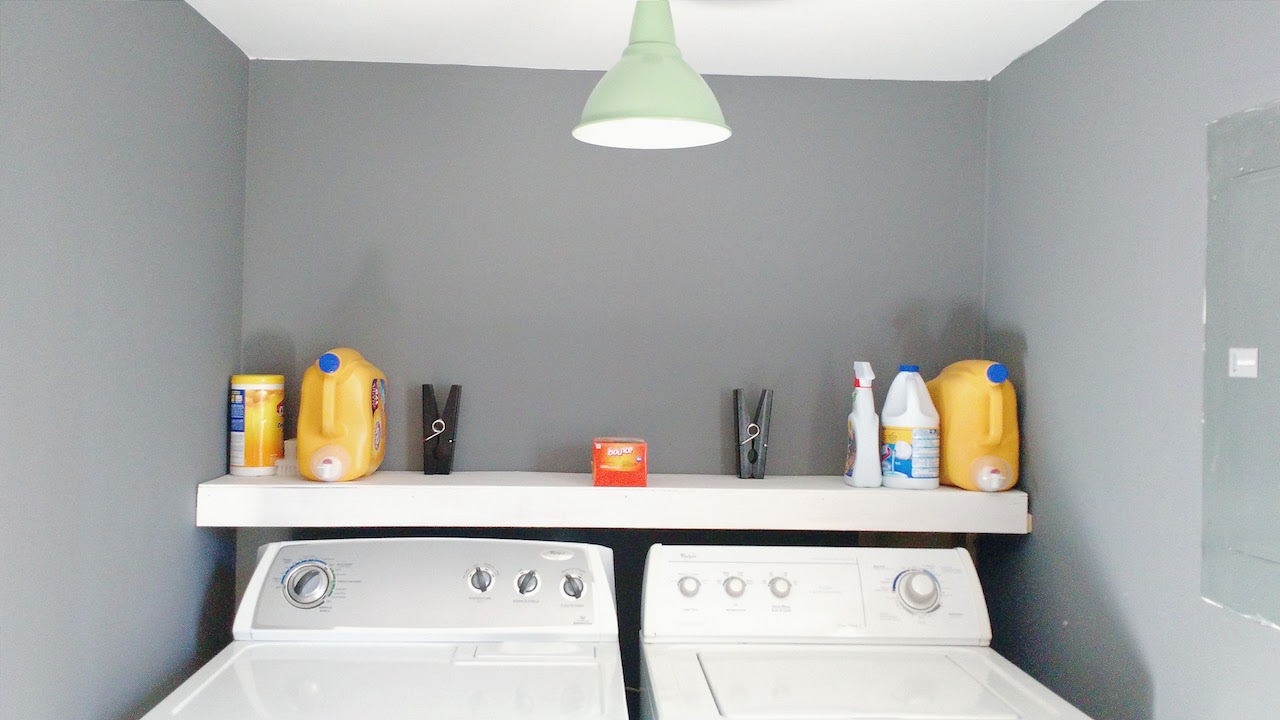
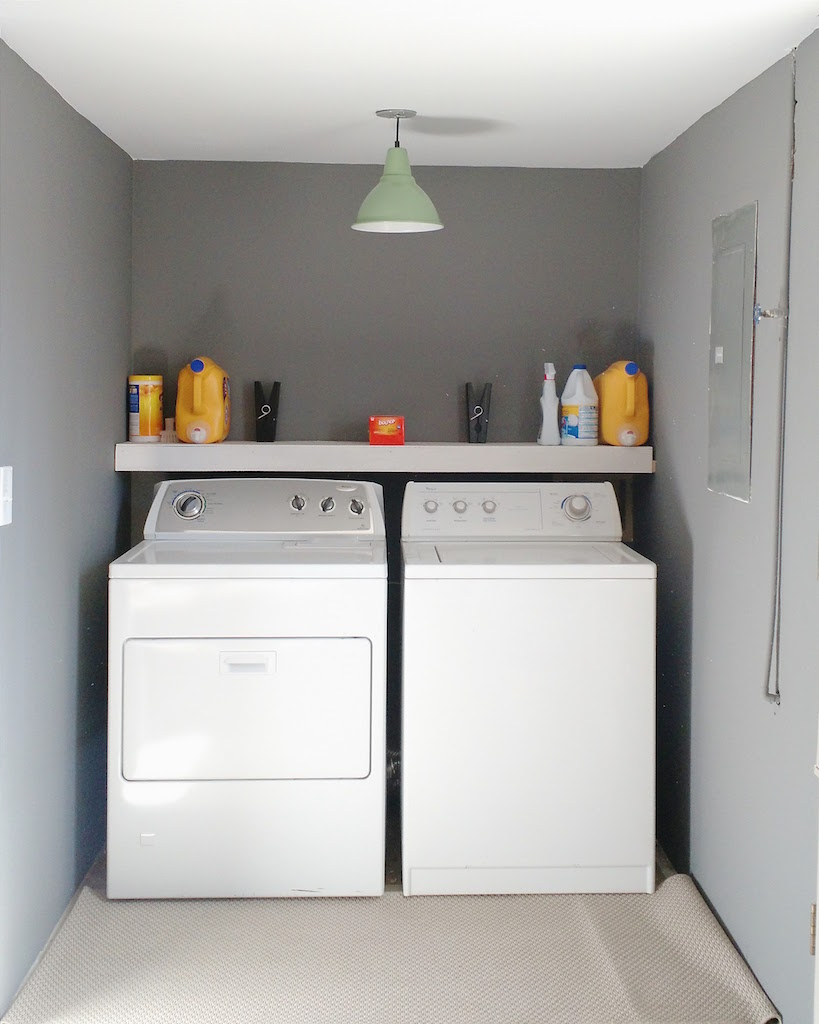
Garage Laundry Room
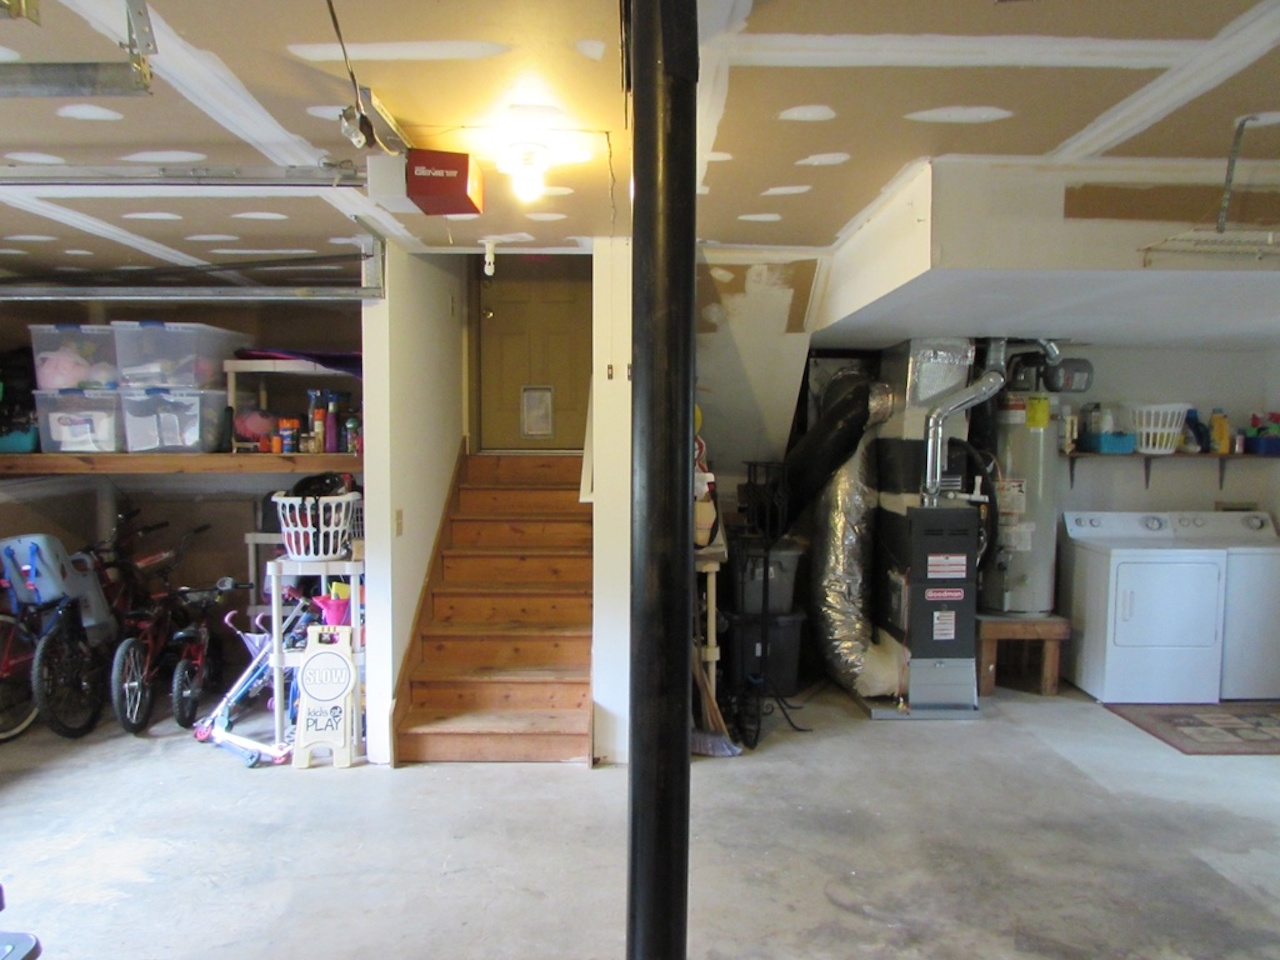
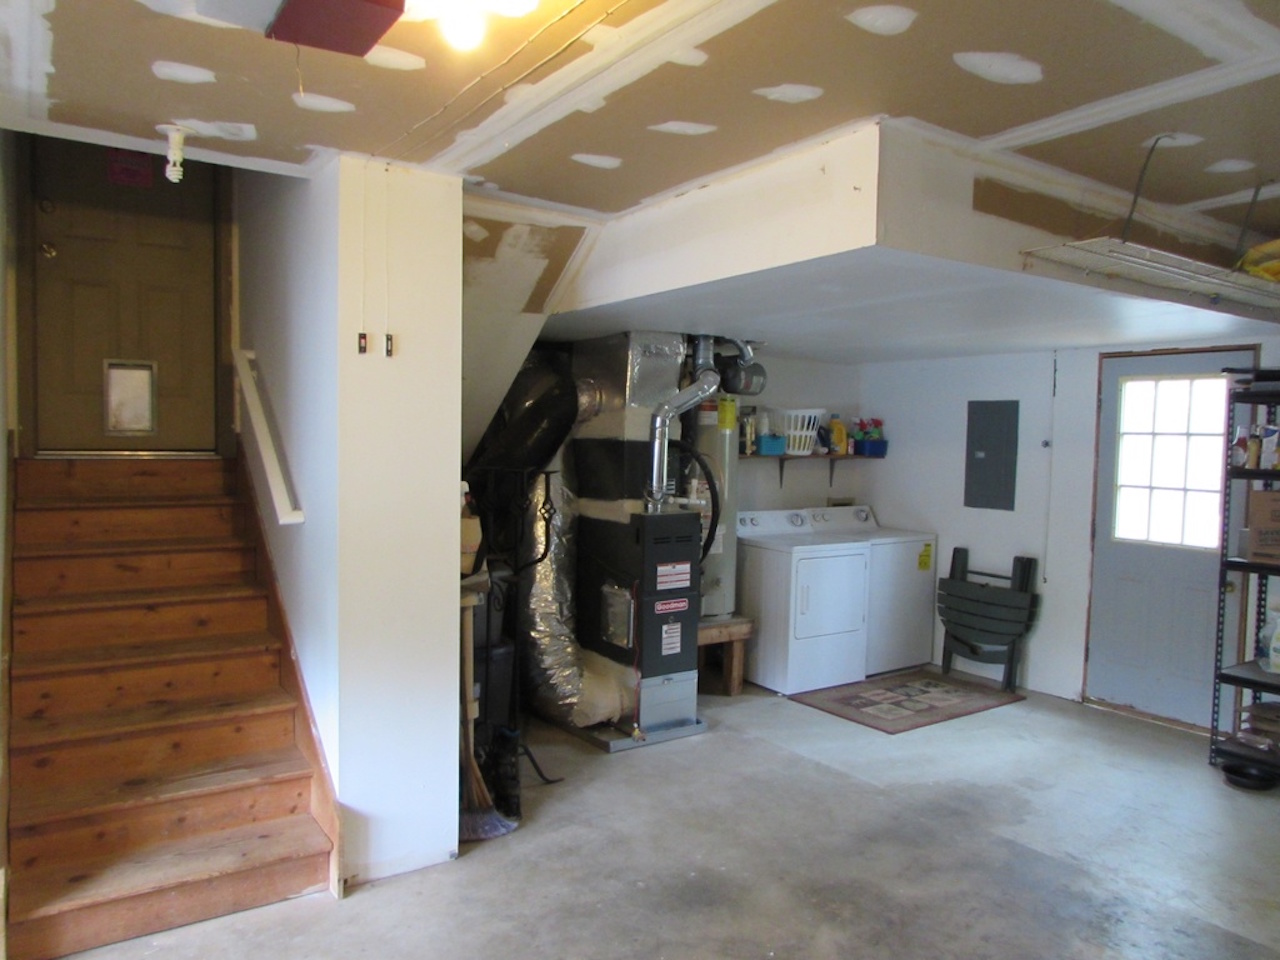
This room makes my heart flutter. Why? Because my husband made it juuuustttt for me. He gets the rest of the garage to organize how he pleases, but this is my little corner of bliss. When we moved here, all I asked was that someday we fix up the laundry corner to feel clean, sterile, and welcoming. Before, it felt like every clean sock I dropped on the floor might have sucked up some car oils or a few chunks of saw dust.
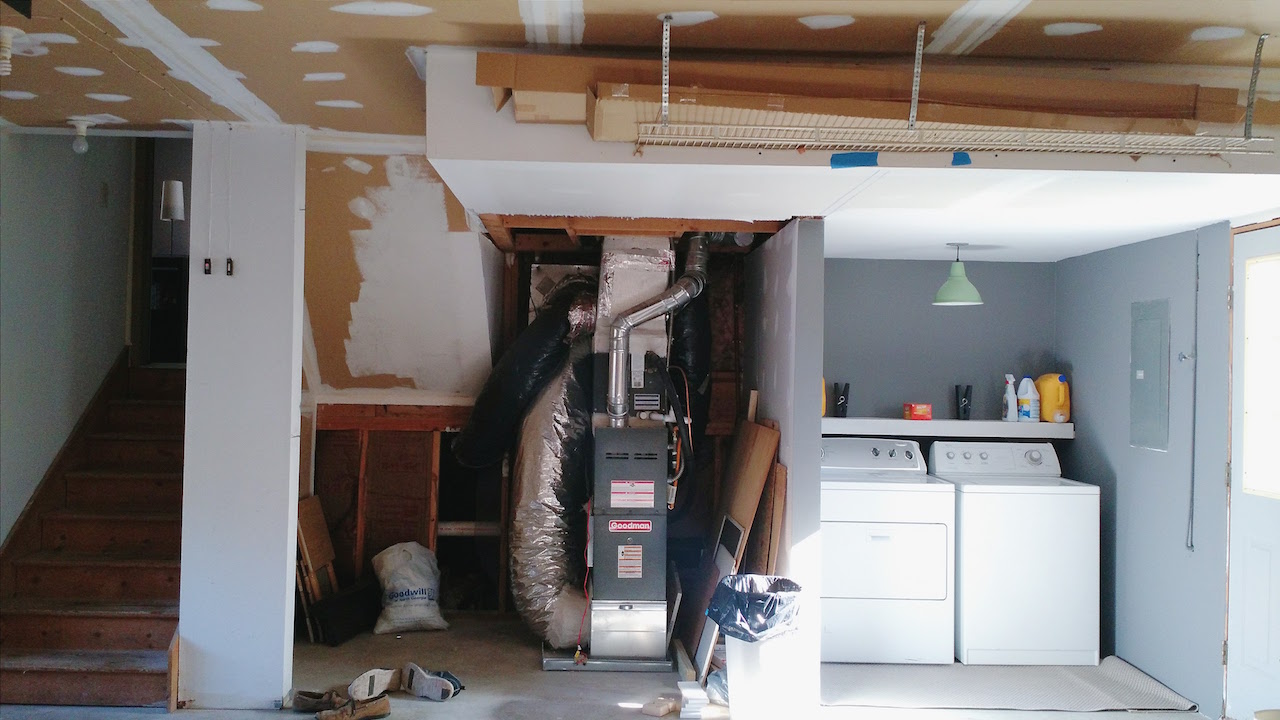
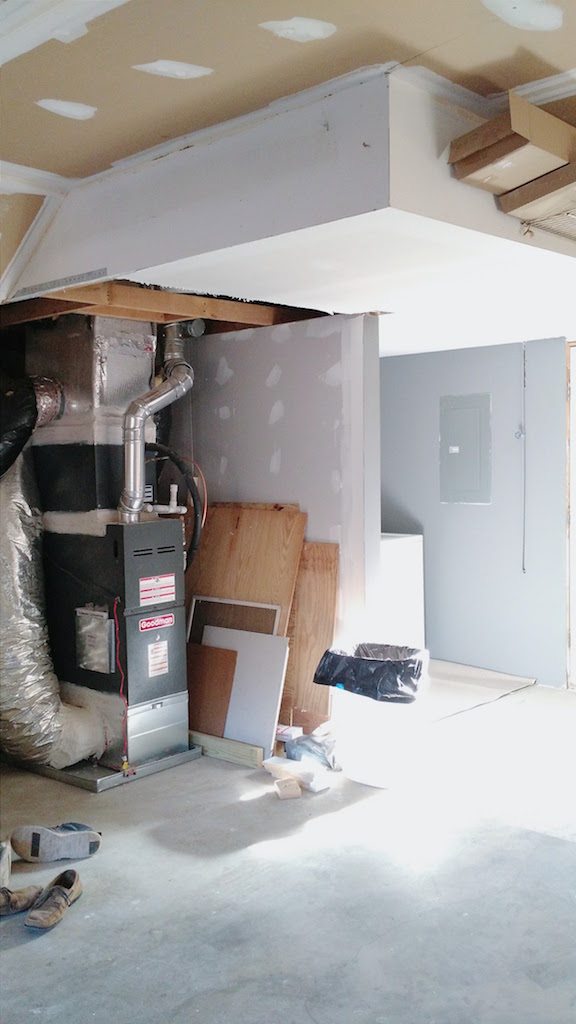
This project ended up happening sooner than I had expected, since we moved our tankless water heater to the crawlspace. That switch gave Tom enough room to build a wall and make it feel like its own room.
We went with darker grey walls to better hide any scuffs that garage-life might give it over the years. That cutesy little light is from IKEA and was only $15 (but Tom had to convert it from a plug-in to a switch operated one). Speaking of which, there wasn't even a light near the laundry area to begin with so even that was a huge upgrade. Then, Tom built a shelf. It's basically boxed over two strips of wood on the left and right walls and is very sturdy. We painted it with some white chalk paint and threw on a coat of wax to seal it up. There's an outdoor rug from IKEA as well. Now, it just needs some storage cubes or baskets to complete the look! See the photos for before and afters and just a bunch of glamour shots...
What do you guys think??

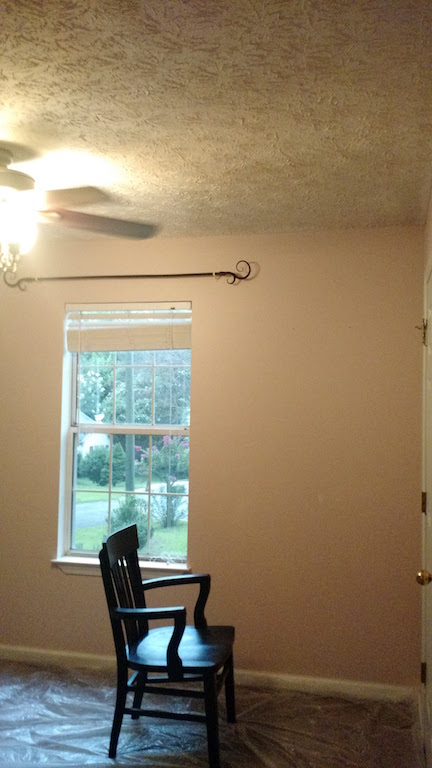
Guest Room
Welcome to our guest room - the very first room we worked on in our humble little home.
If you look at the first couple photos, you'll notice the slap-brush textured ceilings. We just couldn't stand the cobwebs they gathered and shadows they cast, so we knew they had to go. It was quite the process (not nearly as simple as popcorn texture), but after several rooms, Tom has become quite the pro at it.
After the ceilings were smoothed, our wall paper literally peeled off the walls! In great, big sheets. So we had to refinish the walls as well. They were painted green, and the trim was given a fresh coat of a brighter white.


Here's what all we did:
- smoothed the slap-brush ceiling texture
- refinished the walls
- painted every surface
- spray painted the fan
- refinished/painted thrifted side tables
- hung curtains
- picked up decor from IKEA, Target, ReStore, and Home Goods
If you notice that lovely art piece above the bed -- it was painted by my oldest sister when she was in high school of me as a toddler. I adore it, and the creepiness of baby Joy watching over her guests! Oh, and those tables were $11 total. What a steal!!
Any questions? Drop me a line!

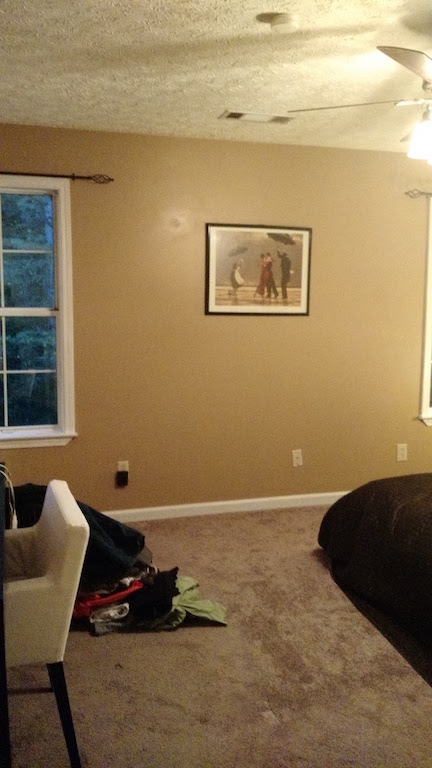
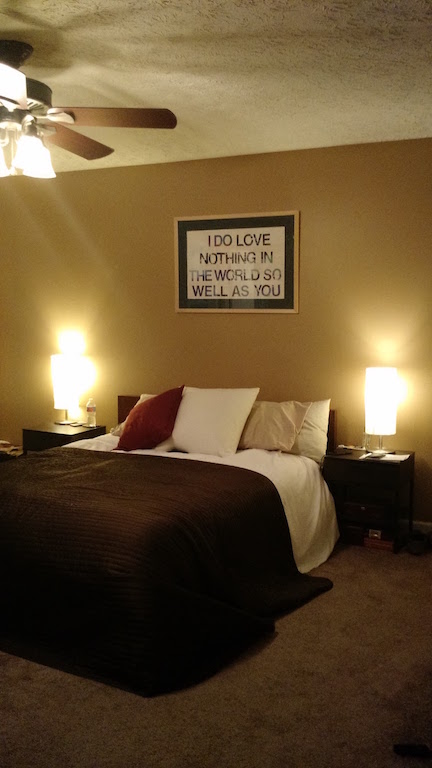
Master Suite
So.... learning your style and tastes really takes time. Over the last few months, I have bought... returned... DIY'ed... threw it out... forced things that didn't work... and tried to envision things that might work (which is so hard). Who knew it was so much effort to make something have just the right feel?? Until buying a home, it was easy for a room to feel "right" because you were limited with what you had to work with, and you knew you'd be cutting the cord after a year anyways. Now, we need our spaces to have our exact personal style, which we don't even know fully, yet! Needless to say, we're so proud of our ability to be thrifty, but feel rich in terms of how we choose highlight our dwelling.
Here's the latest - the first three photos are before. Below, I've added the last items we're hoping to add for the cherry on top.
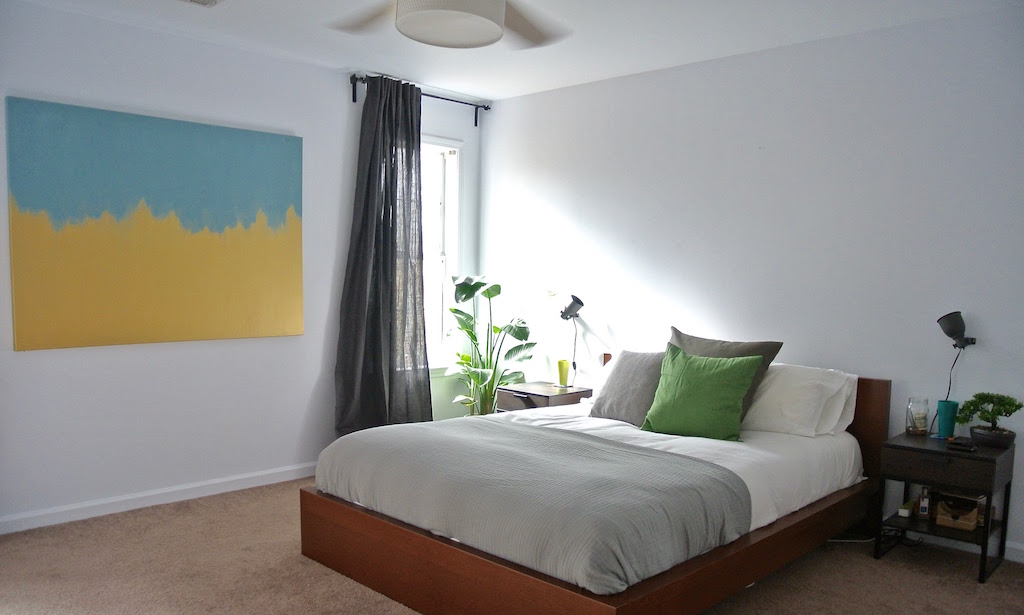
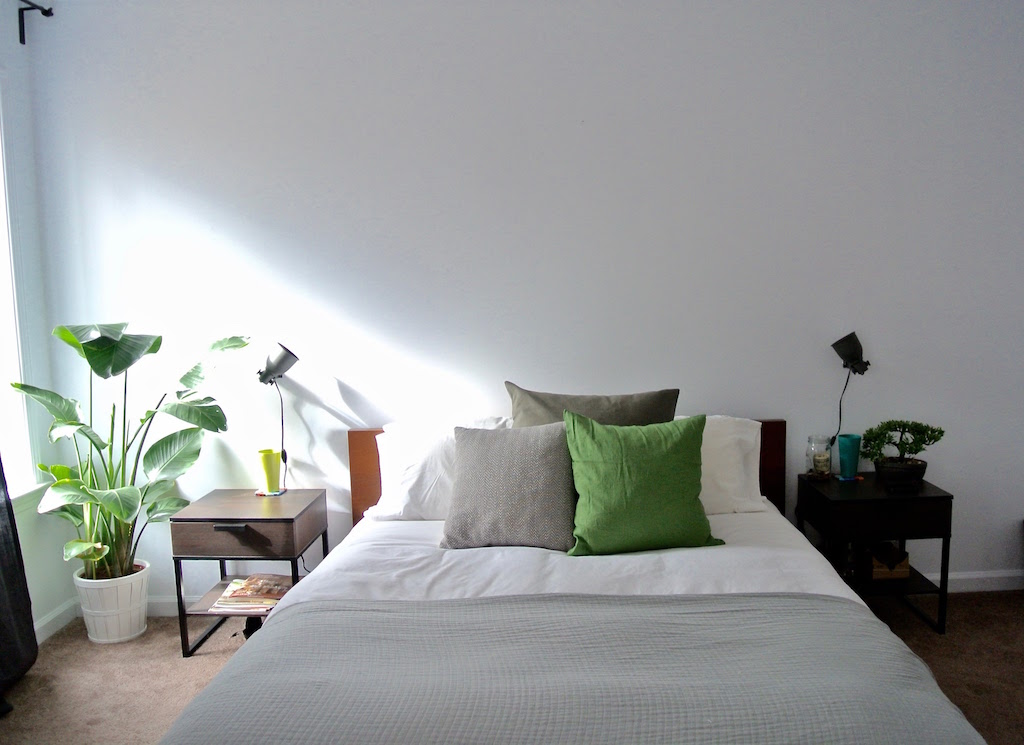
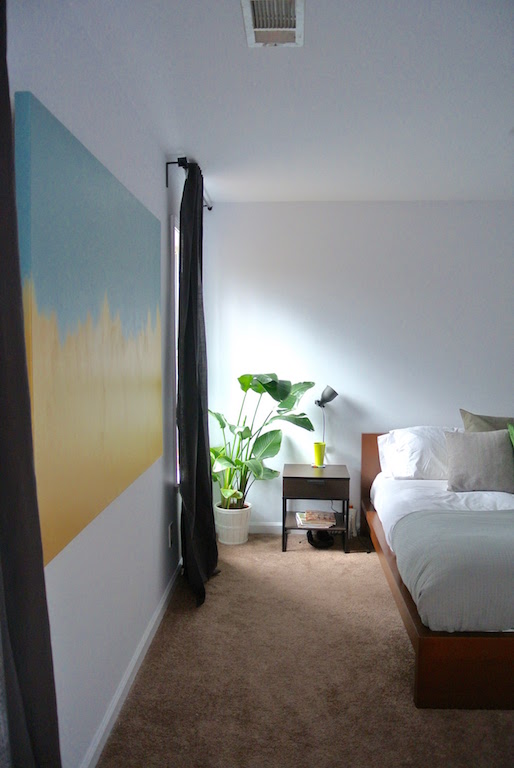

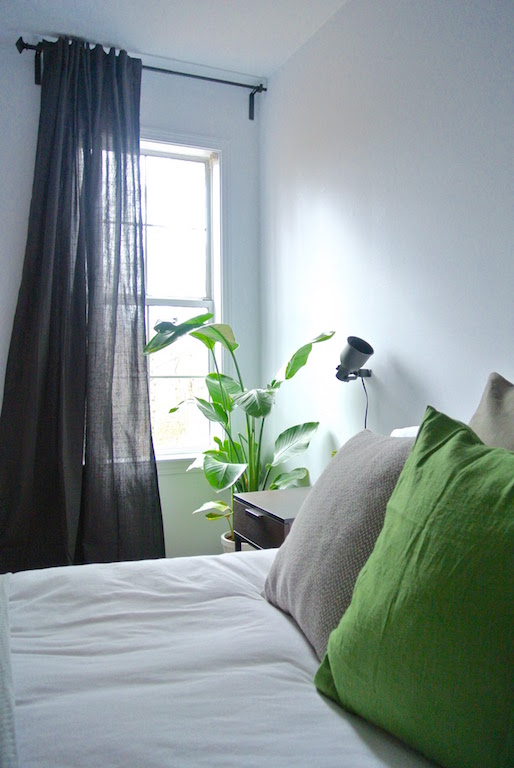

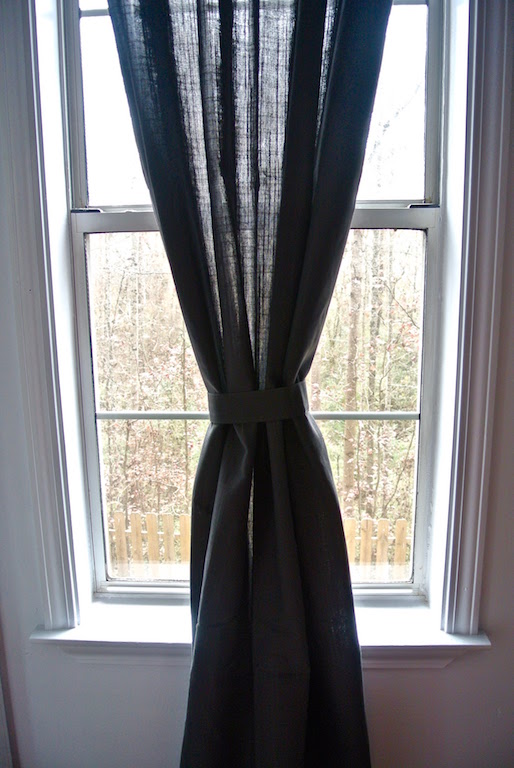
Here's what was added:
Curtains: IKEA $25 for pair
Curtain rods: IKEA $18 for both
Large canvas: DIY by yours truly for about $30
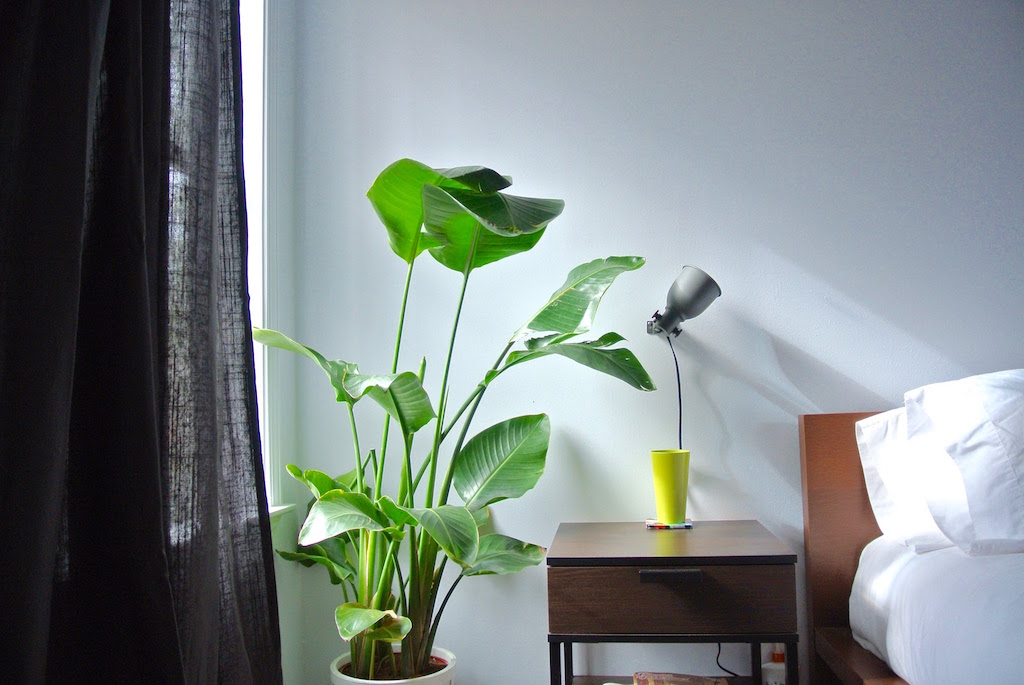
Plant and planter: IKEA $19 plant (similar), $10 planter
Pillows (covers): IKEA Green $7, IKEA Large Grey $8, Target Small Grey $19 (I actually got it for $13)
Geometric desk lamp: DIY by yours truly
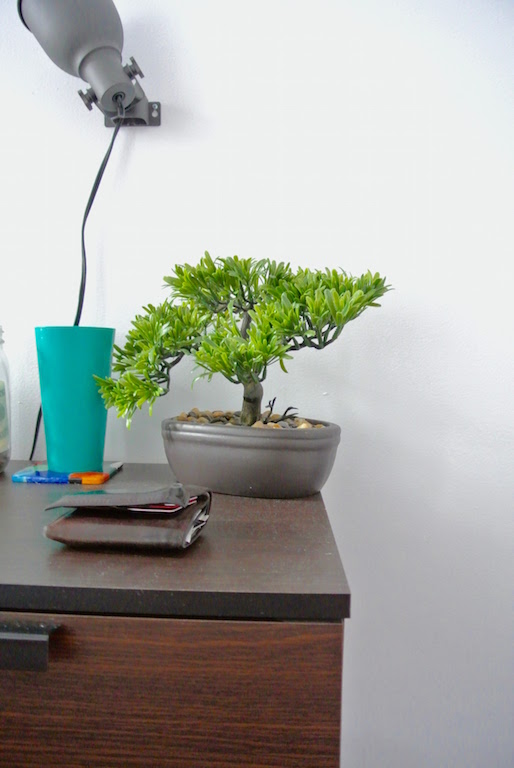
Bonsai: Home Goods $12
Next we're going to add just a few more pieces to make it complete. Here's what I'm thinking:
- A small hamper for pillows/throws when they aren't in use.
- A black (instead of red-brown) bed frame that's a little higher off the ground. We've also considered a grey upholstered one. We're on the fence.
- A picture shelf above the bed with black and/or white frames and modern, colored prints.
- Another, thin comforter with a differing pattern or a solid color. We've also played with the idea of hanging plant above the area where the frame-shelf is. Also, potentially adding more hanging art around my vanity mirror. Maybe even a bench at the end of the bed or two upholstered stools.
What do you guys think? So far so good? Do you have any ideas to add?

Living Small
First, let me ask the question: What is the purpose of a house?
A house is there to shelter you. To bring together families and friends. It offers warmth and good food, prayer and thanksgiving, love and happiness.
Tom and I strive to live simply. We don't need or want many 'things,' and try to spend our time with good intent. In our efforts to live simply and fully, we chose a small house... and will continue to choose smaller homes. Here's why.
1. To outgrow it.
Right now, we have two bedrooms that are not in use. One serves as a guest room, and the other will be inhabited by a little person (eventually). Once we have a few little people around, it'll feel like close quarters rather quickly. The thing is, if we had a home with more space than we could fill in a reasonable amount of time, what would we need in our next house? What would be the incentive to move on to something bigger? Outgrowing a space is an important part of transitioning through life.
2. To use all the space we own.
Along with growing out of a space, what's the real necessity in having room after room that goes unused? Storage should be used for items that move with the seasons (decorations, school year items, outdoor items, etc..), so to have rooms filled with 'things' that no longer hold a purpose is excessive.
For example, we do not have a basement. What would we do with a basement, plus the two unused bedrooms, plus the half-filled garage? We have plenty of storage, and more than enough room to fill as it is! A basement would do nothing more than hold a couch and another TV that we'd never use. Make your home a place of intentional togetherness... not a place of excess.
3. Less time cleaning, more time with loved ones.
When driving through the suburbs of The South, we are always shocked at the shear masses of the majority of the homes. I often lament at how much time would be wasted cleaning such an expanse. When you have less space to clean, you spend less time cleaning. Therefore, you're able to enjoy your home with your loved ones more often in a smaller home. I am a clean/neat freak, so being able to keep up with the daily housework is important to me. I'm also a hard one to help, because I'm particular about how it needs to be done, so the smaller the space, the happier the wife.
4. Cheaper to maintain.
Smaller roof to shingle, smaller square footage to heat/cool, smaller yard to mow, smaller rooms to paint, and everything in between. Our utilities are a fraction of most of the homes around us and I'm so grateful to have that money go towards more exciting things.
5. Affordable (and easy to sell!)
When you're buying in a price range that most anyone can be approved for, the market can be tough. We saw many houses leave the market almost as soon as they hit it. Now that we own one of those gems, though, we have no worries when the time comes to sell it. For reference, our offer (of the list price) was accepted about two days after it went on the market.
6. Helps maintain a minimalist lifestyle.
With more space comes more decor, more furniture, more... stuff. Tom and I try to live very simplistic, minimal lives. We aren't materialistic, and don't even have great 'wants' for things. We love to see how God has blessed our lives beyond the tangible items. There is no desire to have excessive space, clothes, decor, or excess of any kind. We know that we have enough, and we never want our definition of enough to become excessive.
7. Money can be spent elsewhere.
This is my favorite. This year, we're challenging ourselves to become mavericks with how and where our money goes. With the money we save on our lower mortgage and utility costs, we have the freedom to spend it on travel and giving - both of which we hope to be more generous with. By choosing to live minimally, we can be "excessive" in more positive, God-pleasing ways!
Back to the purpose of a house: to shelter, bring loved ones close, and encapsulate warmth, good food, and happiness. Does your home offer these things? Whether big or small? Then friend, you're doing "home" right. As for me and my house, though, we'll serve the Lord... but always just a little closer together.

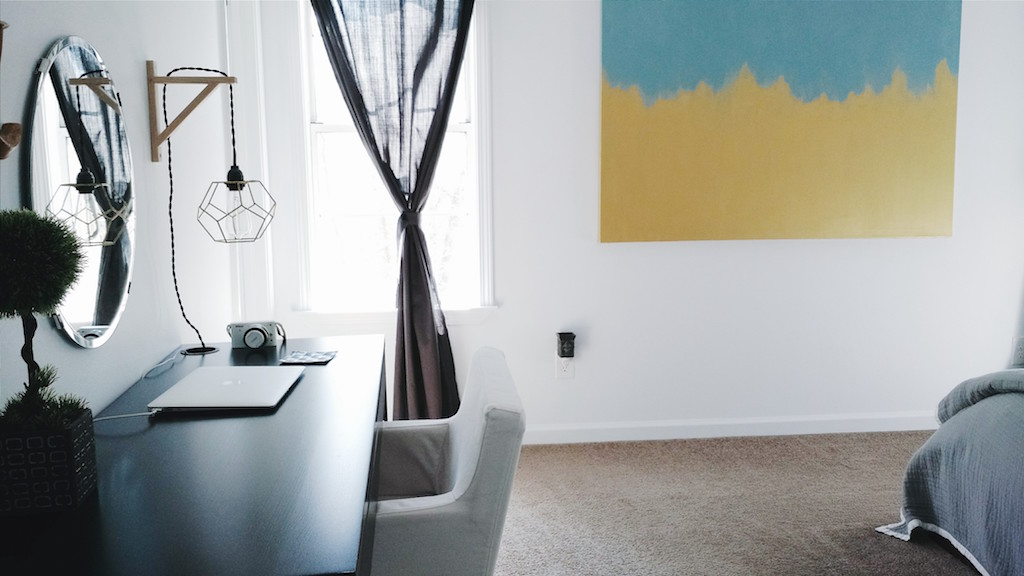
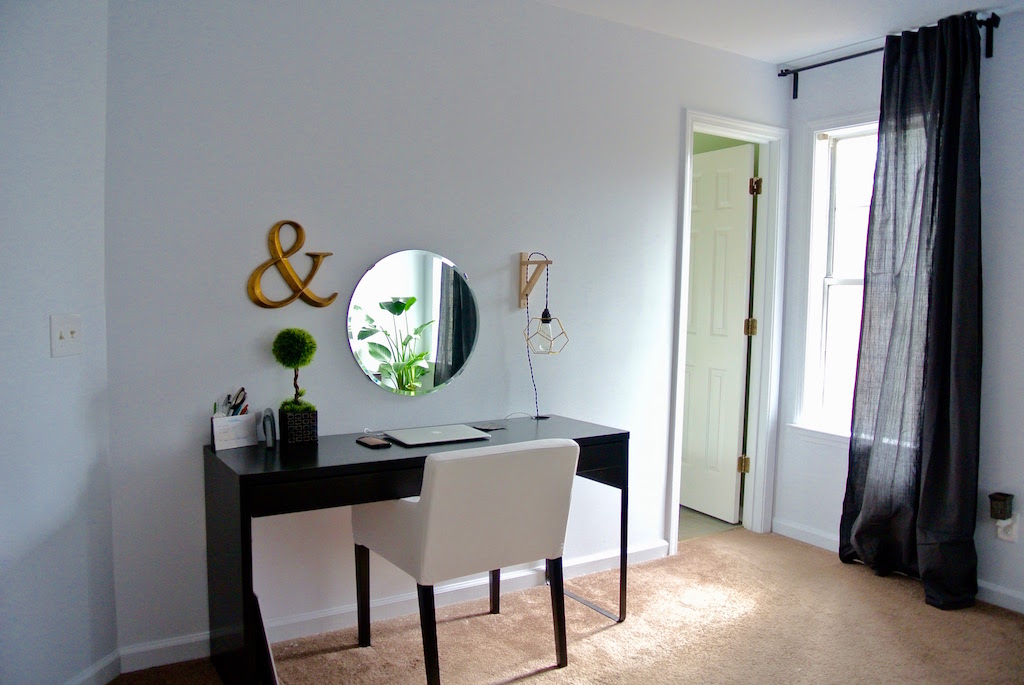
DIY Geometric Pendant Light
My desk/vanity area in our bedroom is now at completion. I'll probably add a plant to the right of it and maybe hang a couple more items... but for the sake of usability and functionality, it's done-zo! The finishing touch was my light. I was (annoyingly) picky about what I wanted, but I found all the pieces (with the help of Tom of course) and got it done once we could take the time to swing by our IKEA. I saw a Pinterest photo that was close to what I wanted, but I didn't even pin it because I figured out how to accomplish the right look just by looking at it. I found the actual post (here) and Natalie's blog is actually really awesome, so I'm glad I did. She used this $23 cage light from Target and the EKBY VALTER bracket from IKEA (I used this smaller one).
Here's some glamour shots of this DIY in its finished glory:


Here's what we used to pull it off:
Gold geometric candle holder: Target $15
Edison bulb: West Elm $7 (on sale)
Fabric-twisted cord, plug, and socket: Vintage Wire and Supply $18
Wood bracket: IKEA Ekby Valter $2
TOTAL: $42
Honestly, now that I added this up, I'm really surprised! Ahhh whatever. It was worth it for the exact custom look I wanted. The bulb was honestly the hardest part to find. The actual work just took a few holes to be screwed (for the light socket and one for the cord). I also need to give a huge shoutout to Vintage Wire and Supply - they had great customer service, gave us more cord than necessary, and wrote "just in case you need the extra length" on a little card. They have a ton of really awesome products. I'm not being paid to say this, I was honestly just really impressed!
What do you guys think? I'm sure you could make it for far cheaper, but I'm kind of in love with all the unique elements we used.

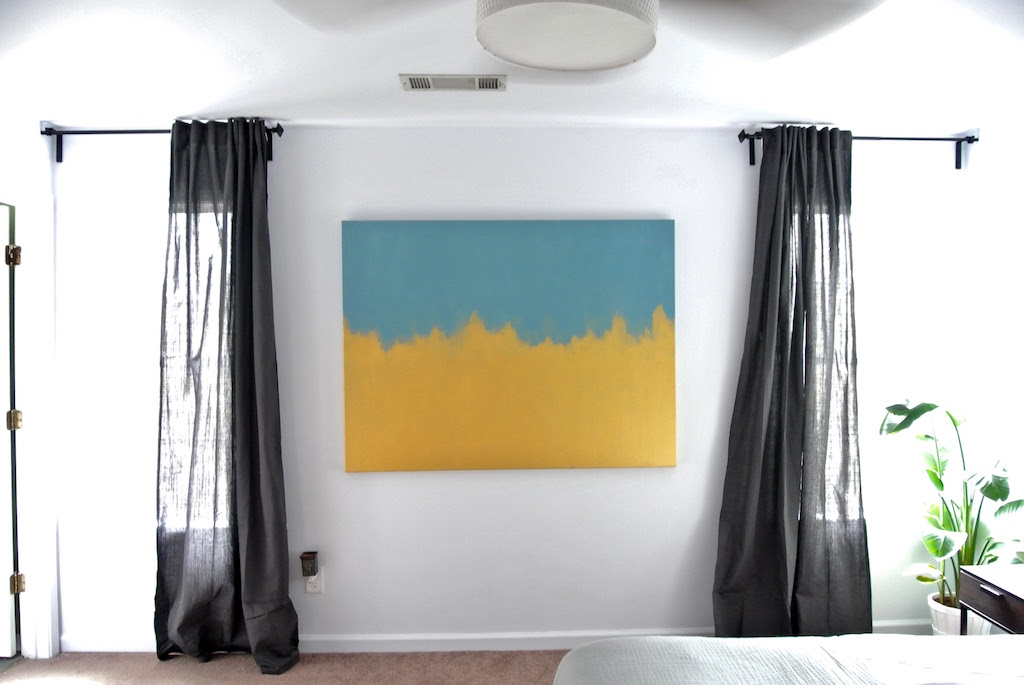
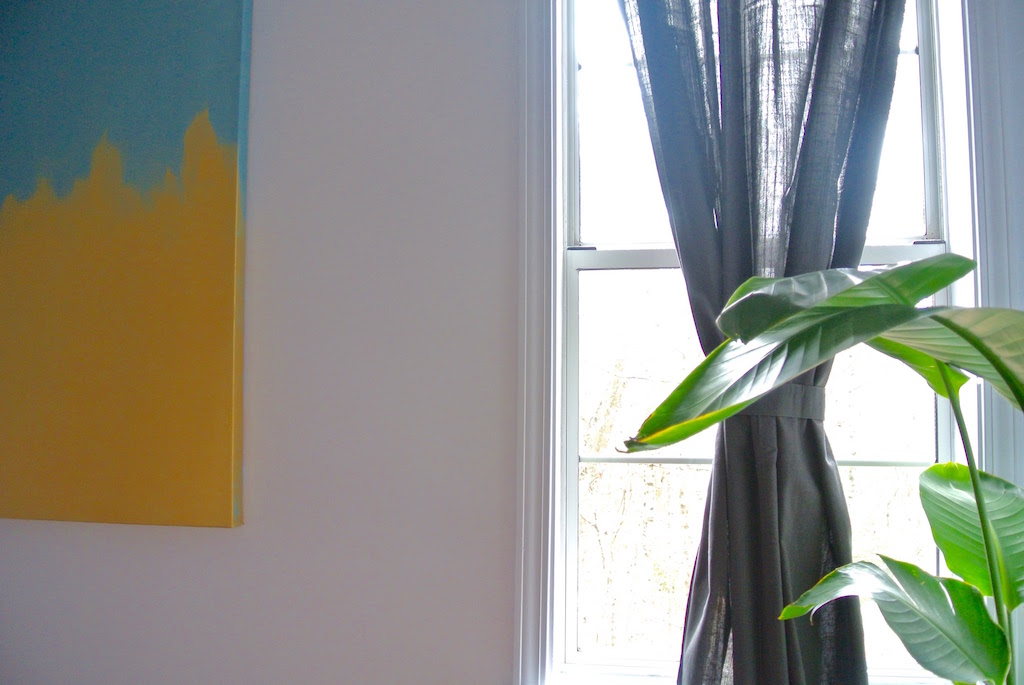
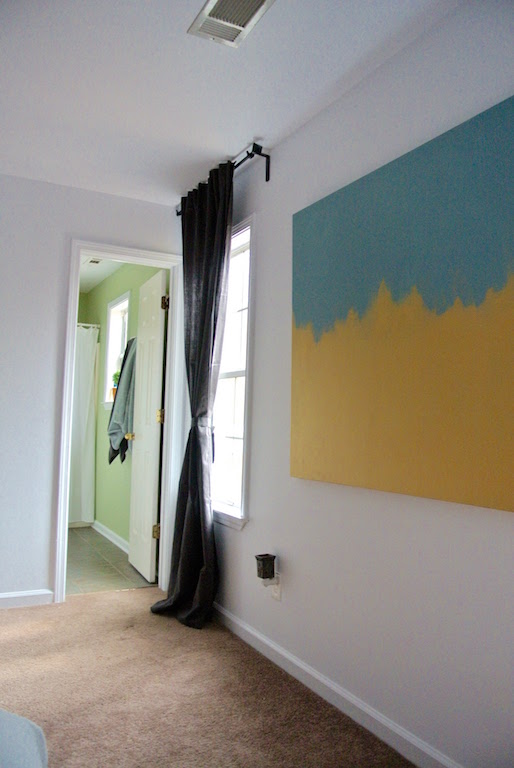
Goodwill Art Transformation
Guys. Stop buying canvas or framed art anywhere else.
We got this canvas at Goodwill for $20. The original sticker was still on the back... $319.
This big fella was 3 feet 9 inches by 5 feet wide. It was perfect for this huge wall in our room that was just begging for a giant piece of art.
If you want to buy a new canvas, this size will run you anywhere from $70 to $100, so we got a huge steal.
I got the idea for this DIY from this post on The Suite Life Designs. I used Martha Stewart slate gray acrylic craft paint and yellow gold metallic.
First, I primed the canvas with plain, old latex primer we had laying around. Then I covered it in slate gray (two coats) and then brushed the gold in. Tom actually did the majority of this project (long arms). My biggest concern was making sure none of the gray (bluish) showed through the majority of the gold... at least until it reached the middle area where the colors actually met.


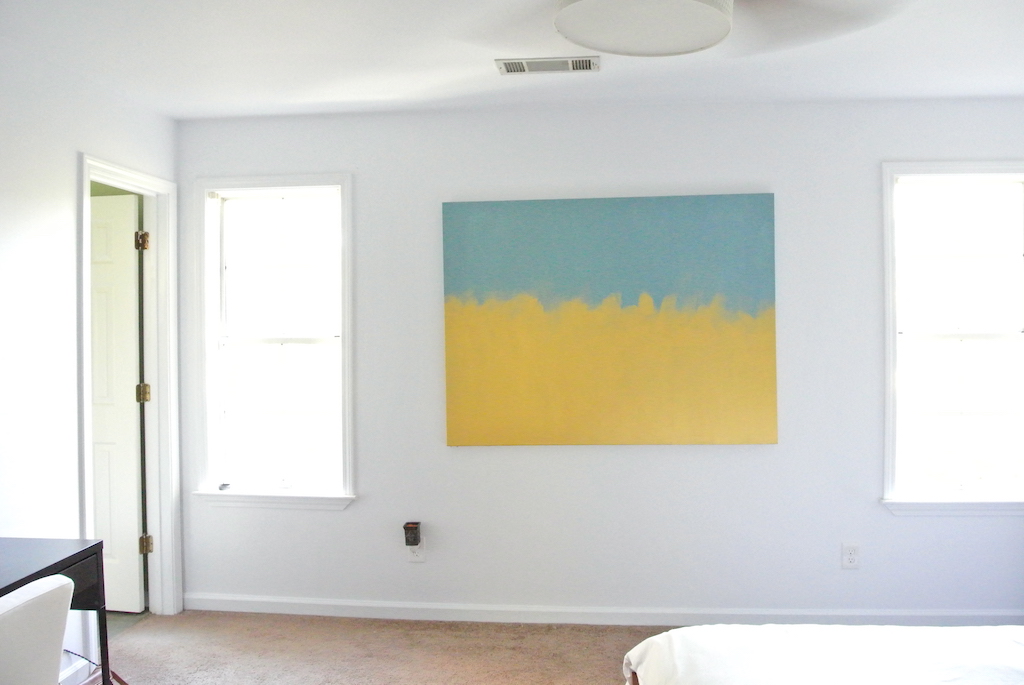

Overall, we love how it turned out!
What do you think? We thought the "slate gray" seemed a little bluer than we were looking for, but it's growing on us.

Our $30 Fire Pit
Georgia is in prime fire pit weather right now. It's still pretty warm during the day, but chilly at night and since we are finally in the position to have a firepit (ie. we own a home and have some land), we decided to make it one of the first upgrades to our outdoor living. When we lived in apartments, we used to look up public places that allowed fires, but we never found anything. Finally, we can burn freely! Yet again, I'm coming to you with some thrifty, amazing finds.
You know those big, metal barrels that are stereotypically used by homeless people in movies to keep warm? Well, this guy was selling those cut in half, with holes (for ventilation) for $20 on Craigslist. Of course we went out right away and got one. Like many other typical house things, we also didn't have a shovel to dig it into the ground. I've said it before, and I'll say it again... ReStore!!! They had what looked like a truckload of brand new shovels for $10 each.
With these items in hand, we made our way home. Thomas dug a hole, and made sure to get airflow to the bottom of the barrel (where there is a hole with a grate over it). Next, we gathered up some paving/landscaping stones that were around little patches of landscaping in the backyard. We're going to re-do the landscaping in the backyard anyway, so it was a good way to repurpose the stones for right now.
Until we want to spend the money on nicer, matching blocks, this one will work great as a more rustic version. Seriously guys, a kit that comes with blocks and a metal ring at Home Depot will run you $200. For $30, I have no complaints and am ecstatic that we have a secluded little place for a fire, drinks, and s'mores.
So there you have it!
Metal half-barrel : $20
Shovel: $10
Paving stones: FREE
TOTAL: $30

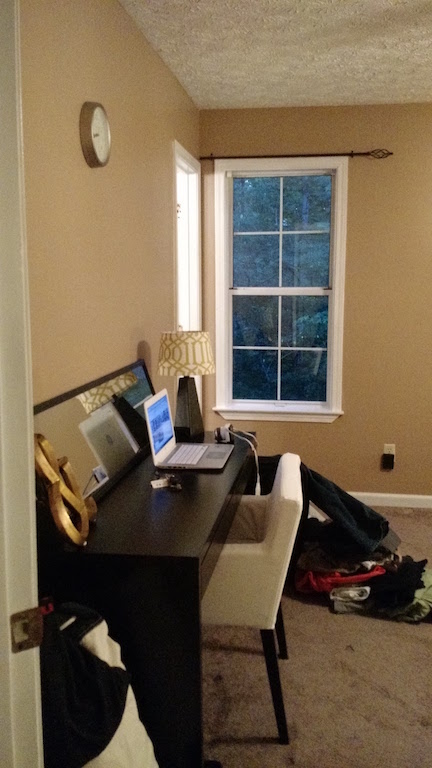
Wood Feature Wall
Welcome to "the office"... better known as "the room that happens to have an unused desk in it and so it's laying bare until it one day becomes a nursery." We have a three bedroom house in a split level home - all of the bedrooms fan off from the upstairs landing. This little room currently has no use. However, it will eventually have use, so we puttered with ideas of how we can make it unique while still following suite with our vision to have a brightly lit home. Currently, the entire house tends to follow a brown or dark tan color scheme and we want to go as light, bright, and airy as possible (wait till you see our master). While browsing through Pinterest and Houzz, we came across rooms that had wood accent walls. Wanting to stick to a lower budget, we decided we would ONLY pursue that idea if we could find some wood floor or pallets for cheap.
Only days after making this agreement, I happened upon a ReStore by Habitat for Humanity. Lo and behold, they had unopened boxes of wood flooring for $15 per box (so cheap!!). I called Tom and told him what I found and he raced over on his lunch break to see for himself. There wasn't enough of one color to fill the whole wall, so we settled on two (dark brown and tigerstripe). They are actually real bamboo and much harder than typical wood... and this turned out to be a bit of an issue.
We had no idea how difficult this would prove to be...
First we had to measure and cut all of the boards into smaller pieces. Next, we decided on a "random pattern." Then we put "liquid nails" glue on the back, placed them on the wall, and used a nail gun (with a separate compressor) to attach them to the studs in the wall.
The thing is... we had to go through about four different nail guns before we found one that could handle the hard bamboo. Even the heavy duty gun that needed a mallet to shoot didn't work! Basically, it took over a week to finish this wall because of trial and error. Nevertheless, it is finally done, and we are very happy with the results... but we're more happy that it's just DONE.
What do you think? We painted the walls white, and when colorful decor eventually plays a part in here, it'll stand out so beautifully between the wood and the white. Also, can we just take a moment and appreciate those smooth ceilings? This room is so bright now. We are constantly remarking how dark it seemed and what a bright, fresh coat of paint can do.
Today we're trying a link-up for the first time, so go check out all the great links here.