
Bake #4 | Tiramisu
In case you're not up to speed, this is the fourth post in The Great Blogger Bake Along series. Read about it here.
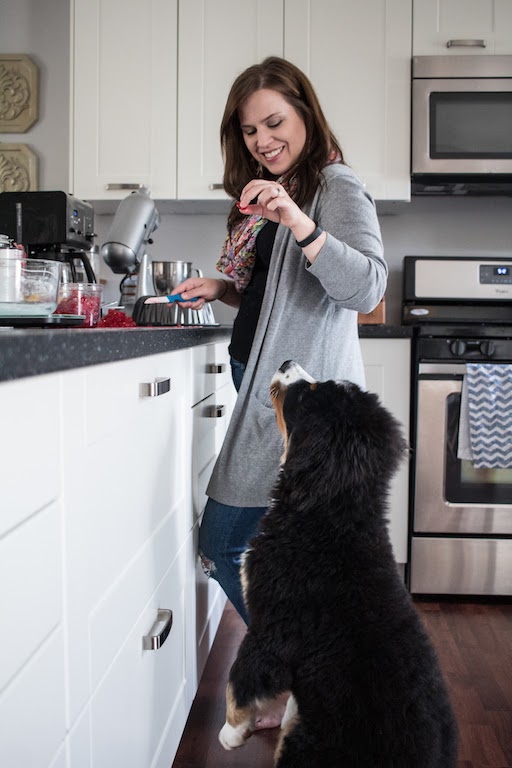
This was the one. The one I was MOST nervous for. It didn't end up being as terrifyingly difficult as I thought it was going to be, but it certainly wasn't easy. And it was a little terrifying here and there. Of course I'm talking about the kind of terrifying that bakers go through... like when something breaks in half or a cake sinks in or part of something is baked well, and another part is burnt, or when a bake goes so bad you wonder how you call yourself a good baker at all. You know. Things like that.
The Challenge
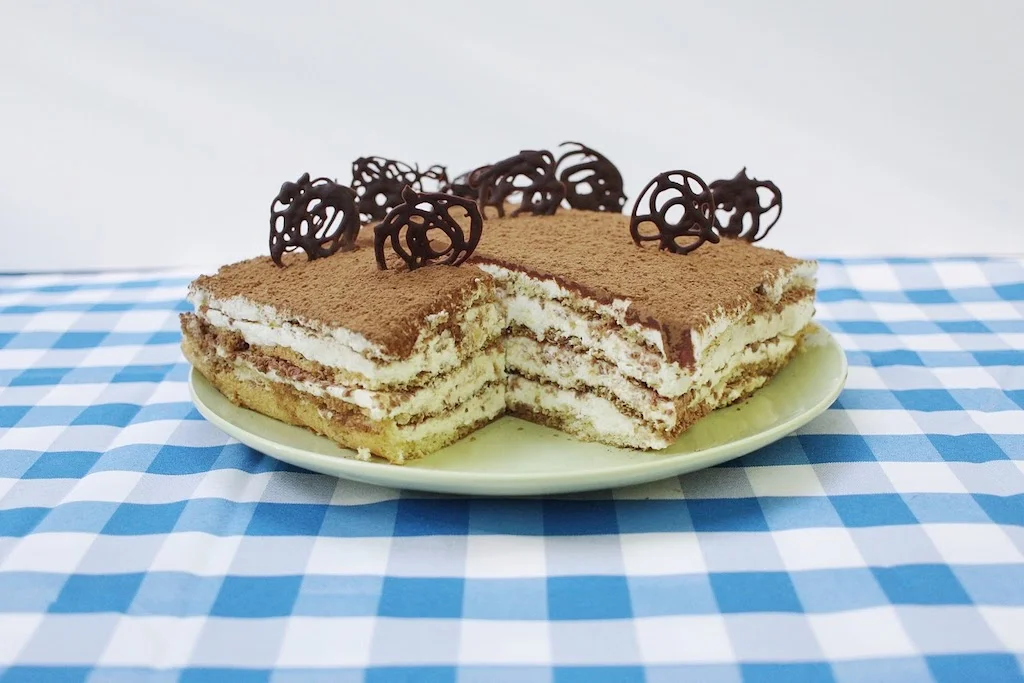
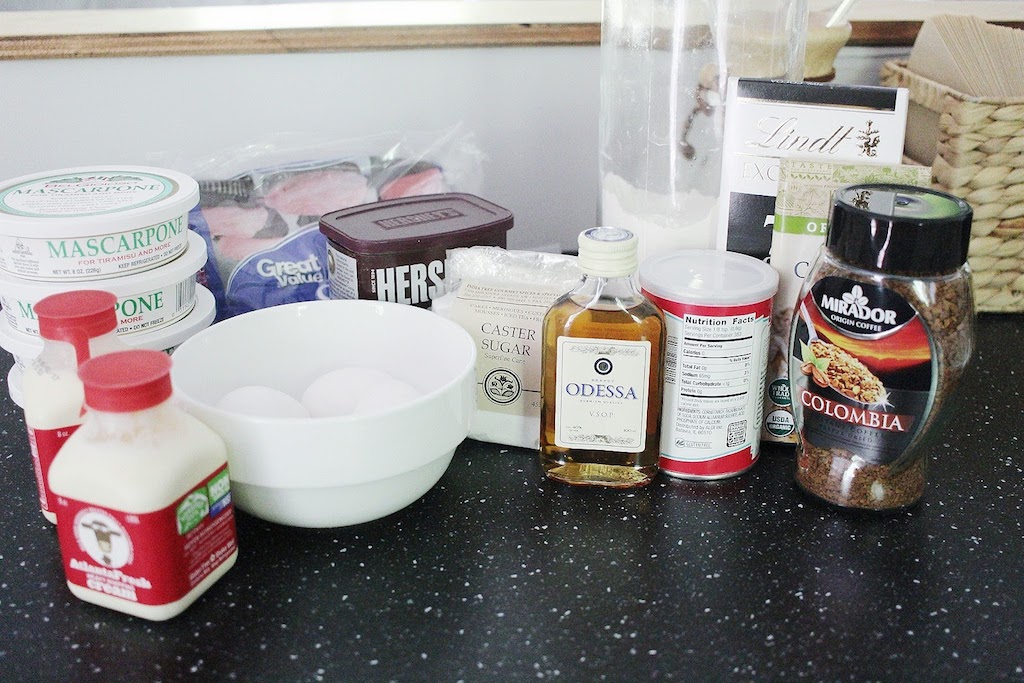
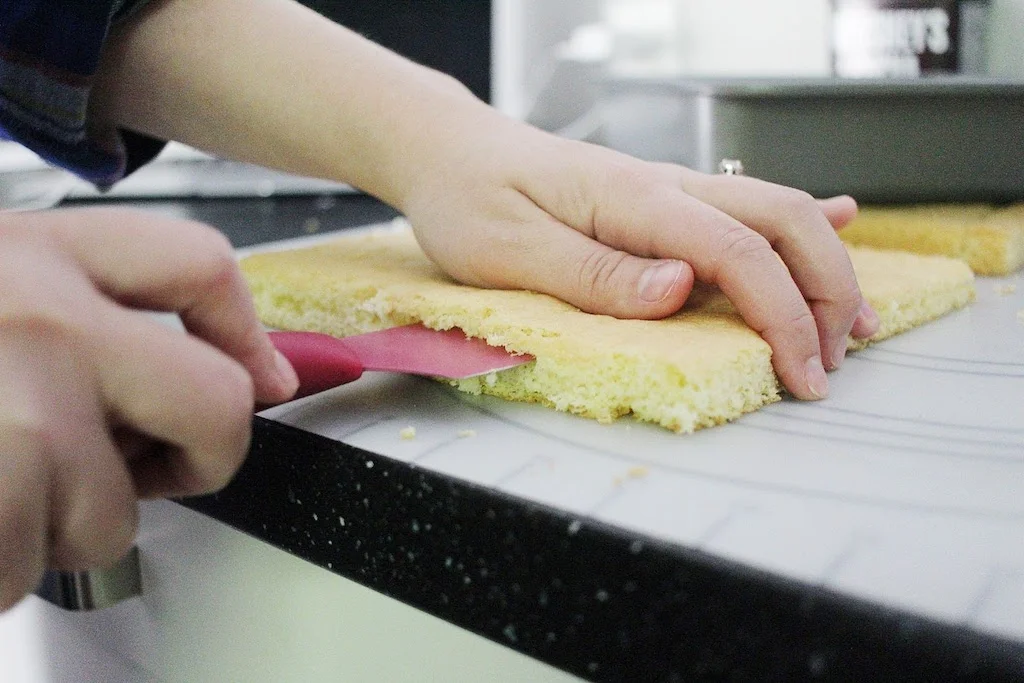
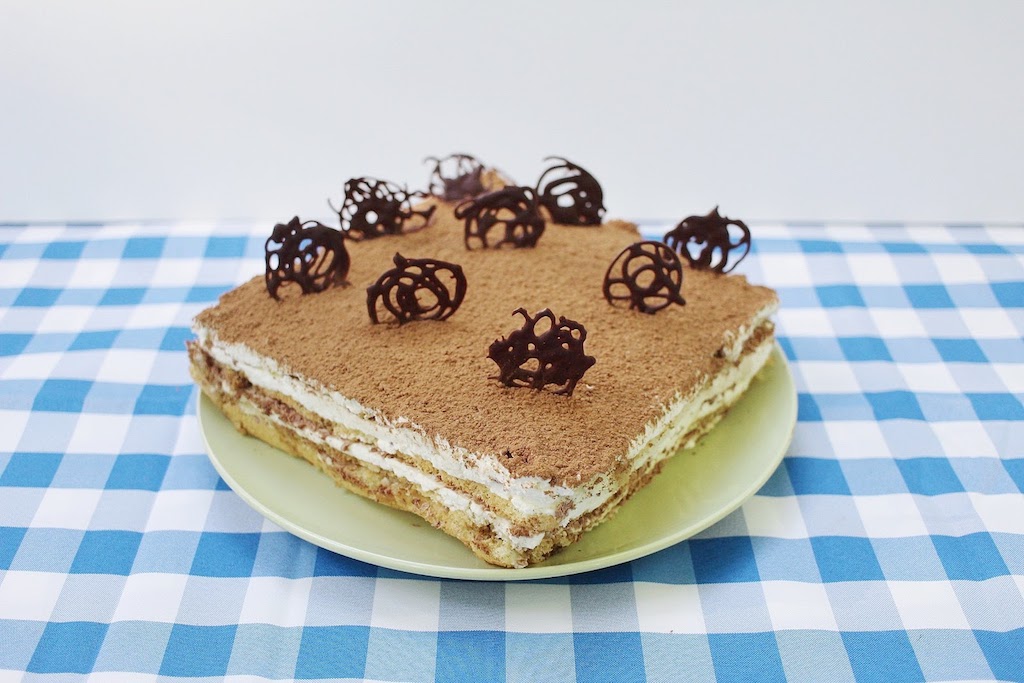
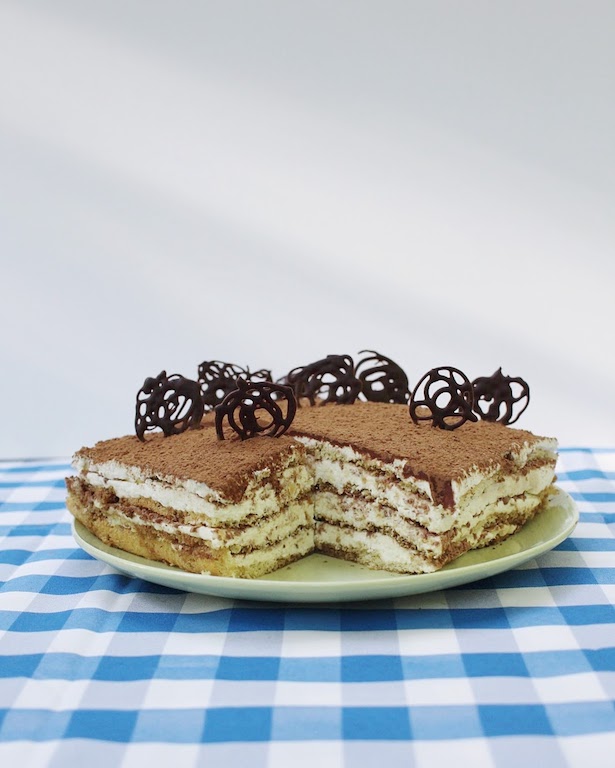
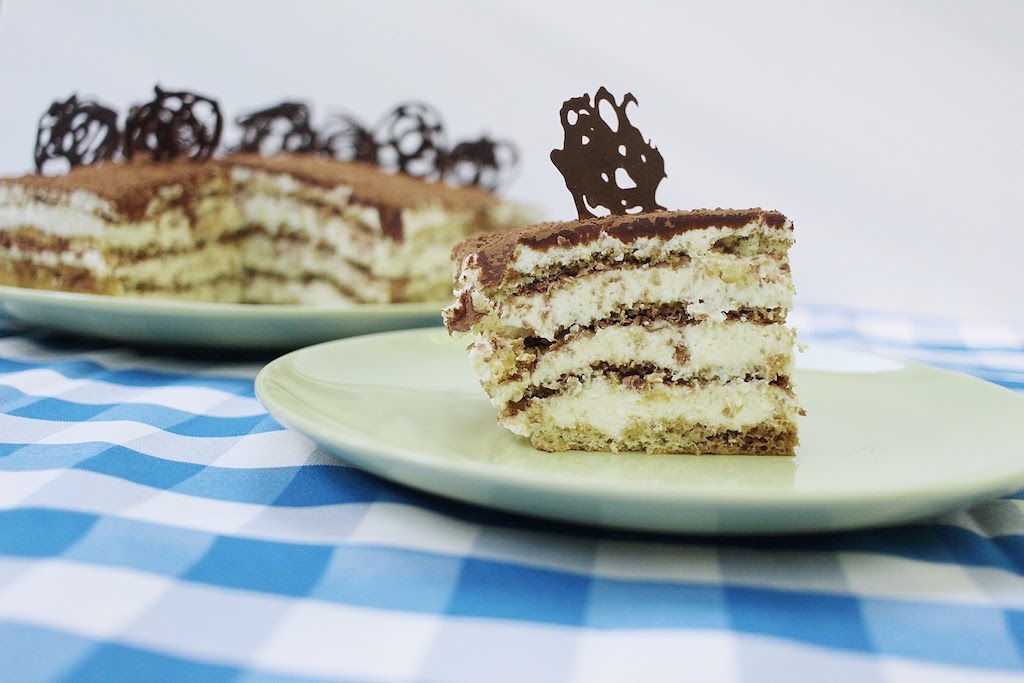
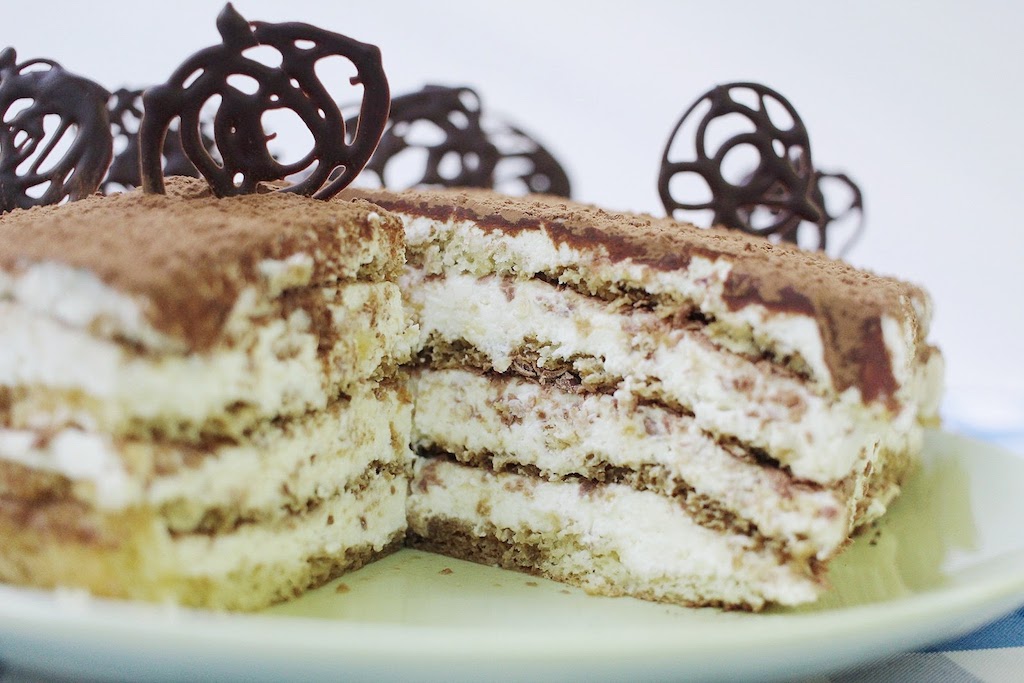
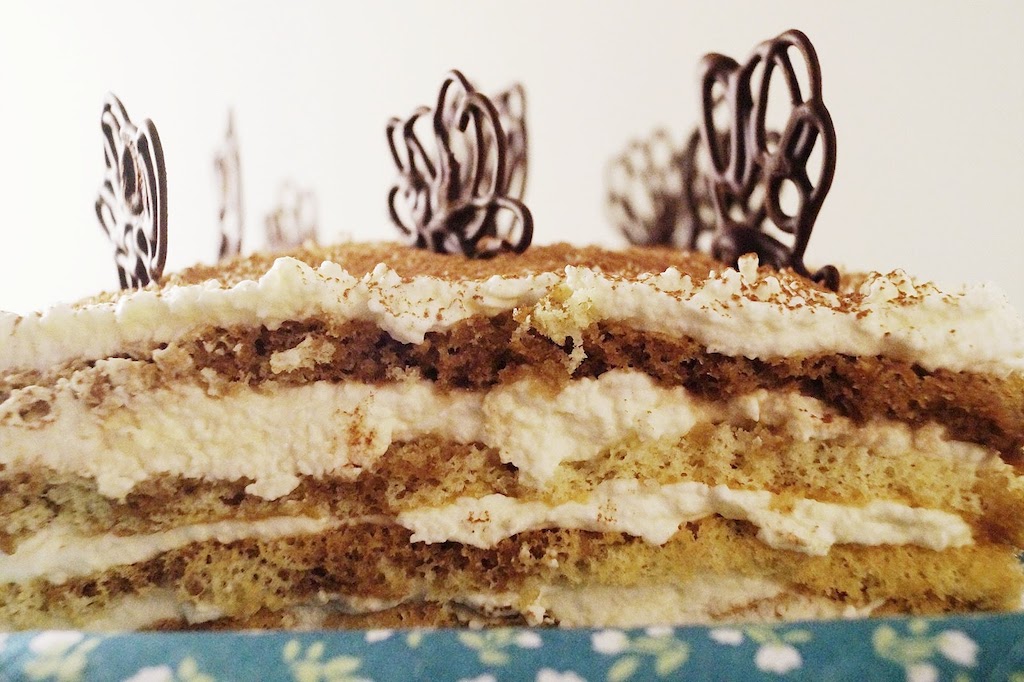
Create Mary Berry's version of an evenly layered tiramisu cake. This is a well-known Italian dessert that features cakey layers soaked in a coffee/brandy mixture, chocolate, and a creamy mascarpone cream.
The Outcome
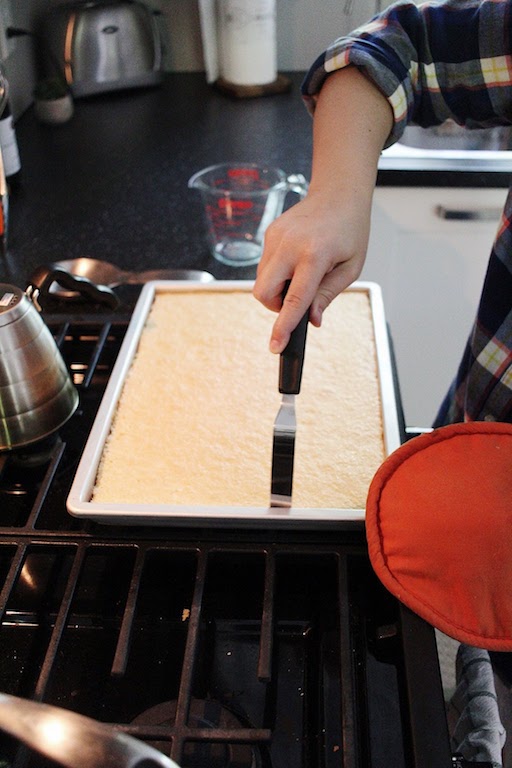
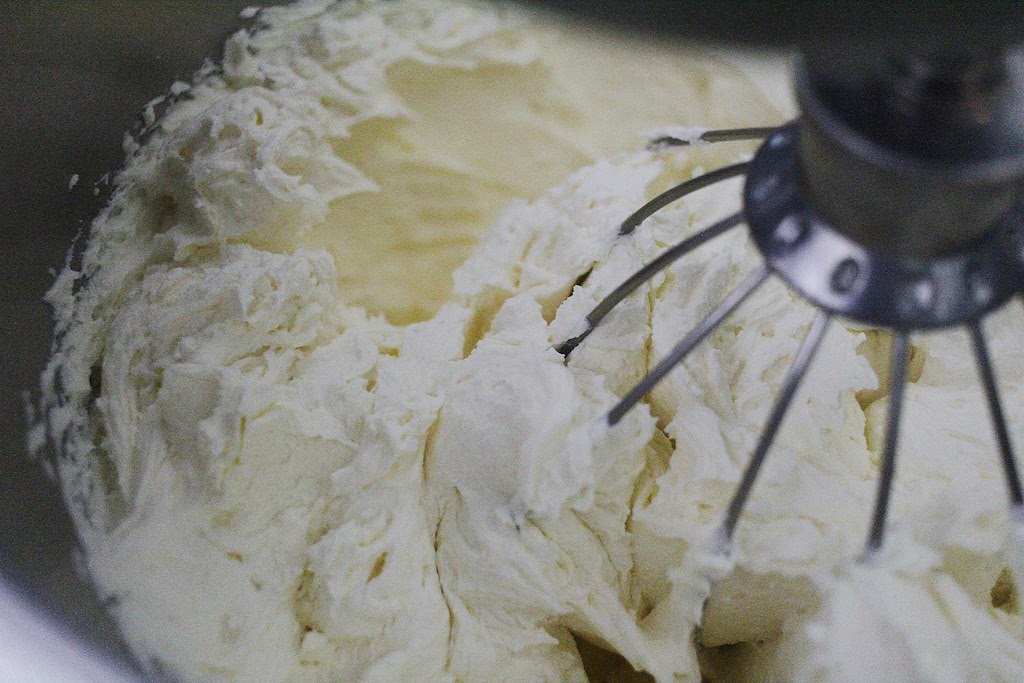
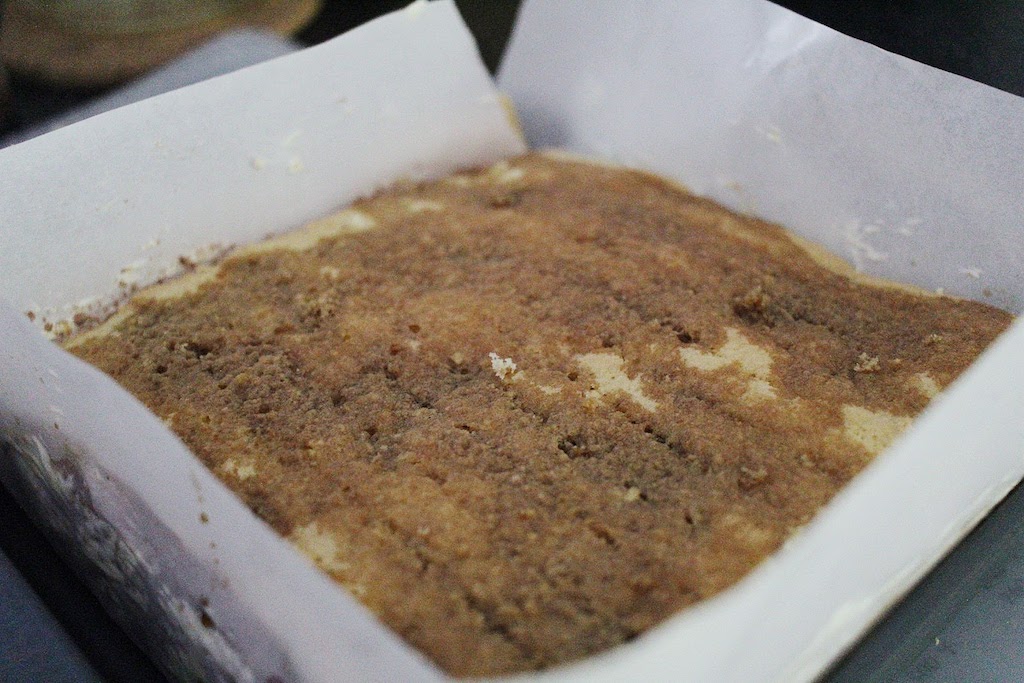
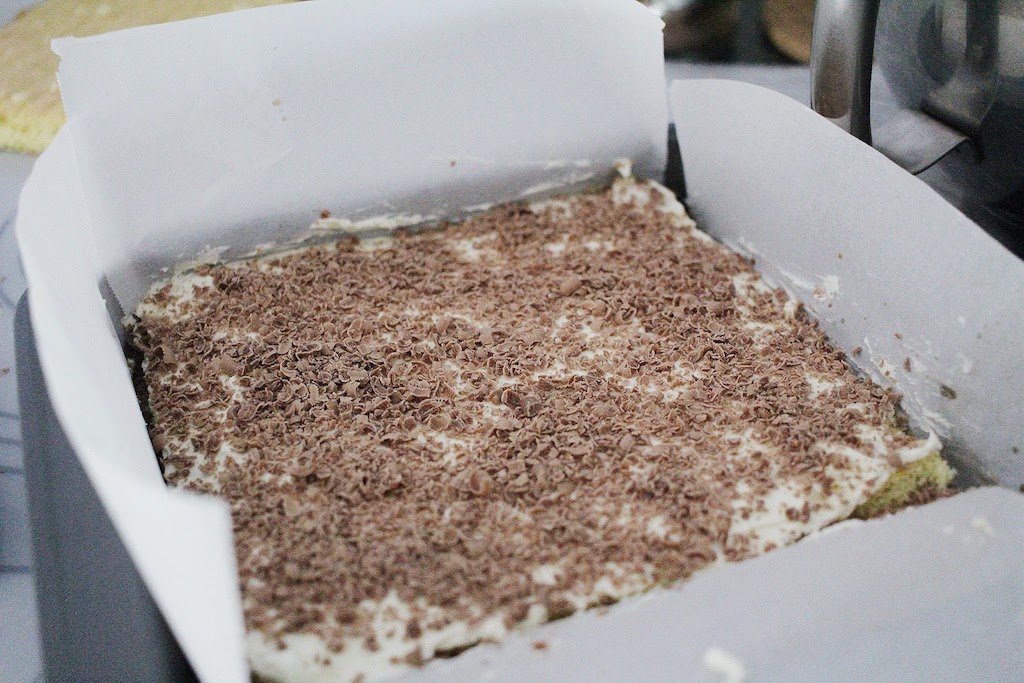
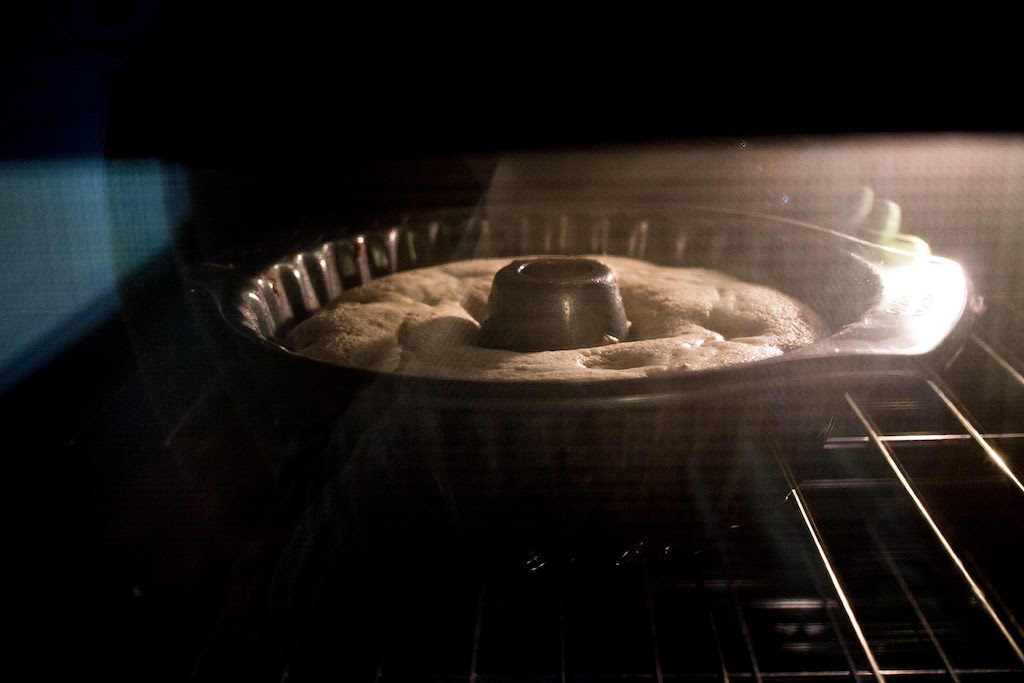
Well, it wasn't the worst bake I've done. Mistake number one, was that I forgot to put down some parchment paper for my sponge to bake on, and I nearly didn't get it out of the pan in one piece. But I saved myself from this by having greased the pan with an excessive amount of butter - haha! Once cooled, I had to slice the cake in half - like across the middle (see photos) but I measured one of my 7x7 inch squares of sponge wrong and was off by an inch! So I have a random one inch slice of cake on two layers. I also struggled with the mascarpone cream layer. I may have over whipped the mixture and turned it to butter. It called for the tiniest bit of sugar, so it wasn't very sweet, and this made it pretty bland in my opinion. Overall it turned out better than I would have expected, considering it was my first time!
Would either of us bake this one again?
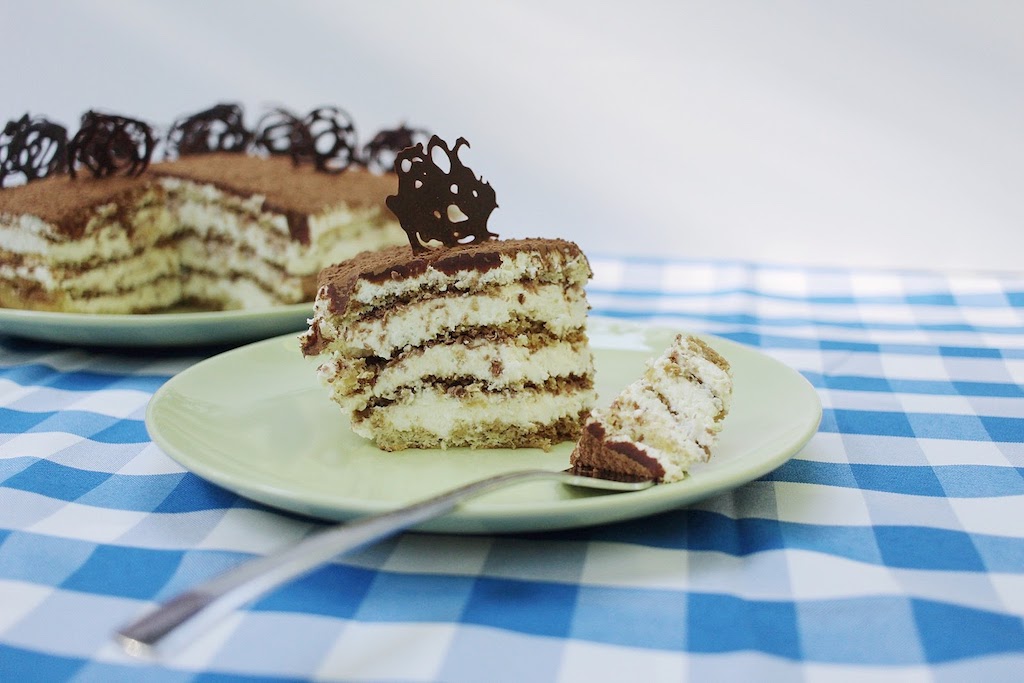
My mom has made tiramisu before (using a different recipe) so I know she would make tiramisu again. For me? Yes, but I would make some adjustments. I felt the cream layer was too bland and I think mine needed more time to soak. It was a little fussy, but I don't mind fussy if it comes out beautifully. This was a great challenge, and I feel more confident to try it again!
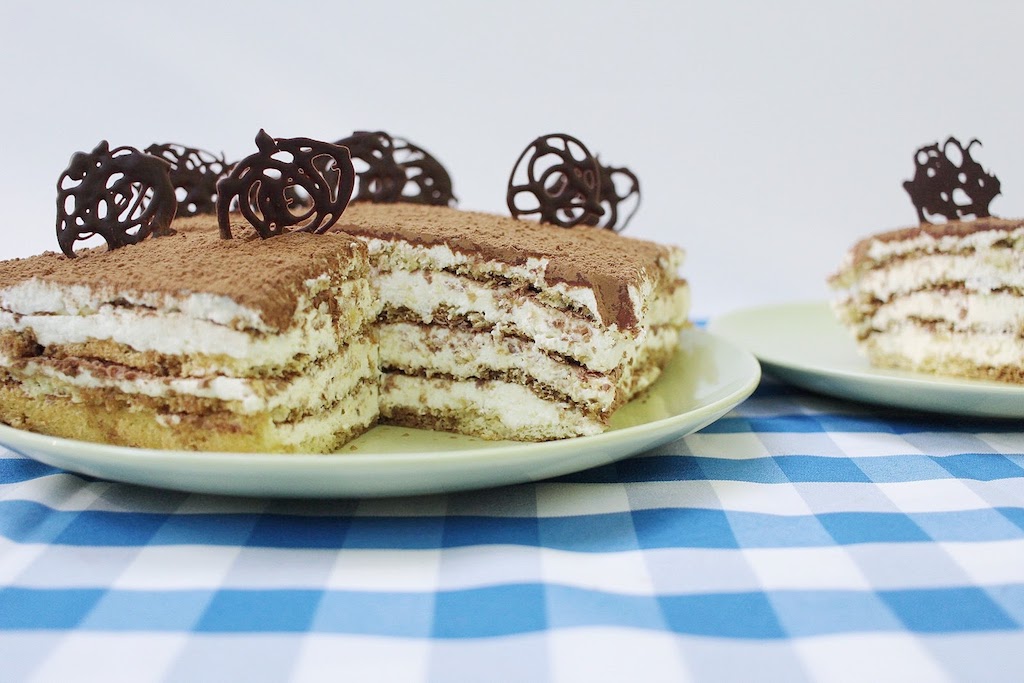
Here's the glamour shots...
Here's my mom's report
"This isn't the first time I have made Tiramisu so it was fun to try another recipe.
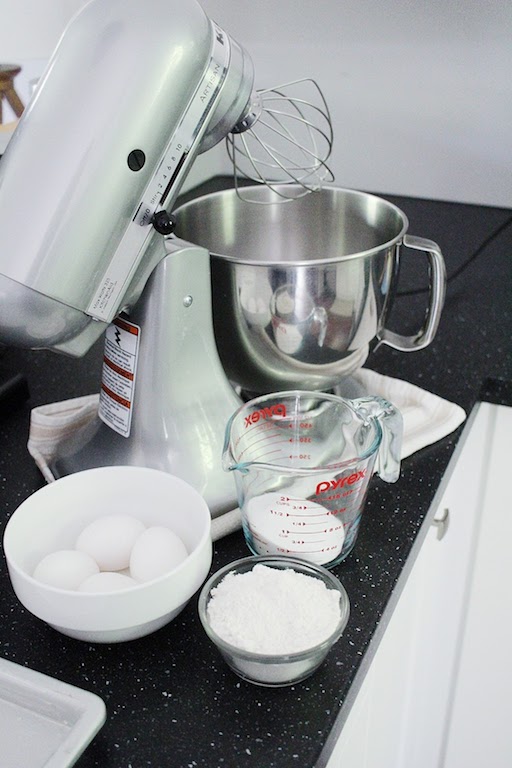
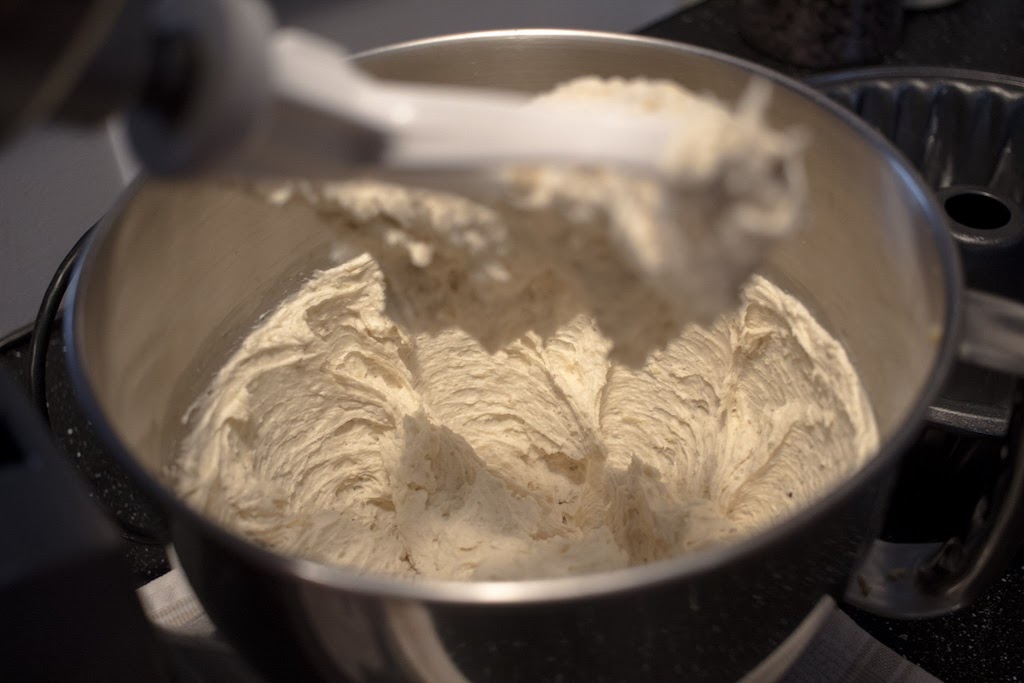
It was great making the sponge. In the past I have used ready made ladyfingers, but the home made sponge cake was delicious. It was easy enough and beating the eggs and sugar for the full 5 minutes is a must.
The mascarpone cheese mixture was my challenge. Previously I have made this frosting using one method (the correct method for me, I might add). This recipe directed me another way, which I followed to a tee, knowing all the while that it would not turn out. Nonetheless following directions is often important when baking. This challenge clarified something for me. The bakers on “The Great British Baking” show must be experienced bakers, because they are NOT always given specific directions, requiring them to draw on their expertise for the proper outcome. This was one of those times for me. It asked me to beat the mascarpone chess then add 3 T. powdered sugar and the heavy cream. It was a curdled blob, never really becoming a smooth frosting. I whipped some more cream with 3 T. powdered sugar separately and folded that into the cheese mixture and was able to use it after all. My recommendation is to whip the cheese while cold. Whip cream and powdered sugar separately then fold into the cheese.
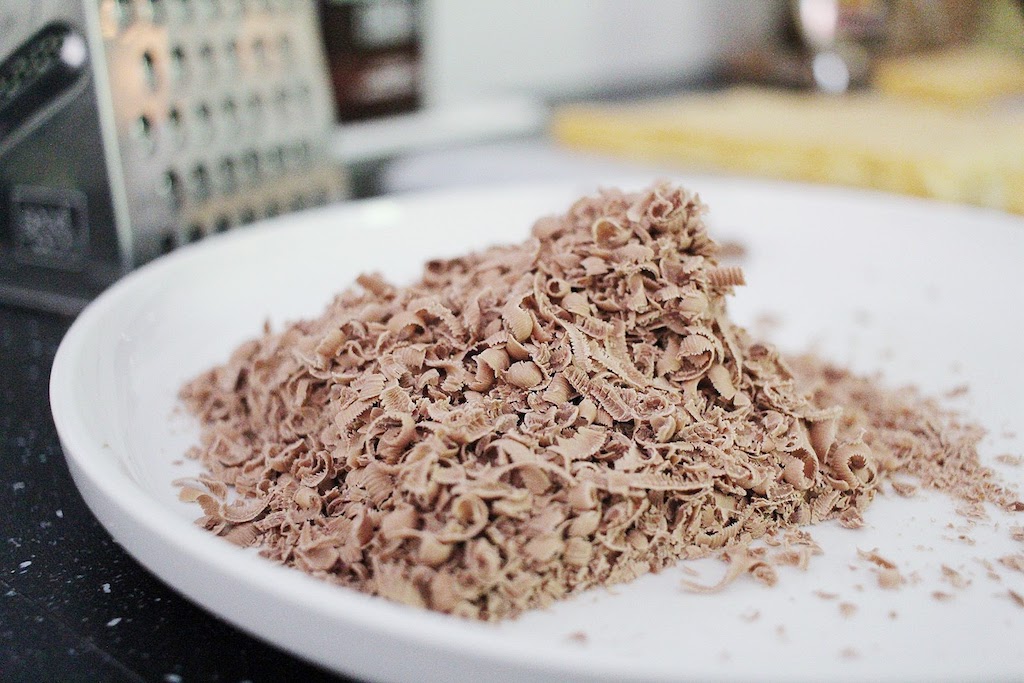
I put the coffee/brandy mixture into a bottle and squirted it over the sponge. Much less messy. I also used a bottle to make the chocolate decorations.
With the exception of the frosting I had no trouble making this cake and would recommend it. It looks impressive and is flavorful. It is a rich cake, so it’s best to make this when a group can help you eat it."
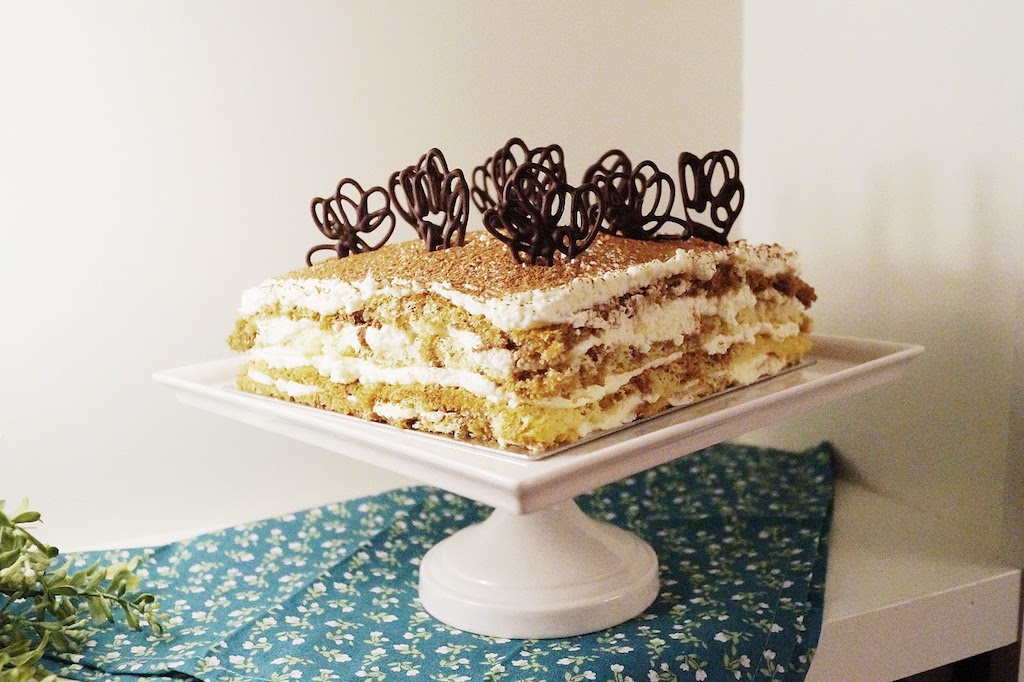
My mom's chocolate work looks so pretty, doesn't it?! Much more professional than mine.
Don't forget to use the hashtag #JoyLynnBakeAlong and join along on this super fun challenge - even just one week if you're feeling up to it! Bake #5 is the one I've been looking forward to the most. It looks really pretty and unique, but also super delicious. Coming up next...
Wednesday, May 3rd
A special Showstopper Bake by our guest Star Baker, Cameron!
(Guys, I'm so excited about this, you don't even know. I fan-girl over Cameron's bakes on the regular. I haven't even been privy to her creation yet, so I'm dying over here!)
Wednesday, May 10th
Bake #5: Mini Pear Pies

Bake #3 | Ciabatta
In case you're not up to speed, this is the third post in The Great Blogger Bake Along series. Read about it here.
Ahhh ciabatta bread. I was super excited for this bake, because Tom and love a good pice of ciabatta. Though, I have only ever had it in small, square loaves, so having them in almost a baguette shape seemed odd to me.
The Challenge
Create a crisp, floury surface with visible air holes. This is an Italian bread that was created to compete with the French baguette.
Paul Hollywood remarked on the show that if you bake the bread to early, the holes will be too small, but if you let it over-prove, it will go flat. There's a fine line of when to stop the prove and get it baking in order for it to turn out just right.
The Outcome
I over-proved! I never thought this would happen to me, because I am NEVER patient when it comes to letting things rise and am always one to under-prove, but my sad little loaves came out flat as could be and very long instead of wider. This might have been due to the fact that it called for instant yeast and so the activation happened much quicker? But, my mom used regular yeast, and hers came out flat too. This was a tougher bake than I had expected! However, the flavor was to die for and we ate two loaves within two hours of taking it out of the oven. It also had a nice hollow sound when tapping on the bottom (good sign) and had a perfectly crisp, chewy crust. Next time, I would prove it for less time, and somehow try to get the loaves a little wider. I am always one to shy away from bread baking because of rise-times and fussy doughs, but I think the more I make bread, the more comfortable I am with trying it.
Would either of us bake this bread again?
Yes! Ciabatta is a good staple to have in your bank of skills, and it's fast and delicious.
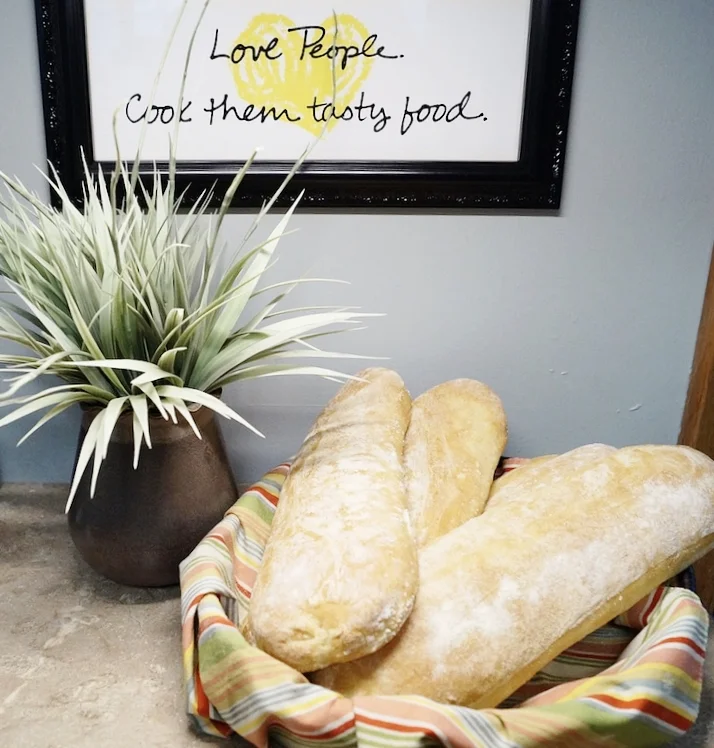
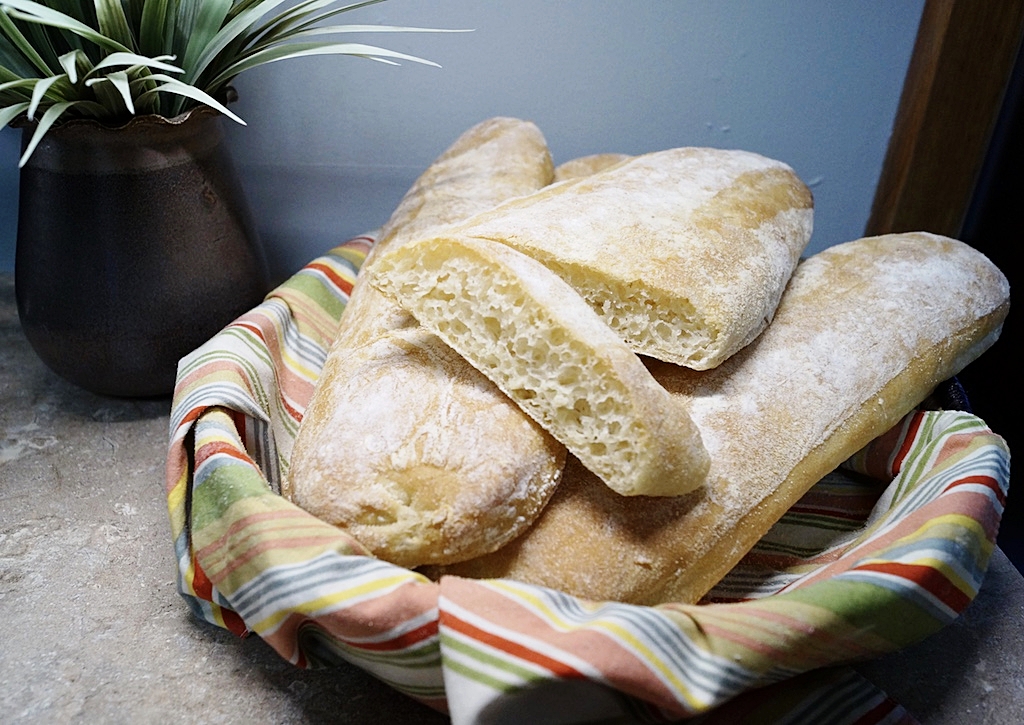
Here's the glamour shots...


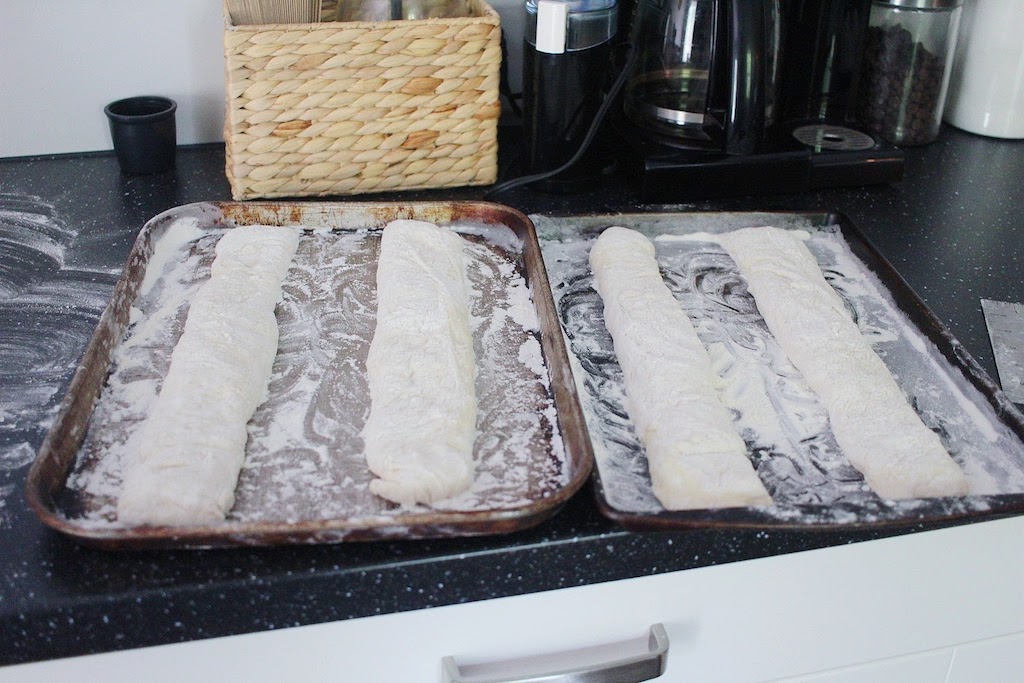


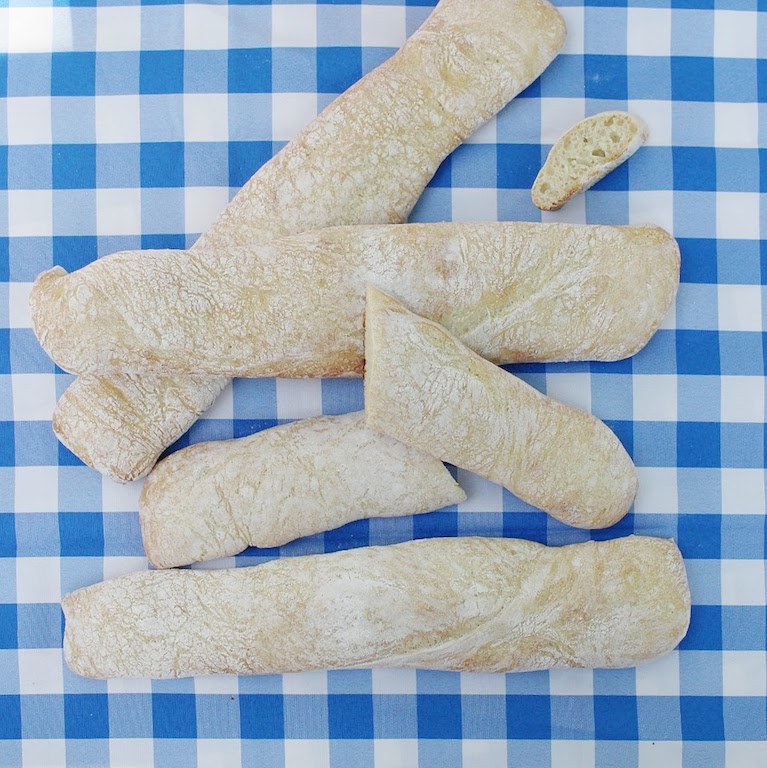


See what a mean? They need to be a little higher and wider. Nevertheless, so yummy, and a fun challenge! This is from Episode 3, Season 1 on Netflix. If you watch, you'll see many of the bakers had some of the same issues.
Here's my mom's report:
"I looked forward to this bake the most so far.
Bread is a staple in every country in the world. A simple bread has minimal ingredients and each culture has their own adaptations. My Mom baked every Saturday without fail. Finnish light rye bread and Cardamom Coffee braid. The smell that permeated the house will not be forgotten.
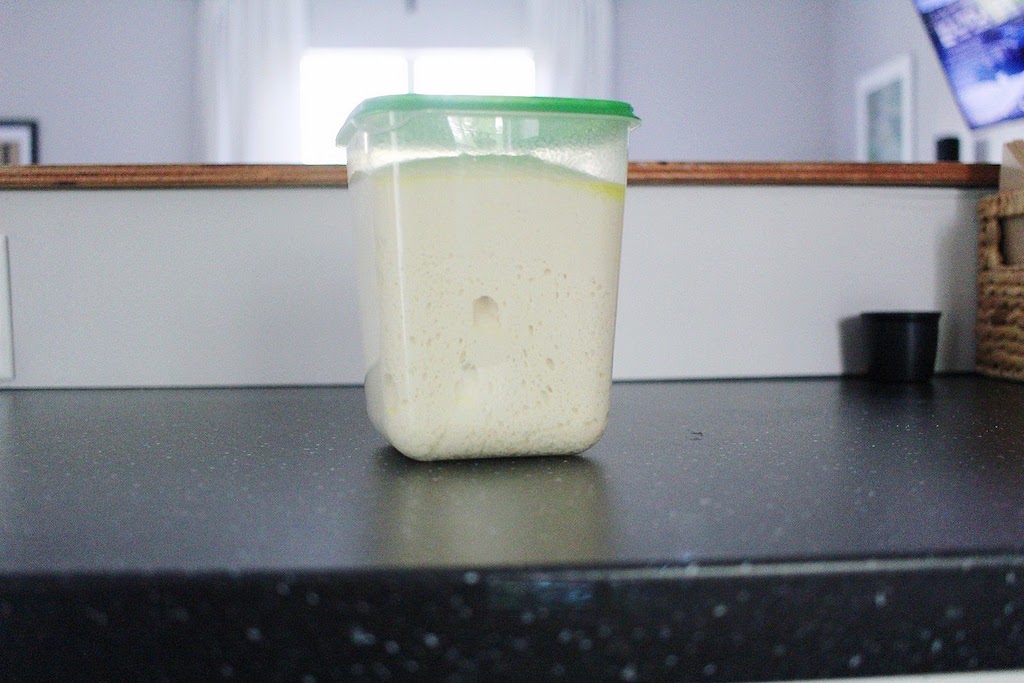
I have never made ciabatta. It was amazingly simple. I give it an A+. A few ingredients and a mixer with dough hooks and I was on my way.
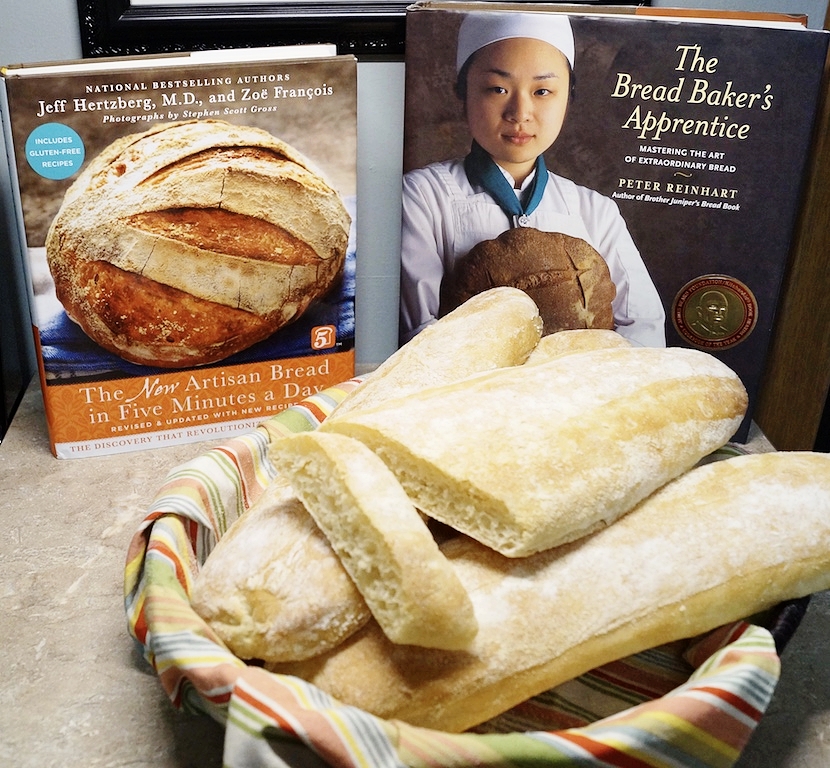
I used regular yeast rather than quick rising so I had to raise mine a bit longer than the recipe noted. I also use a convection oven when I bake and am always pleased with the result. My pictures show that the air holes in the dough were present which is important in ciabatta. It is a flat bread, but a very nice staple with soup or salad. Don't be afraid to try this recipe. You will see that bread baking can be done. In one of my pictures are two lovely books on bread making if you want to get into it further.
P.S. It is suggested to let it cool completely, but don't forget the pleasure of warm bread with butter. Enjoy!"
Bake #3 is done! Join us next week for a challenge I am particularly nervous for... Don't forget to hashtag your photos with #JoyLynnBakeAlong for a feature!
Wednesday, April 26th
Bake #4: Tiramisu

Bake #2 | Florentines
In case you're not up to speed, this is the second post in The Great Blogger Bake Along series. Read about it here.
Do you guys know what Florentines are?! Because I don't think I'd ever seen one before watching them on The Great British Bake Off. Let me tell you about it.
The Challenge
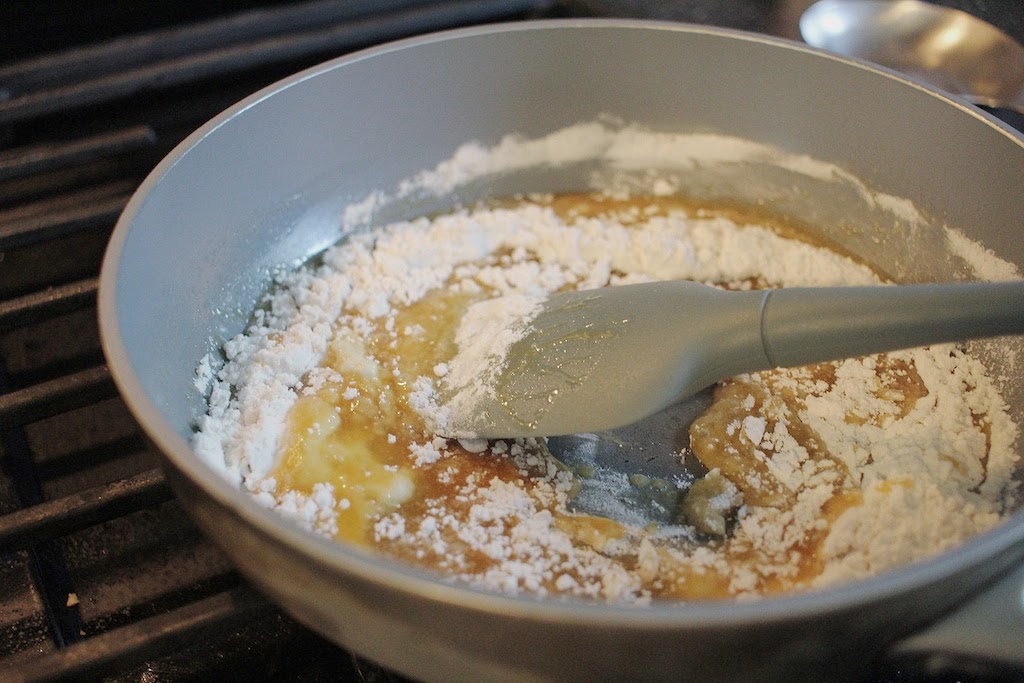
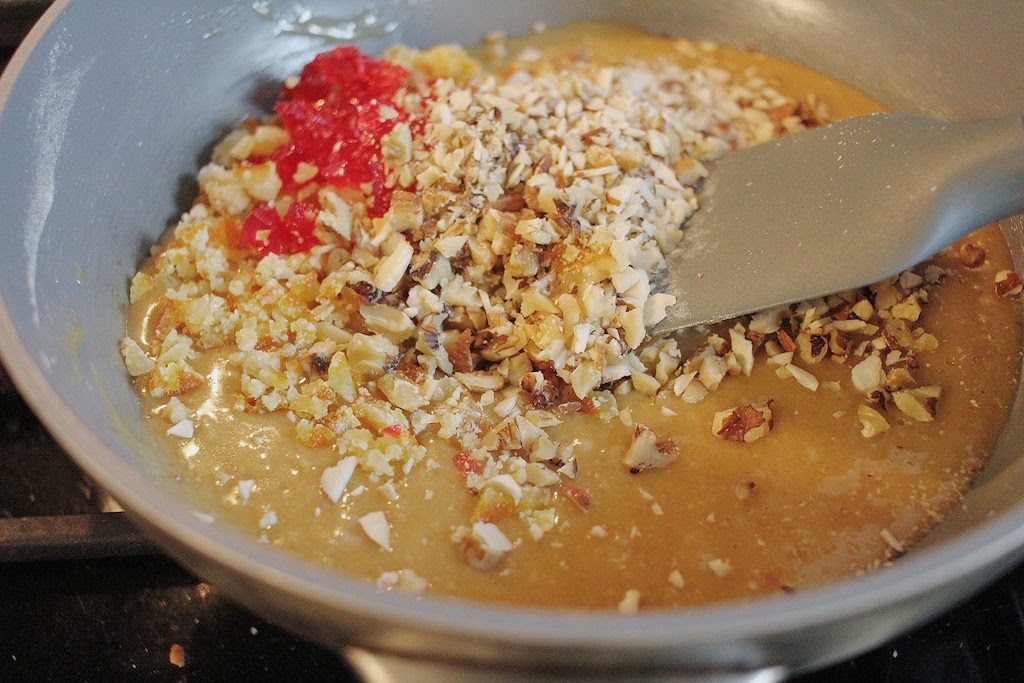
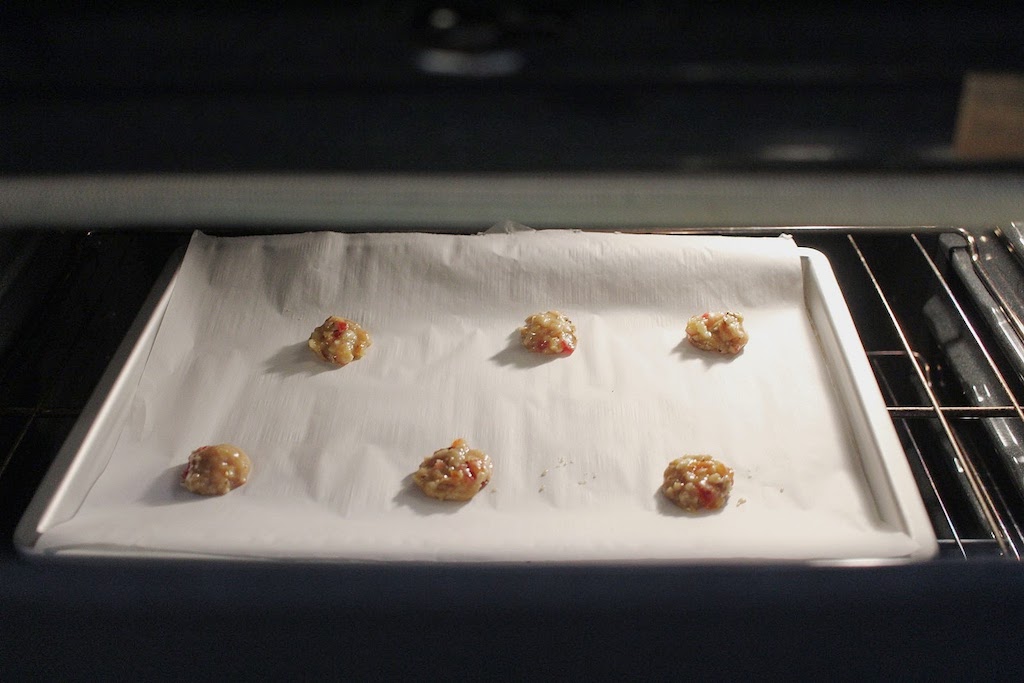
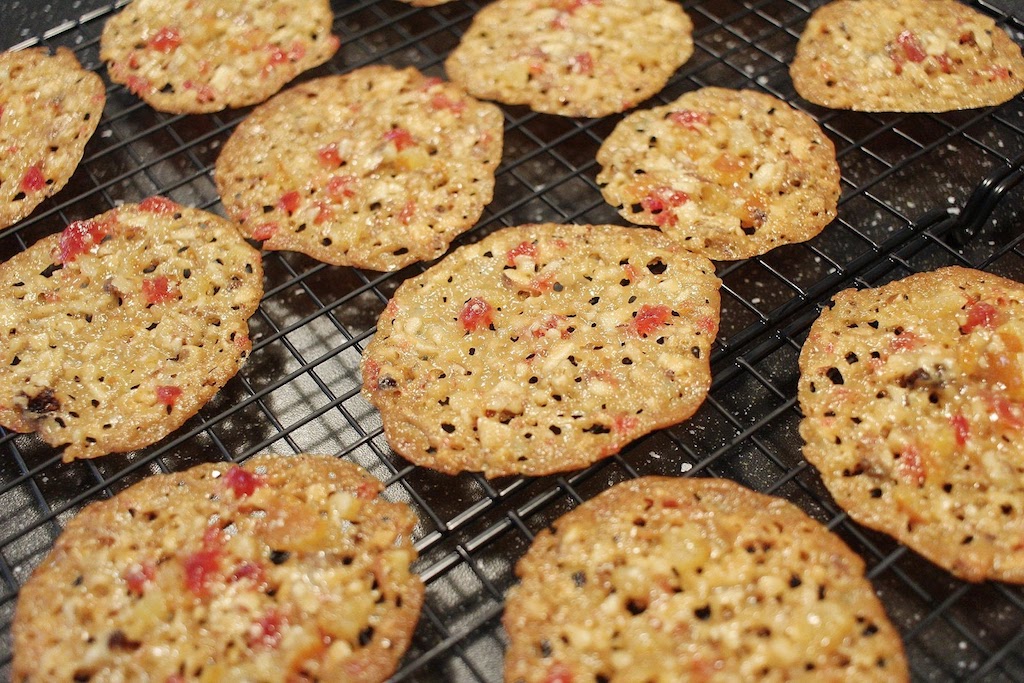
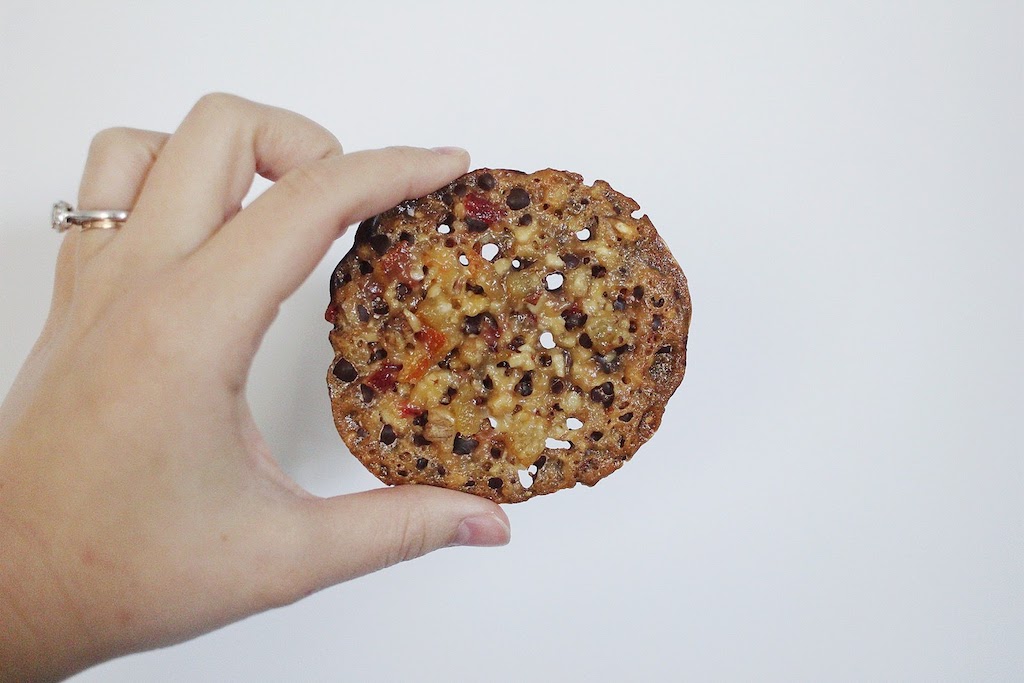
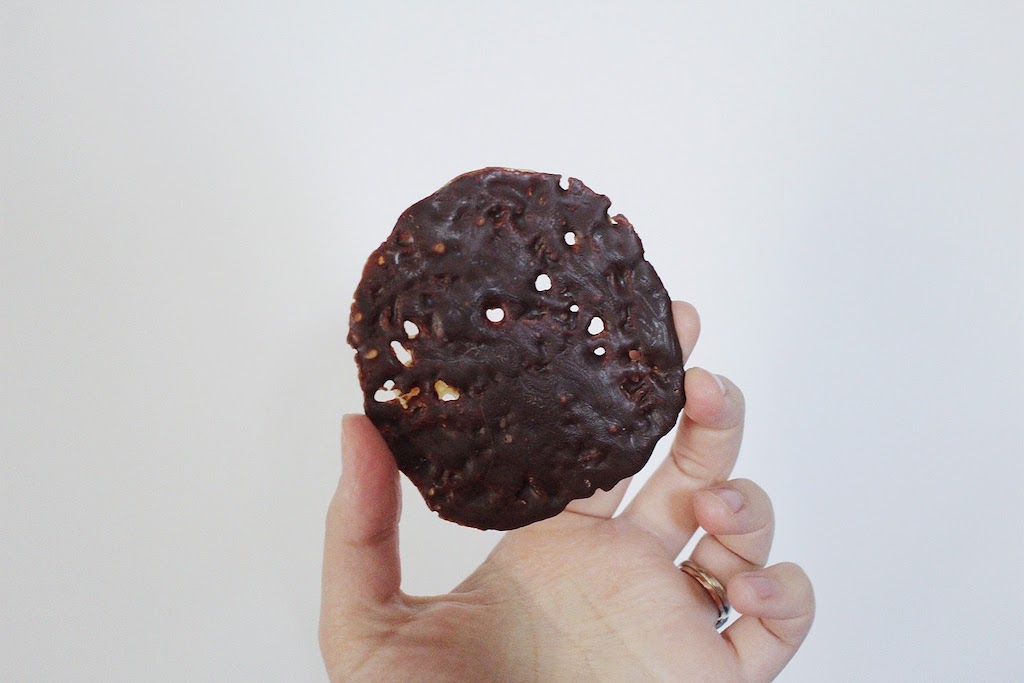
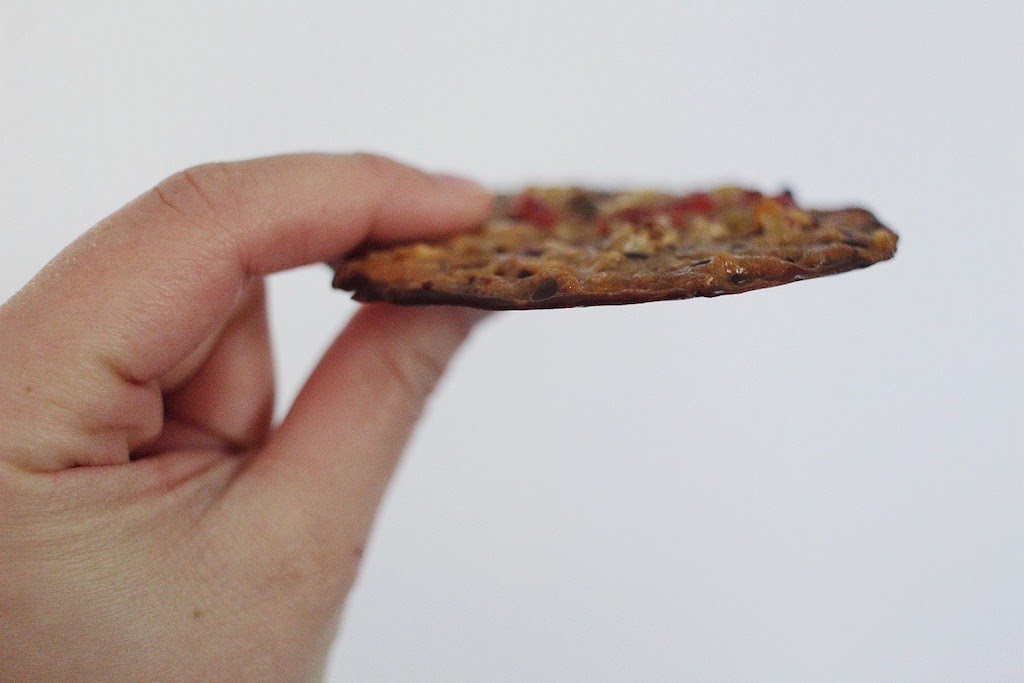
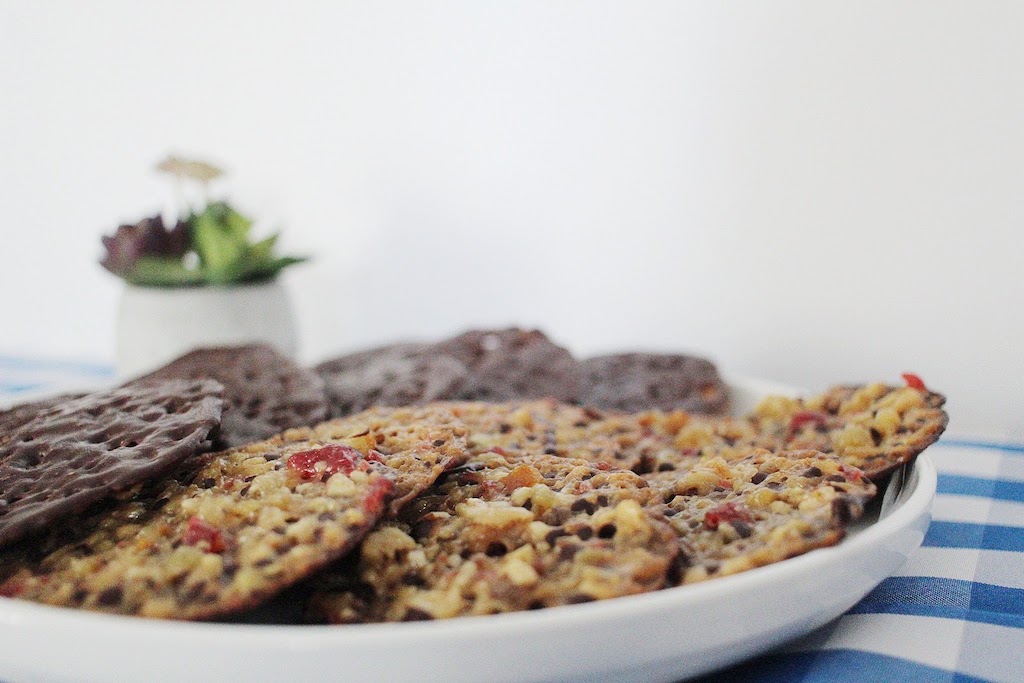
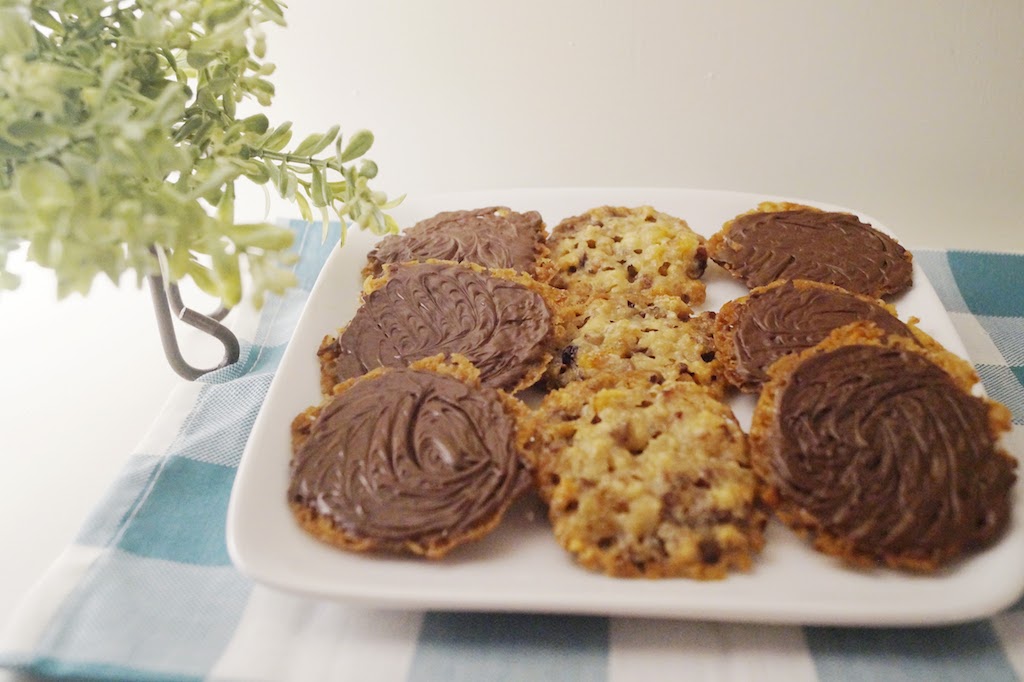
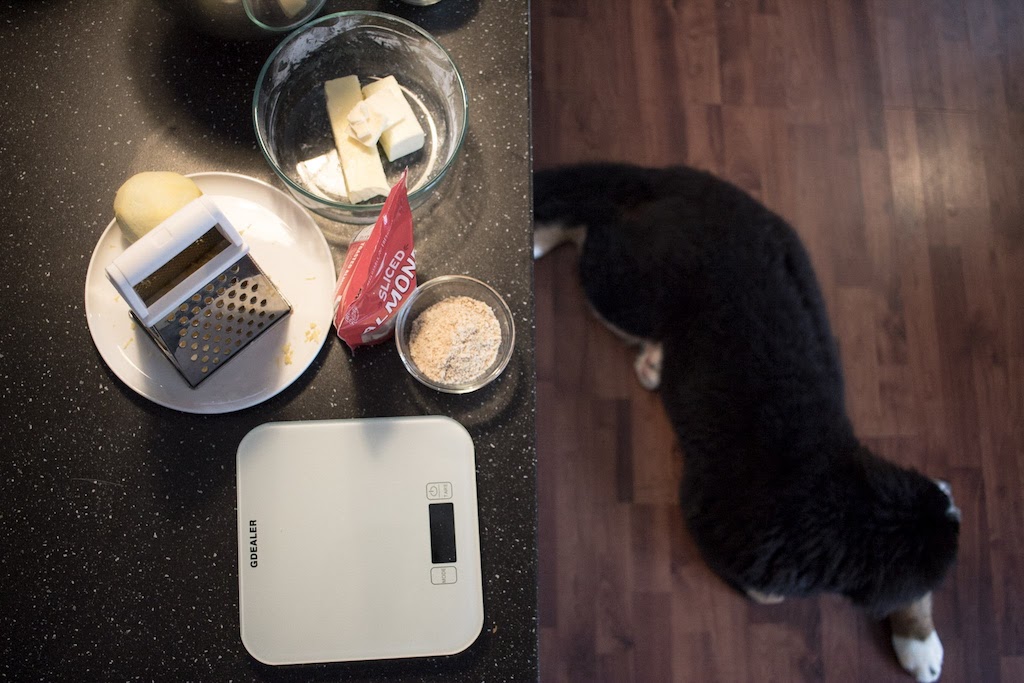
Florentines aka lace cookies. Make sure they come out nice and flat, and crisp with small lace-y holes. Cover the backs with tempered chocolate and a zig-zag to finish the look.
The Outcome
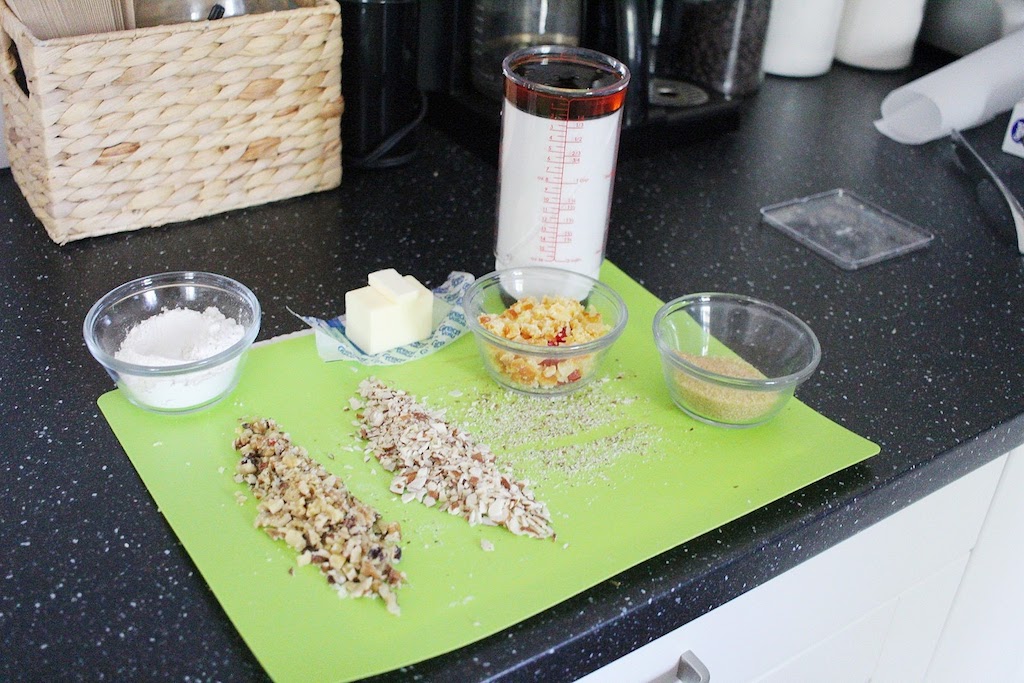
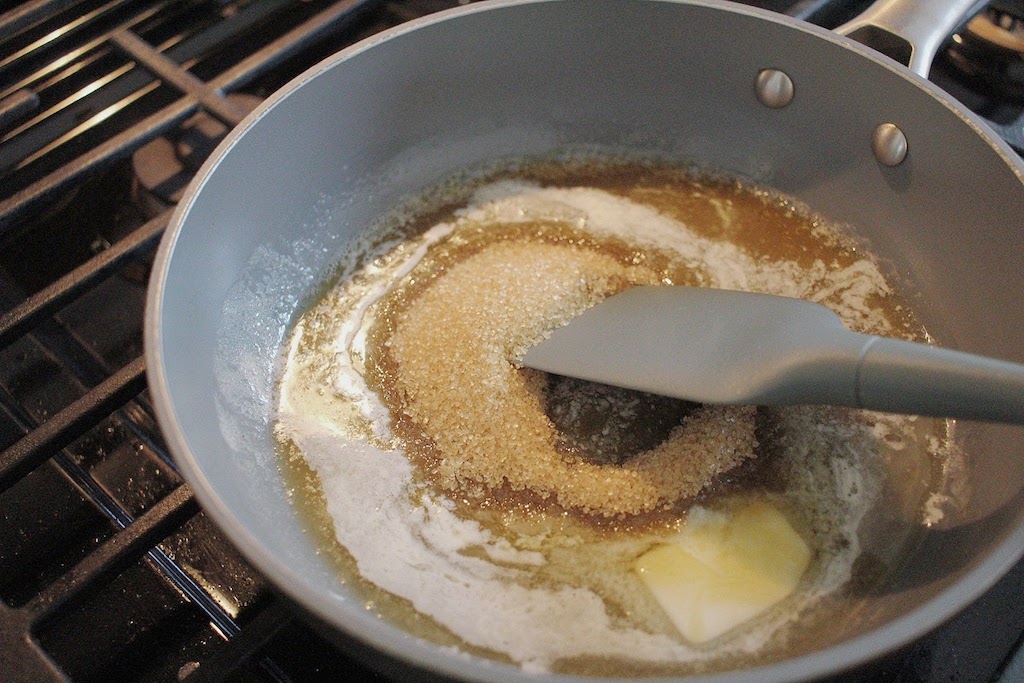
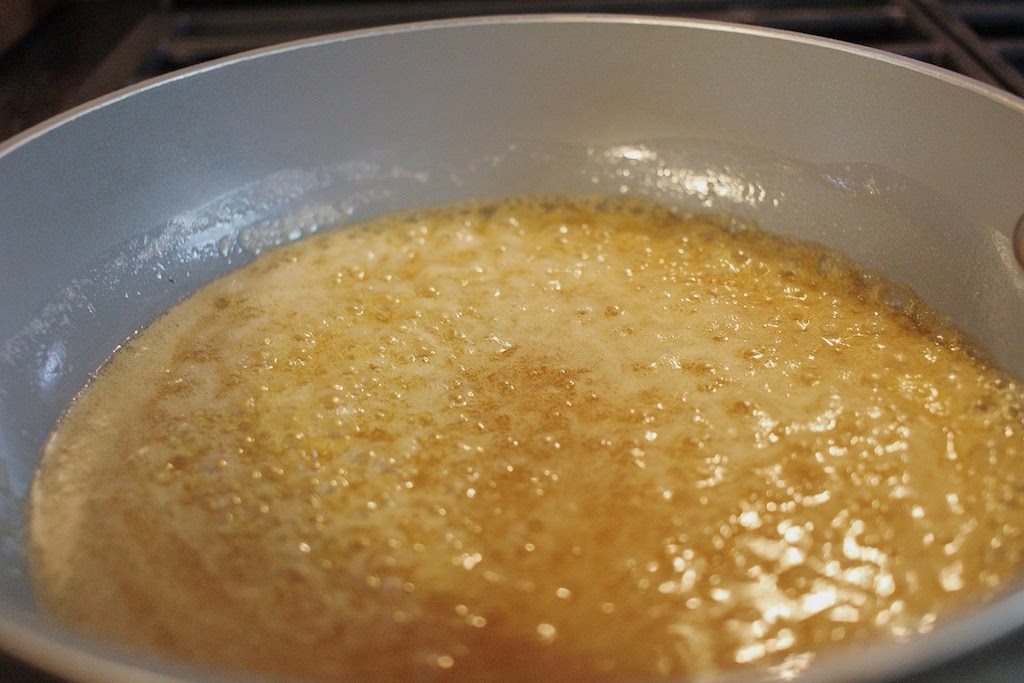
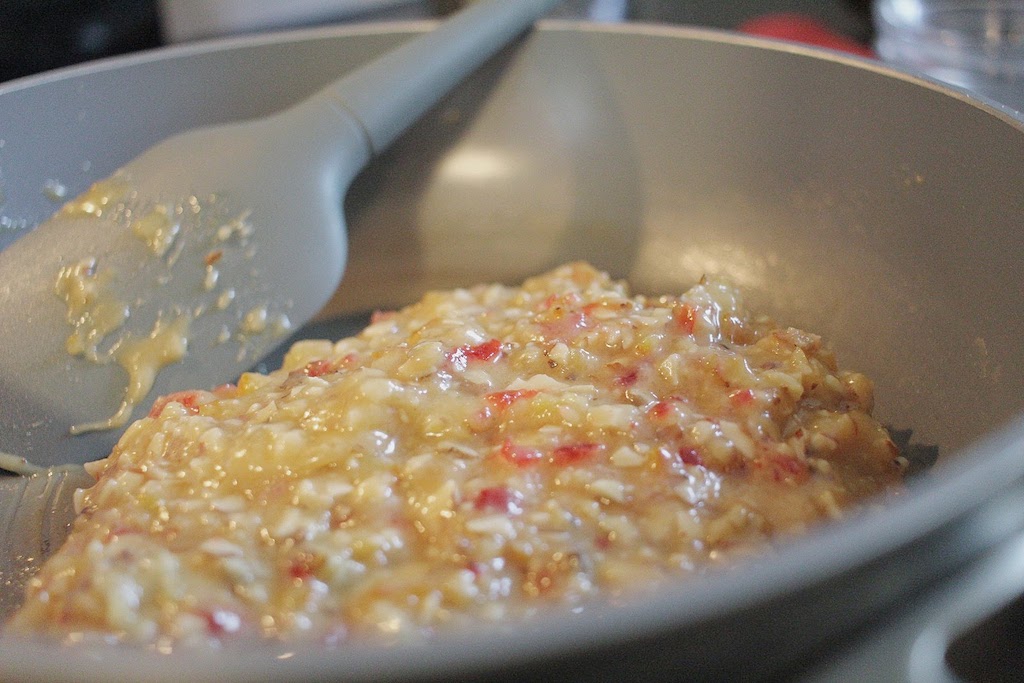
YUM! Not only were these really pretty easy, they were TASTY. They're crisp, but caramel-y and the blend of nuts, fruits, and chocolate was sublime. I loved these and they did not get sent to Tom's office since we gobbled them all up!
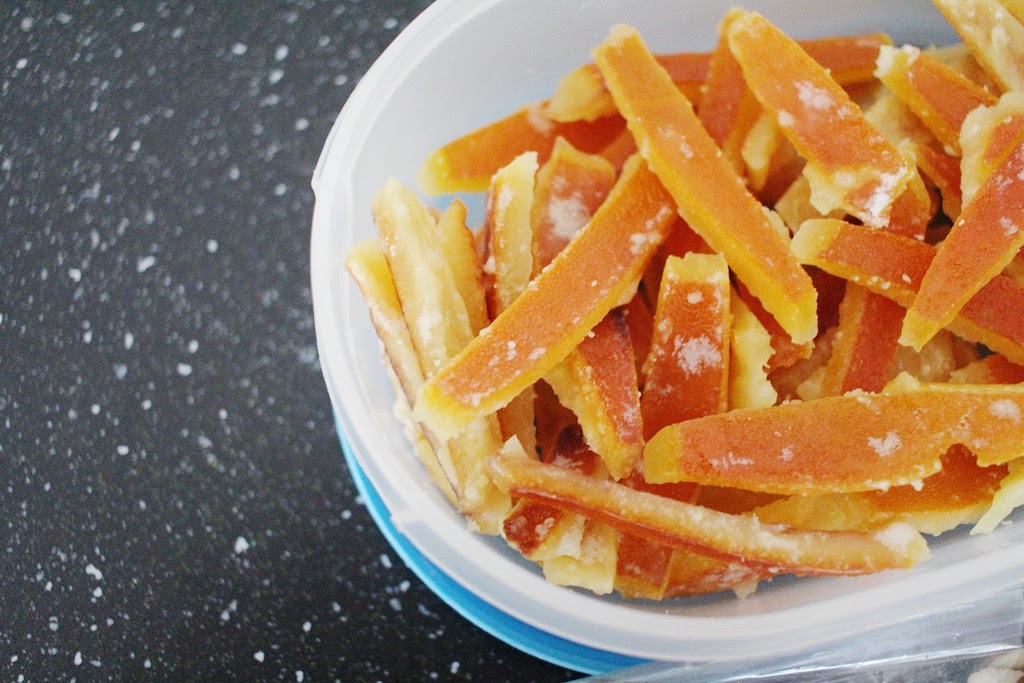
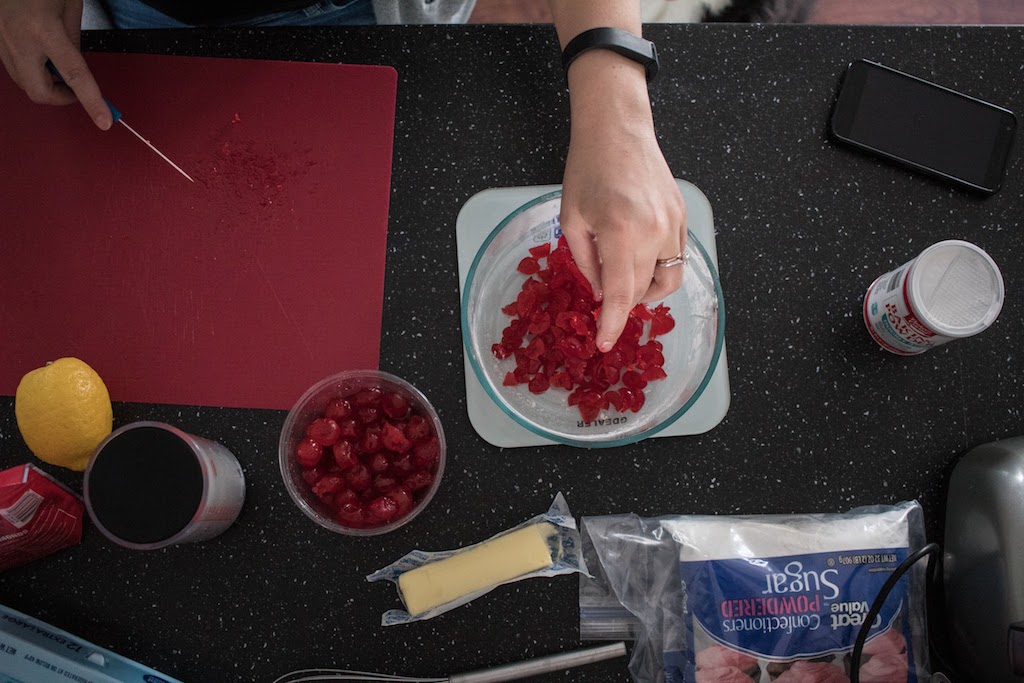
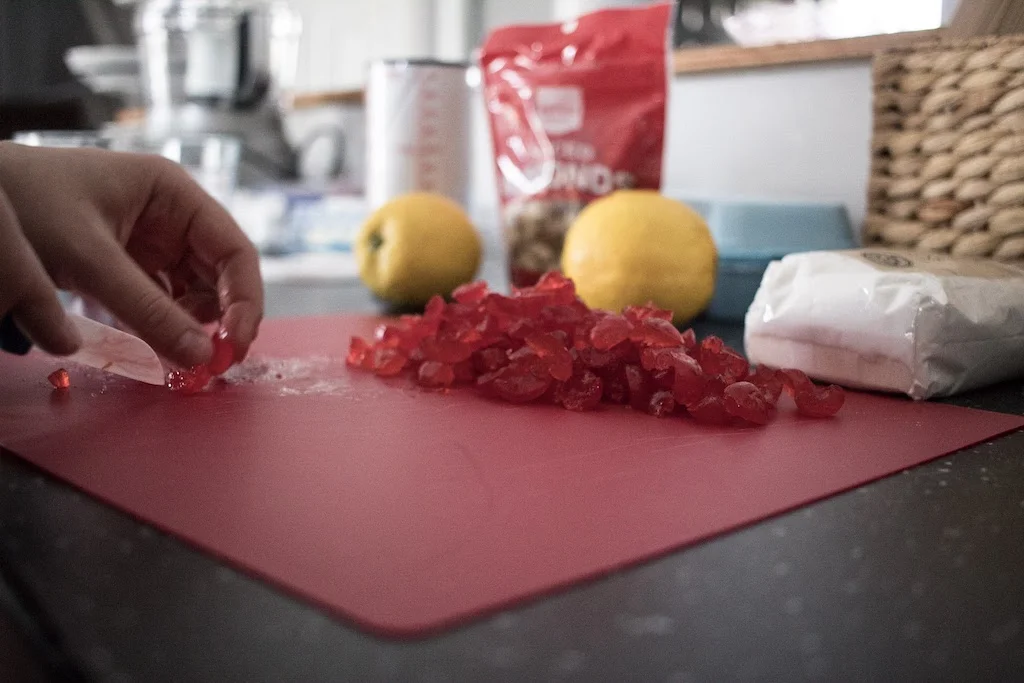
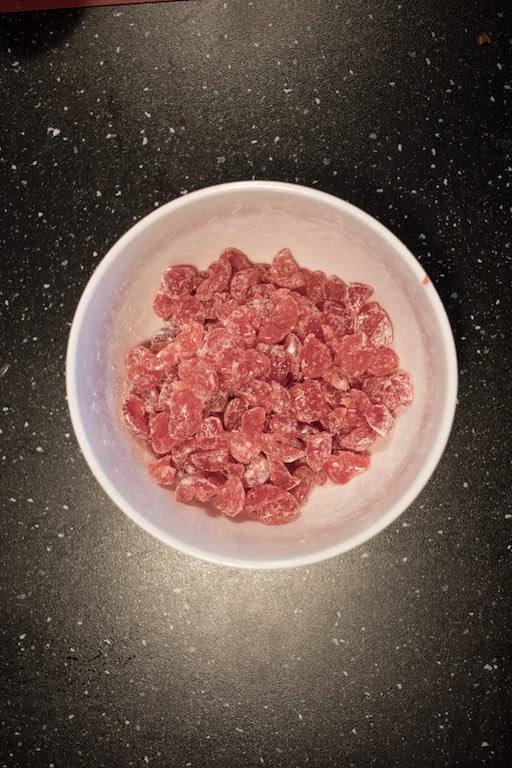
I had never tempered chocolate before, and I think I managed to do it right, but it was taking such a long time to cool so I walked away to come back and try and get the zig-zags in later, but by then I was too late! So mine are zig-zagless. It was also fun and interesting to make our own candied orange slices. My mom and I each did a different method for that, but both turned out fine and mine was much faster than hers (here's the recipe I used). Also, you needed "golden syrup" for this bake, and I simply ordered mine off Amazon, but my mom actually made her own! She had one that failed, but got it right in the end. Though, she did say she'd buy it next time because it wasn't really worth the effort.
Would either of us bake this one again?
Yep! Definitely. It's a perfect little treat and one I'd gladly make for a gathering as something sweet but not overly-so.
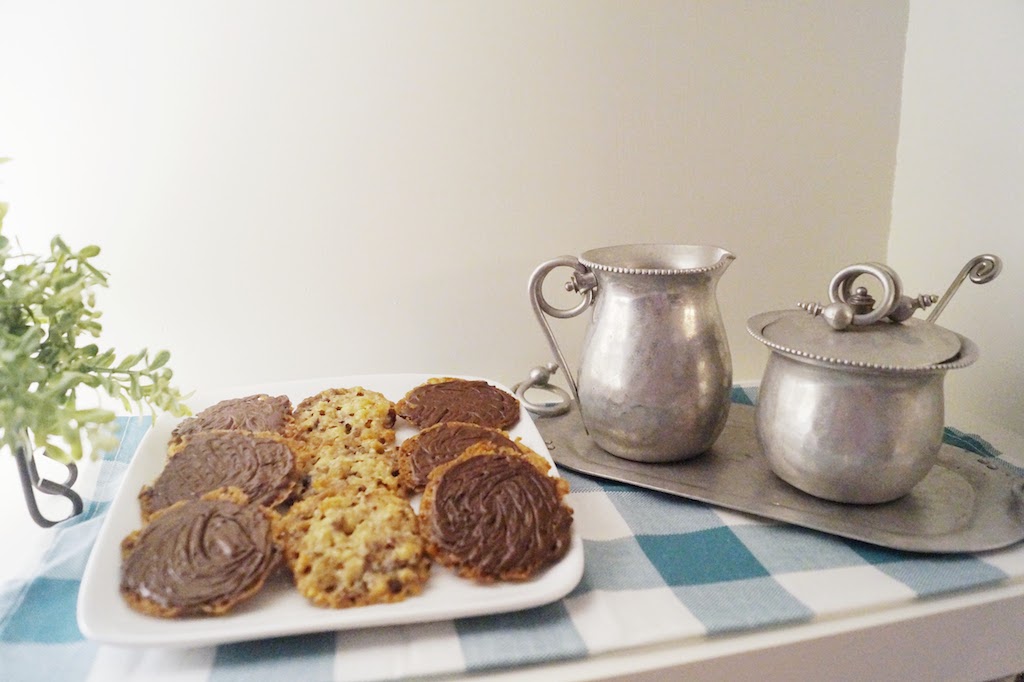
Here's the glamour shots...


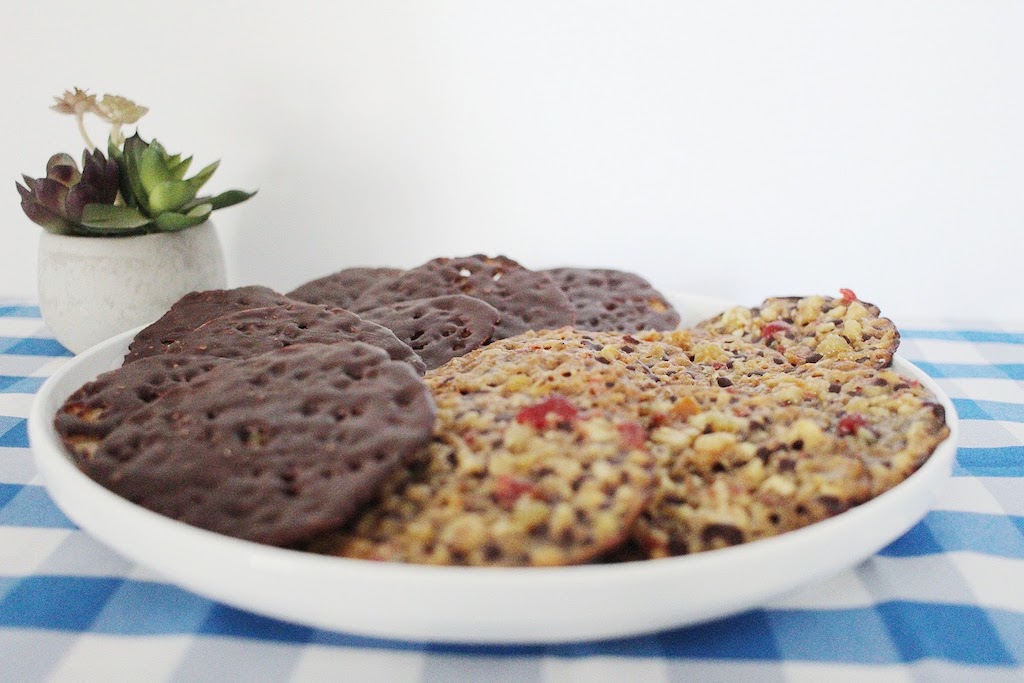
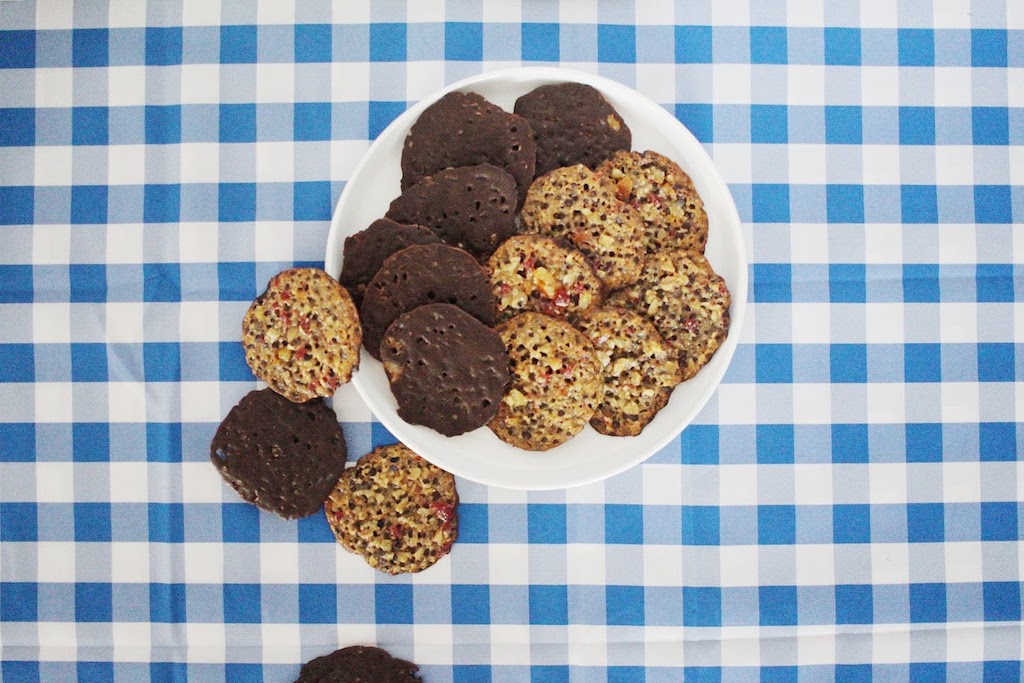
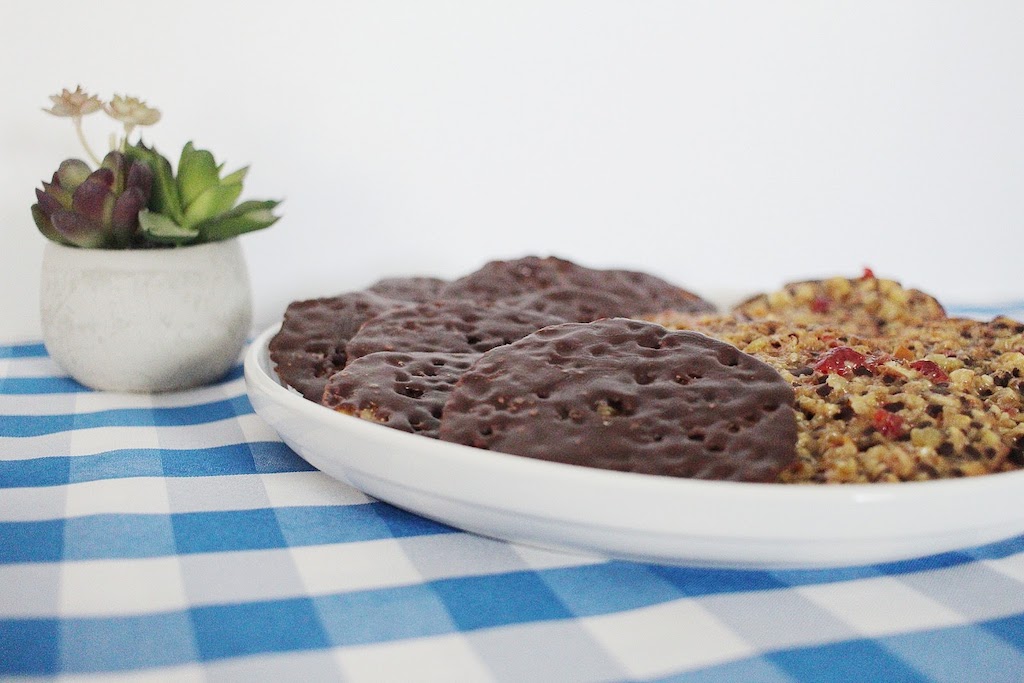
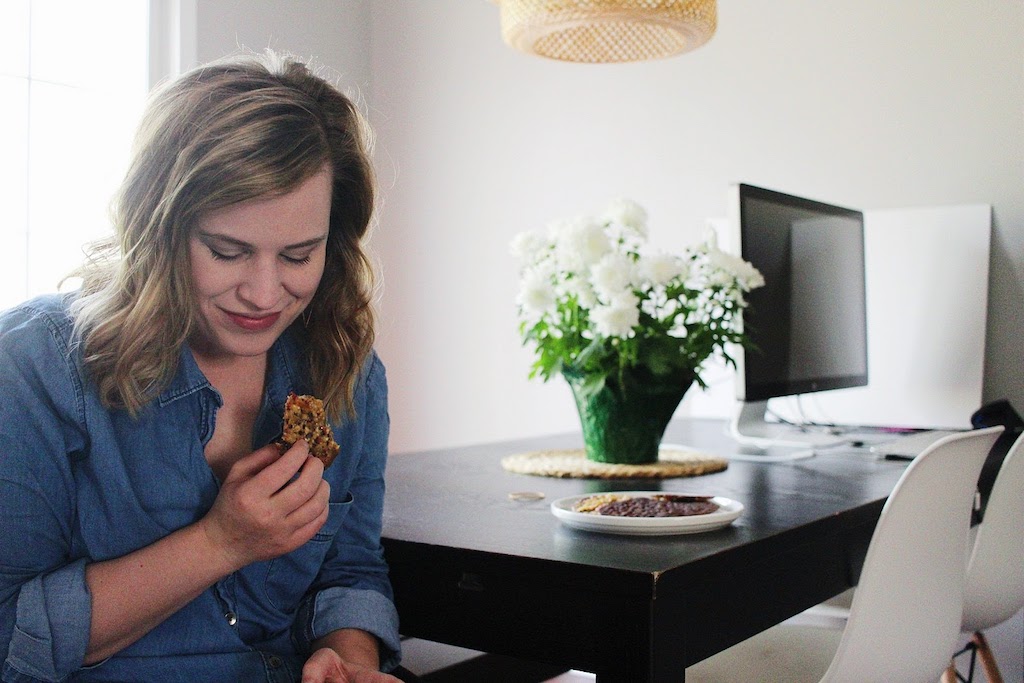
I'm bummed I missed the boat on the zig-zags in the chocolate, but clearly it didn't stop us from eating them ALL!
Here's my mom's report:
"Florentines are not a cookie I would ordinarily have been drawn to try. Which is why this challenge is fun. It reminds me of a book club. You are asked to read books you might not naturally choose, but are often pleasantly surprised. This cookie pleasantly surprised me.
It required two ingredients common in the UK, but not here. I discovered that golden syrup is easily made, so I went for it. I was very pleased but, joked that it would probably cool as hard as a rock. An hour later this is what it looked like.
I would not be defeated. My second attempt proved successful. It was to simmer for 45 minutes and the first time I had the temperature set too high. A very LOW simmer was required.
Next it was candied orange. It was a long process and frankly orange zest would have been just fine to my way of thinking.
Regarding the chocolate coating, I cheated and used semi-sweet chocolate chips melted. I worked in a candy store and know how to hand temper chocolate and was uncertain where to buy a piece of untempered chocolate. Demerit on that. Once all the ingredients were gathered they went together very quickly and baked according to the directions. Parchment paper is a MUST!
The cookies have many lovely flavors that blend beautifully. They are crunchy, and a delicious paring with coffee or tea. In some European countries they are a popular Christmas cookie. I would bake them again (if I didn't have any almond biscotti on hand)."
Woohoo for Bake #2! Join us next week for BREAD. Don't forget to hashtag your photos with #JoyLynnBakeAlong for a feature!
Wednesday, April 19th
Bake #3: Ciabatta

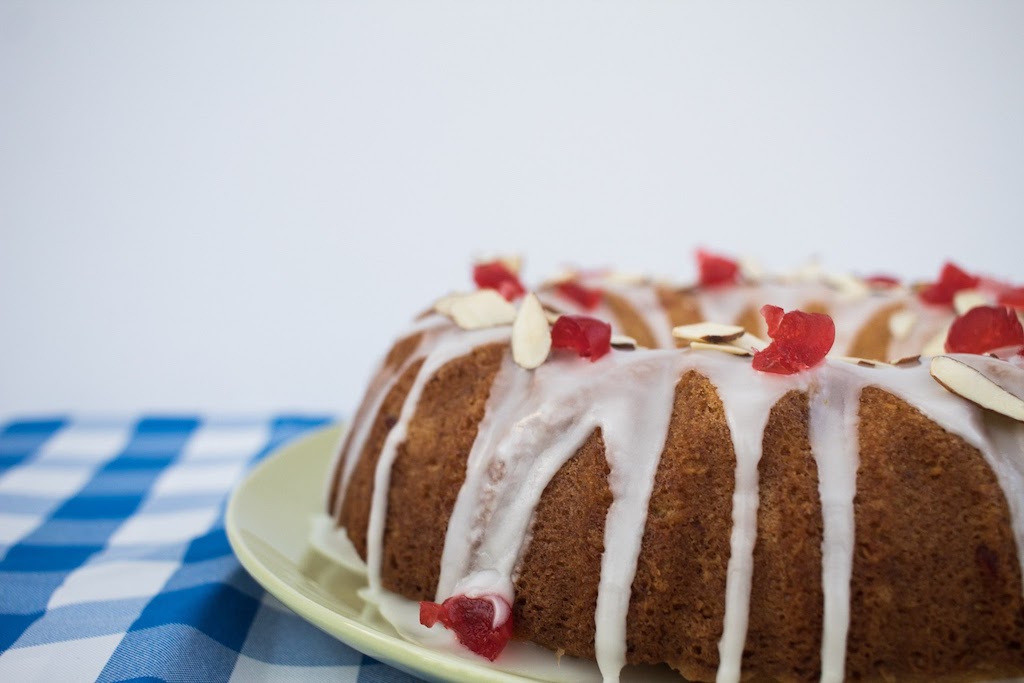
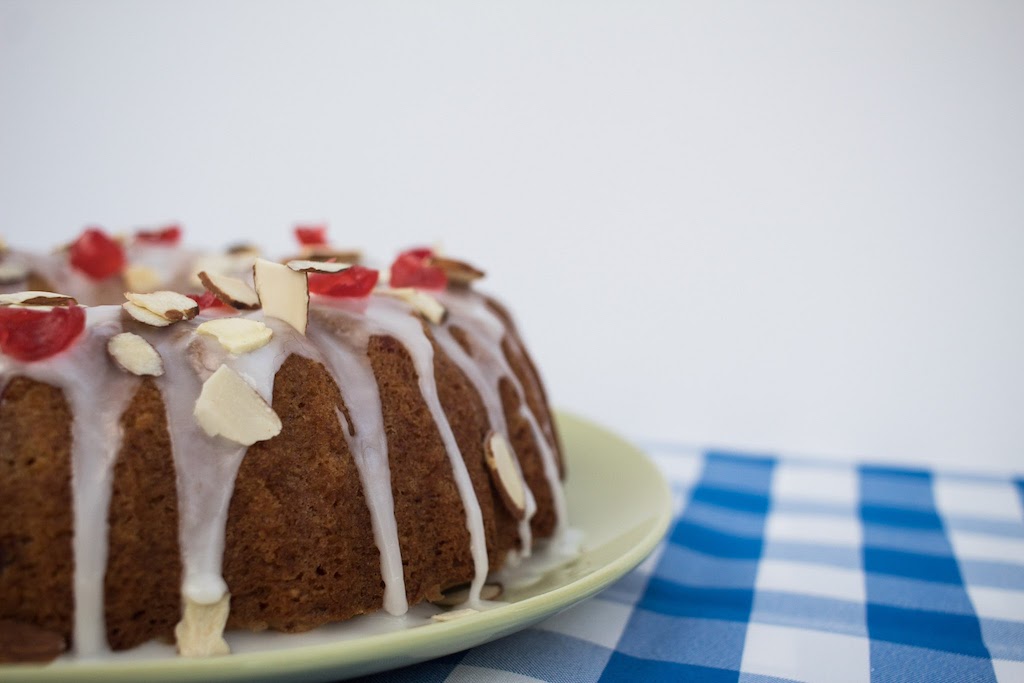
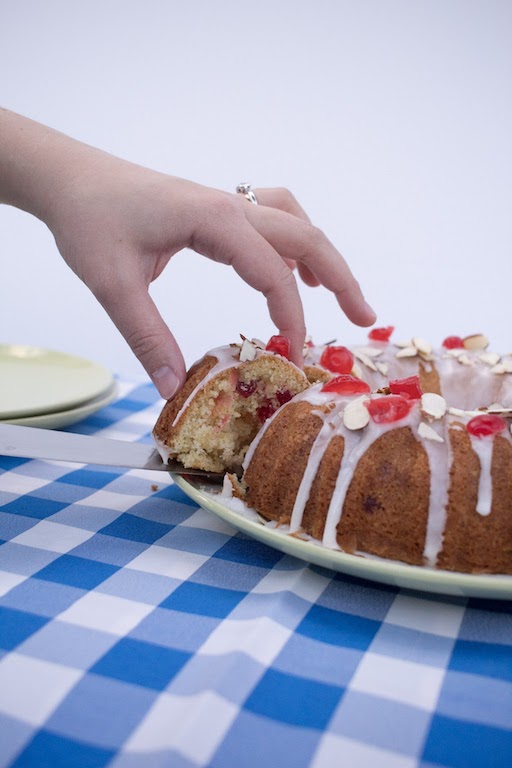
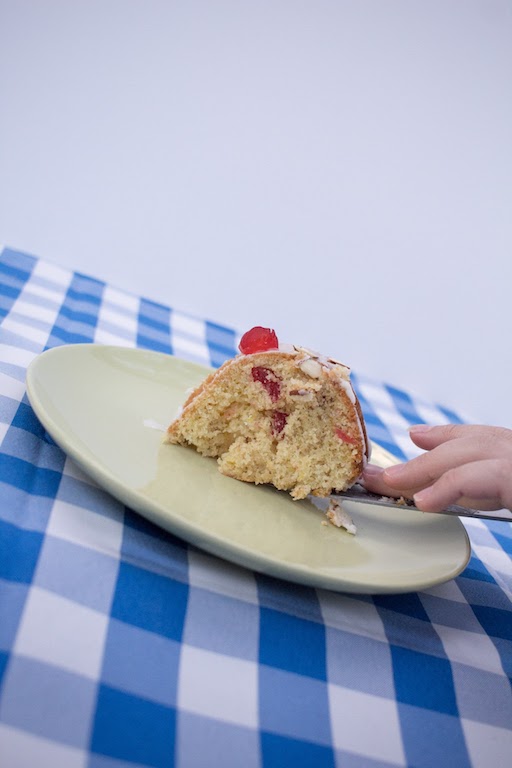
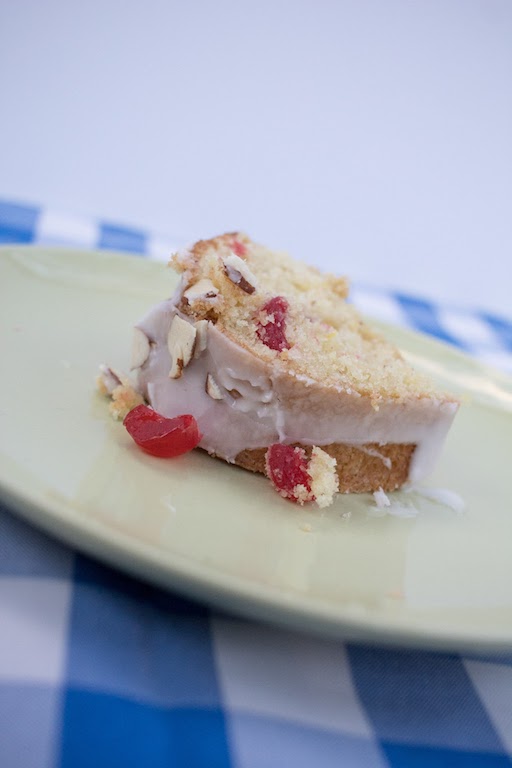
Bake #1 | Cherry Cake
The first baking challenge from Joy Lynn's "The Great Blogger Bake Along" based on The Great British Baking Show.
Alright guys, Bake #1 is in the books (or the blog, in this case). I'm going to try and be brief, but I'm also sharing a little note from my mom with photos of her bake, too!
The Challenge
Mary Berry's cherry cake. Make sure the cherries are evenly distributed throughout the cake, put your frosting on when the cake is completely cool so it doesn't run off the cake completely, and be sure it was a good bake and not over or under-done.
The Outcome
This was fun! My mom would also attest to this, because we're both learning so much. Even as experienced bakers, we're running into challenges that make us question our skills a little, which is good! One of the major challenges I know I'm going to run into for all these bakes are the different ingredients. I did find caster sugar and glace cherries, but I made my own self-rising flour just hoping it was correct. The cake came out beautifully, but both mine and my mom's seemed dry. I baked it for the minimum amount of time, and it was quite crumbly. Perhaps it was supposed to be this way? The flavor was delicious, but neither of us would call it a "cherry cake" as the lemon seems to be the overarching flavor in this one. Has anyone else tried this cherry cake? Is it supposed to be dry? We thought maybe so, as a lot of European bakes are described as "crumb cakes."
Would either of us bake this one again?
Nah. Good flavor, and lovely with a cup of coffee or tea, but not a favorite.
Here's the glamour shots...


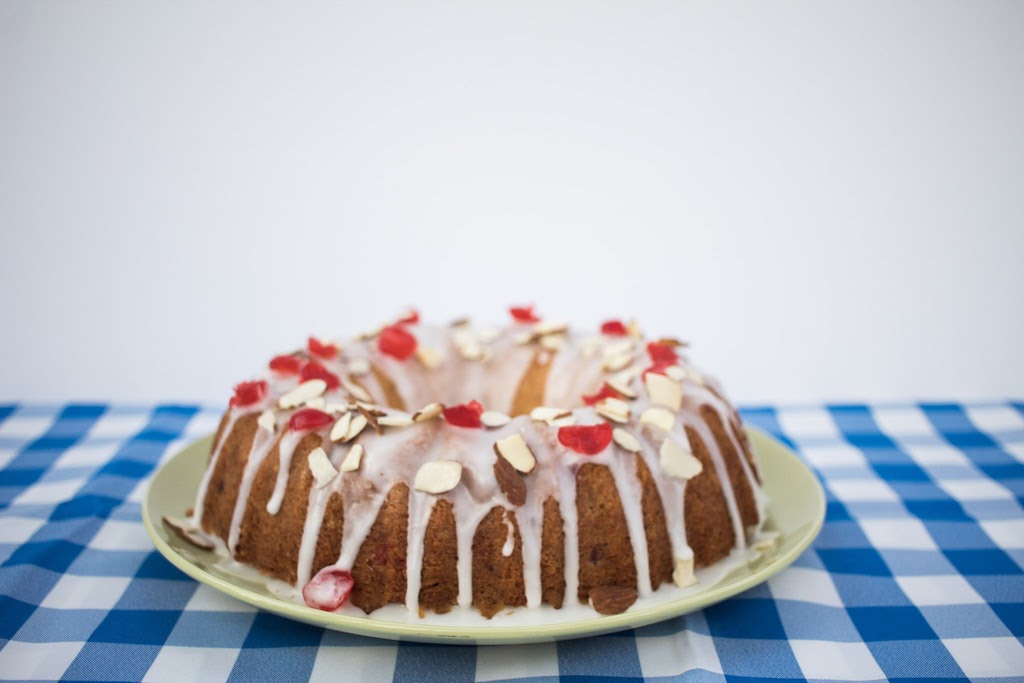
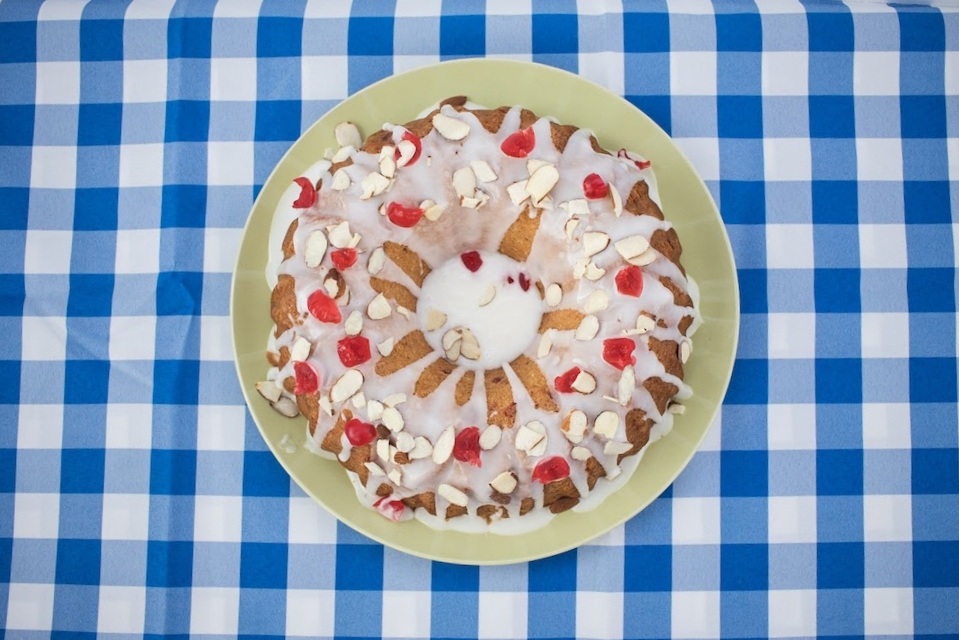
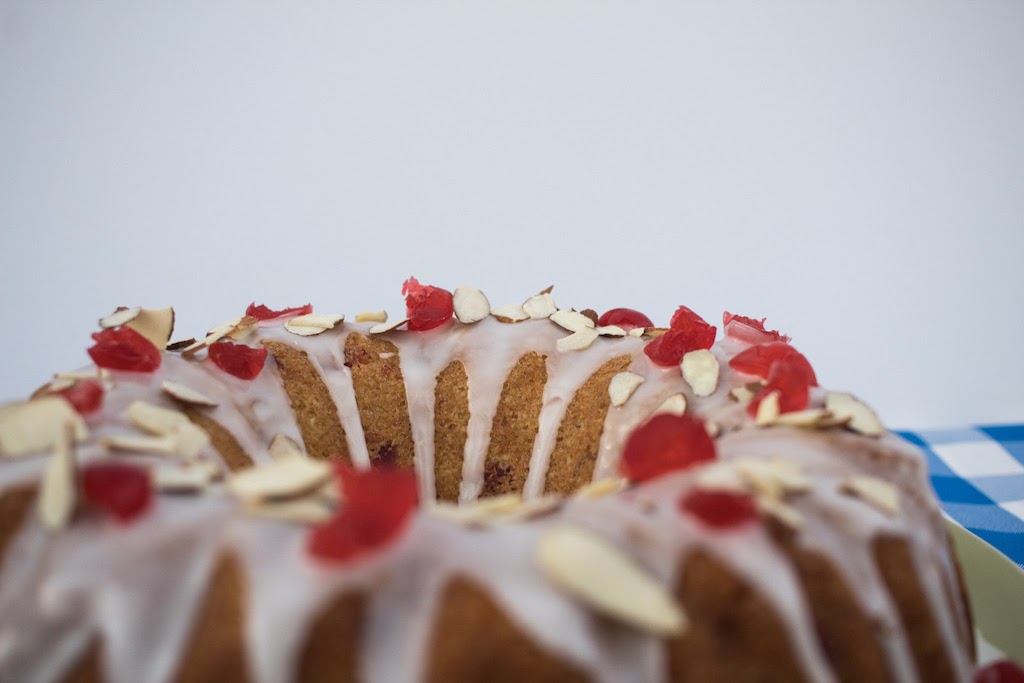
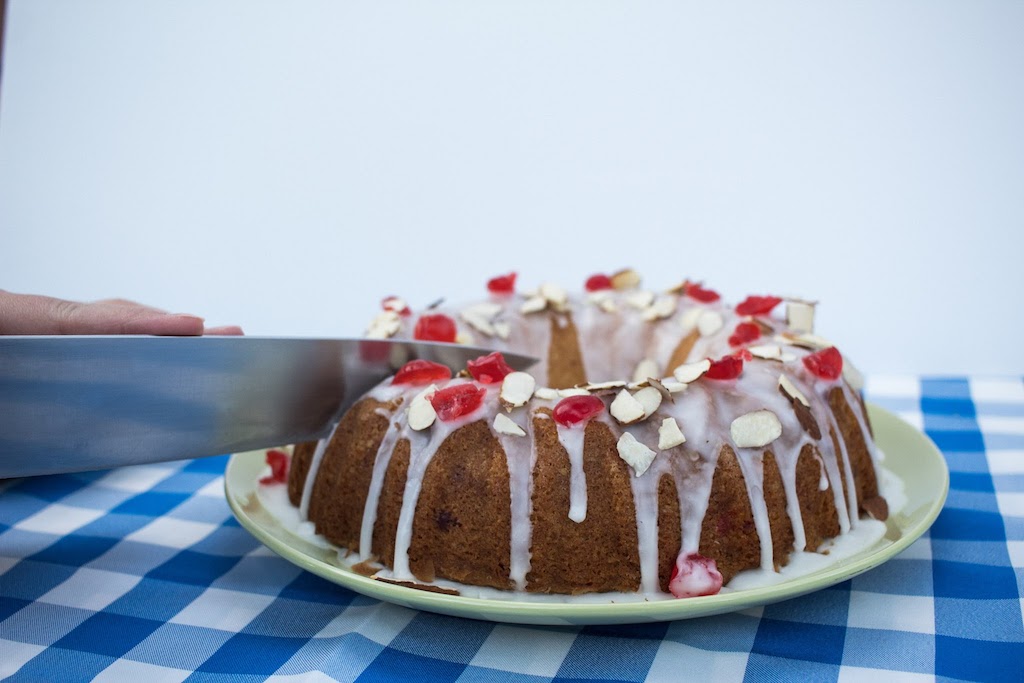
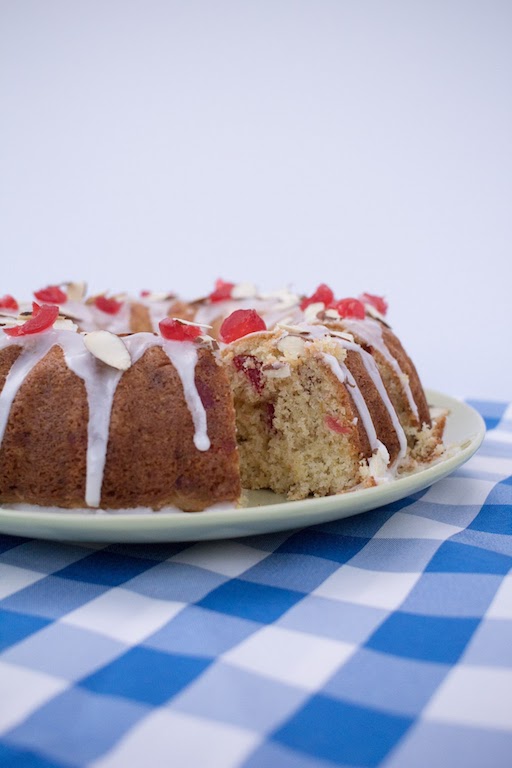
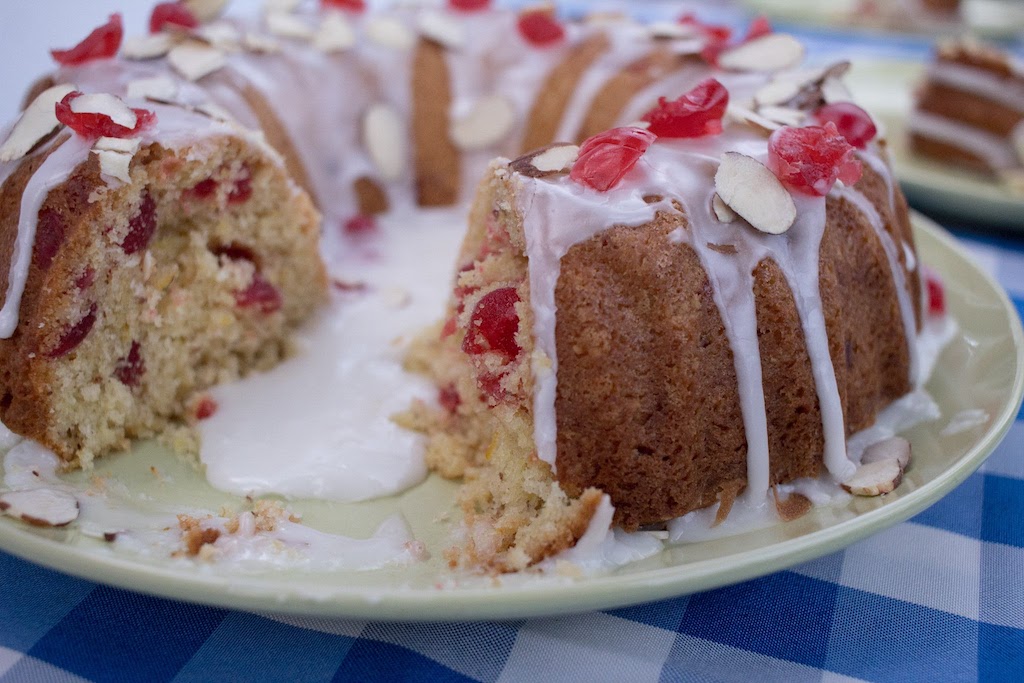
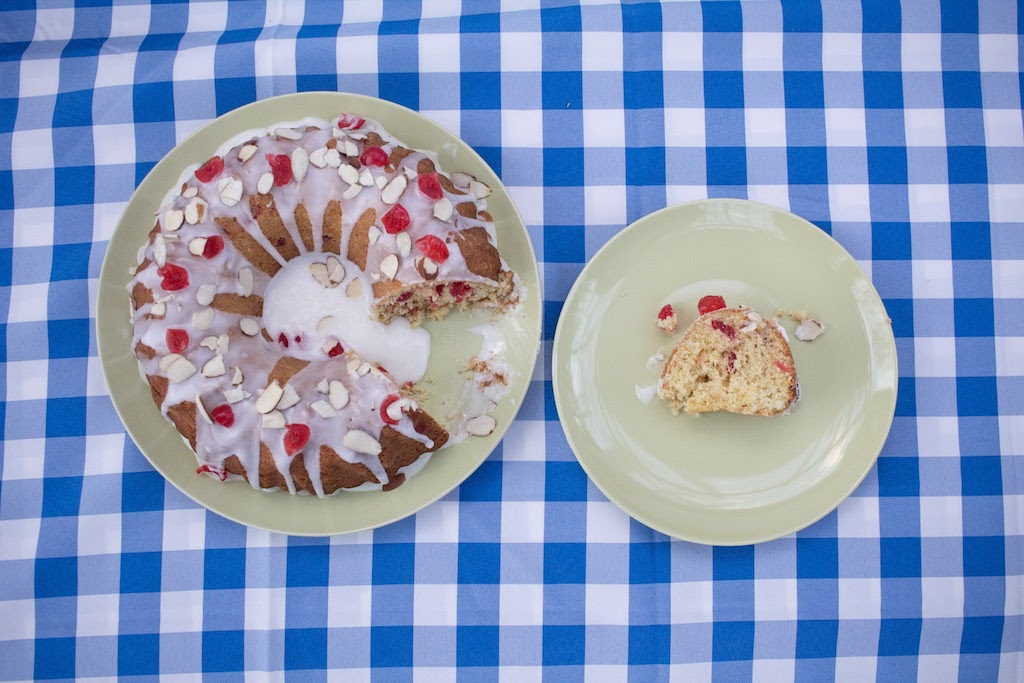

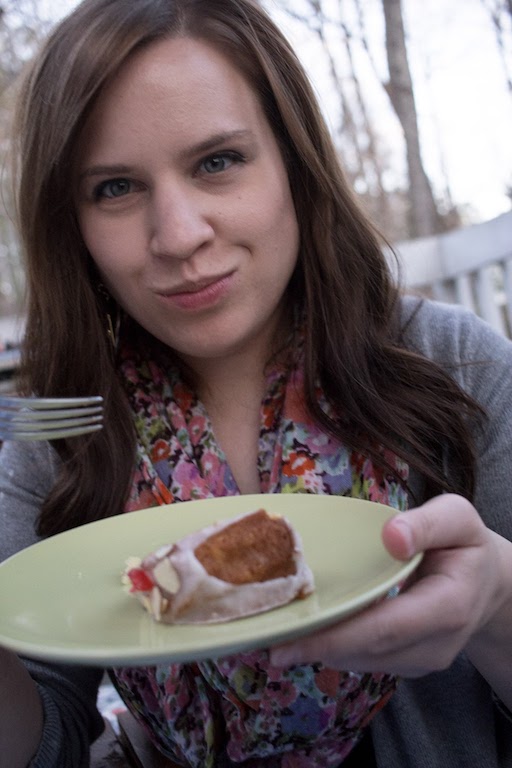
See my big mistake? The cake was actually quite cool, but I think my frosting was a tad runny and it pooled all in the middle! Womp womp!
Okay, so you ready to see my mom's version? Here's what she had to say, including some background about her, and our baking endeavors together. Make sure you read this because my mom is a hoot.
"When Joy told me she was doing The Great British Baking Show on her blog I was immediately on board. My family has always told me that I should be in business because of my cooking. Well, that has not happened. Actually the thought of being successful makes me kind of tired. How on earth would I ever keep up if the demand for my products grew? (haha) In truth I really love cooking and baking for my family and friends, at a pace that I set. Another disadvantage I have is that I am a perfectionist and my standards are quite high. Everyone might be throughly enjoying something I have done and I am still disappointed with something (too dark around the edges, too runny, flavor is "off ", uneven layers, and so on). I learned to cook from my Mother and have great memories cooking and baking with my daughters. Even my boys can find their way around a kitchen. In fact each spring the men compete for the best rhubarb custard pie.
The best thing about cooking and baking with your family is quite often the fun that ensues. This picture was taken after Joy and I got out of bed and started baking for an upcoming visit from her college friends. What a sweet memory of laughter and talking - the laughter is my favorite!
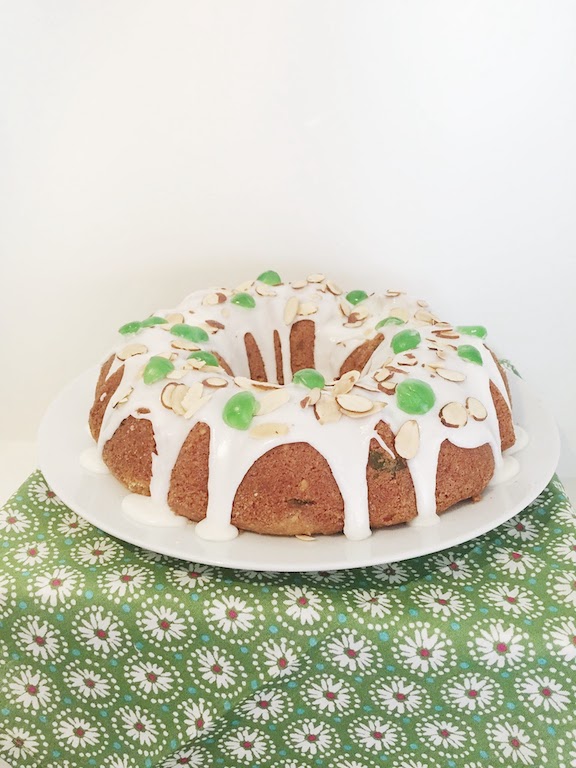
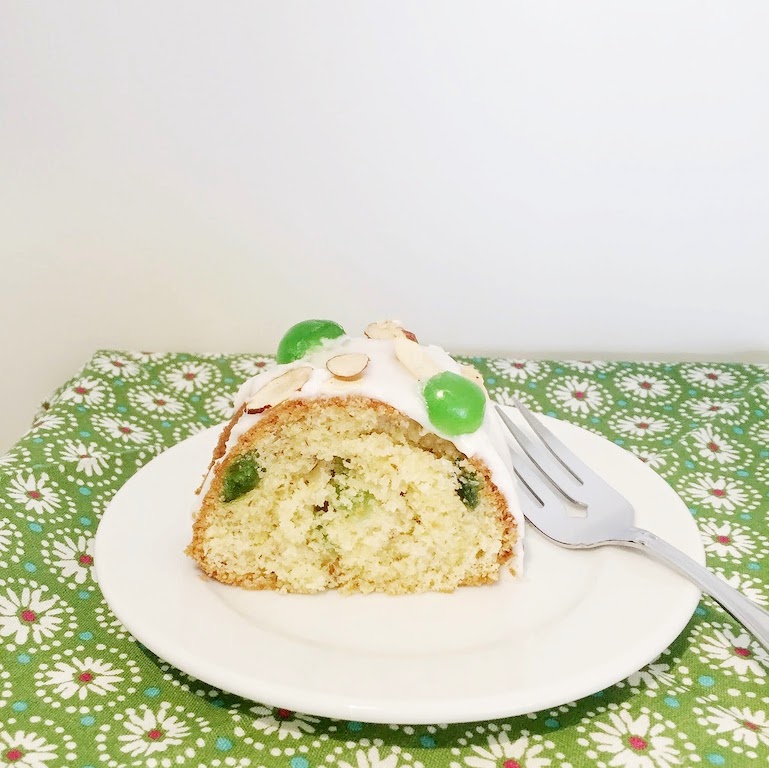
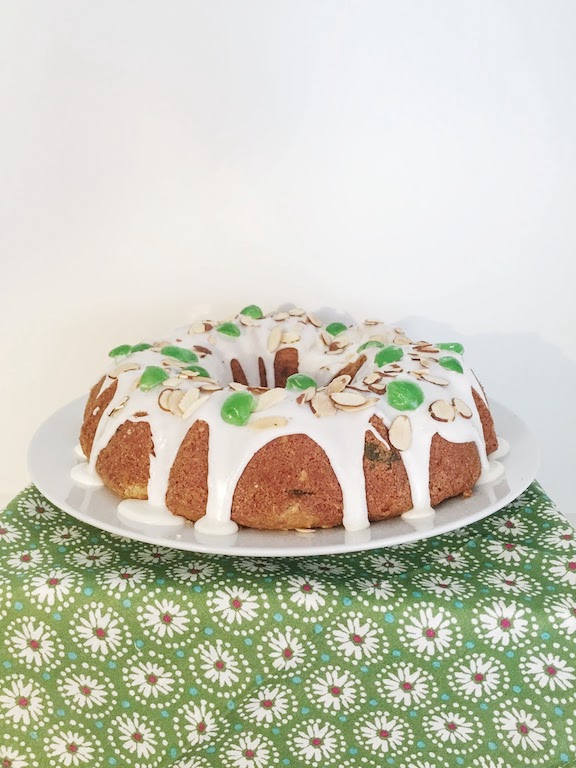
Which leads to my assessment of our first challenge. The cherry cake.
I learned that 2 tsp. of baking powder to a cup of all purpose flour is a substitution for British self raising flour. I discovered in my small town that candied cherries are only available during the holidays. I was fortunate to find one tub of green. The cherry cake you see pictured would probably be made for a St. Patricks celebration. That is, if it would ever be made again. It went together pretty easily and the cherries did not sink to the bottom which was good. So on that score it was a success. My bundt pan was old and when I put the thick batter in, there was some trepidation about it coming out of the pan. Joy and I happened to be FaceTiming when the cake was ready to be turned out. We both wish we had videoed the moment for you.... only half of the cake came out! (Laughter ensued for a really long time) If you look very closely you will see a gouge toward the back of the cake. Thank goodness for frosting. The cake had very nice flavor and the tart lemon frosting was delicious, but the cake itself was DRY, DRY, DRY! I won't have to make this cake again and couldn't really recommend it."
So there you have it, friends! Bake #1 is done and we're ready to take on the next one! Are you joining us? Tag your photos #JoyLynnBakeAlong for a blog post feature.
Wednesday, April 12th
Bake #2: Florentines

The Great Blogger Bake Along
A new blog series of baking challenges from The Great British Baking Show, where we test our skills, sanity, and ability to locate caster sugar in the U.S.
A new blog series of baking challenges from The Great British Baking Show, where we test our skills, sanity, and ability to locate caster sugar in the U.S.
Friends! How many of you like or appreciate baked goods?
And how many of you are fans of the show The Great British Baking Show?
Well, if you haven’t heard of it, there are three seasons on Netflix and it’s suuuppper addicting to watch. The talent these average-joe people have is unreal, yet the woes of baking they experience are all too relatable for the typical home baker (soggy bottom-ed pies, caved-in cakes, flat pastries, etc). They are challenged in technique, creativity, and flavor and it’s so inspiring to watch.
In fact, it’s so inspiring, that I’ve decided to do a Julie and Julia-esque baking challenge for the next several weeks!
On the show, each week has a theme of some sort (like cakes or biscuits) and the bakers have three separate tasks to complete. First, the “signature challenge” where they bake something of their own creation. Typically something tried and true that they’d bake for their own family and friends. Second, is a “technical challenge” in which they are given all the ingredients, measurements, and vague instructions for a difficult bake, but with possibly no knowledge of what it’s supposed to look like at the end. This tests their natural intuition. In the final round, they must create a “showstopper.” This bake has to hit all the marks of skill, taste, and professional appearance. All of these challenges are given varying time limits for completion.
With that bit of background, here’s what you can expect from this series…
- Starting April 5, every Wednesday, I’ll be tackling the technical challenges, starting with the first series available on Netflix. I have decided NOT to time these challenges because, well, I’d like to have a somewhat pretty bake to show you. Plus I cannot keep my kitchen anywhere near as consistent as theirs, and some of my U.S. ingredients will inevitably differ somewhat which may mean slightly different baking times.
- That being said, I’ve been tracking down difficult-to-find European ingredients in hopes of being able to replicate these recipes as closely as possible. Someone please tell me the best place in the U.S. to buy Caster sugar in bulk!
- About once a month, I’ll be featuring a friend and baking master - Cameron! She has done mannnyyy European bakes and will be my Showstopper for the series. I'm so excited to introduce you to this awesome lady. She's a real Mary Berry if I ever knew one ;)
- I’ll likely carry out the actual baking over the weekends, so be sure you’re following me on Instagram to catch some Stories or maybe even live videos en-process!
At the end of each post I’ll be sure and let you know what’s up next. If you’d like to join me on this challenge you are MORE than welcome! In fact, prior to each Wednesday, if you share your own photos of the current week’s technical challenge, I may feature you in my post. My mom (who has always been my baking mentor) said she’ll even join in, so alongside my bakes, you’ll see a few of hers too! Hashtag your photos #joylynnbakealong for a chance to be featured and to see other great bakes.
I am so excited to start this series and I hope you’ll follow along! Baking is something I find so therapeutic, yet challenging, and learning new techniques and using different ingredients sounds like so much fun. I’ve found myself baking the same recipes over and over - wonderful, delicious recipes of course - but the same ones nonetheless. Do you ever find yourself there? In a baking rut? This is how I’m going to break it and learn something new in the process. And if nothing comes of it but two people under my roof with more baked goods than they could possibly eat, well then… I suppose you should hope you’re my friend and you live nearby, or you work in my husband’s office.
Wednesday, April 5th
Bake #1: Cherry Cake
View all The Great Blogger Bake Along posts below!


Chicken Pot Pie
Like I told you in my last food post, I'm kind of a recipe hoarder. I think recipes are meant to be shared, but when it comes down to it, I suddenly feel a pang of selfishness overcome me. Also, my mom guilts me for sharing "family recipes" when really, I think she just pulled them from other cookbooks and forgot which ones, so she decided to call them her own.
That's all beside the point, because today I am sharing with you my very favorite recipe when you need something homestyle and cozy to the core. Chicken pot pie from scratch.
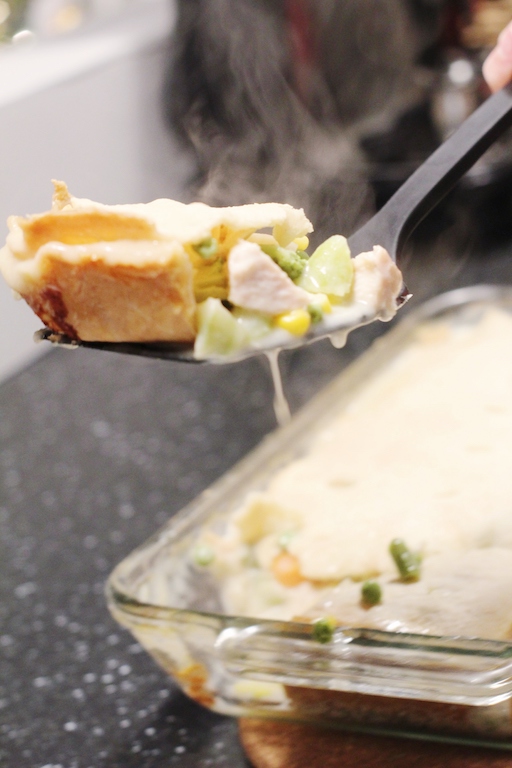
With a perfect, flaky crust, rich cream sauce, and tender chicken and veggies, it'll be the best home cooked meal you'll have this winter. Let me just dive right in...
First, start with the crust. A good crust recipe will serve you well for years and years. The one I use is good for sweet pies, savory pies, mini pies stuffed with whatever you want, etc... I highly recommend it. via Simply Recipes
Crust Ingredients
2 1/2 C flour
1 teaspoon salt
1 teaspoon sugar
2 sticks unsalted butter - VERY cold and cubed
6-8 T ice cold water
Directions
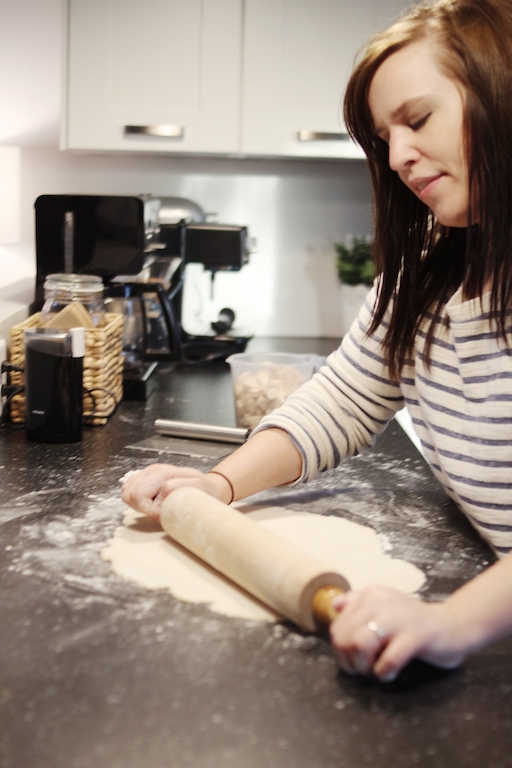
Mix the dry ingredients together in a stand mixer or food processor. Slowly add the cold butter (sometimes I cube my butter and then toss it in the freezer for 10 minutes or so) cubes and watch them become pea-sized and give the mixture a rough, uneven texture. Do not over-mix. You want those chunks of butter as they'll add nice flaky layers when baked. Then, add the ice water, tablespoon at a time just until incorporated. The dough should look dry and crumbly, but hold together if grabbed into a fist.
Dump mixture onto a clean surface and knead gently by hand until it holds its shape - do not knead too much! Separate the dough into two equal sized mounds and shape them into discs. Wrap each in plastic wrap, and refrigerate for at least 1 hour or up to 48 hours.
Remove 10-15 minutes before you'll be using it to let it soften enough to make rolling easier.
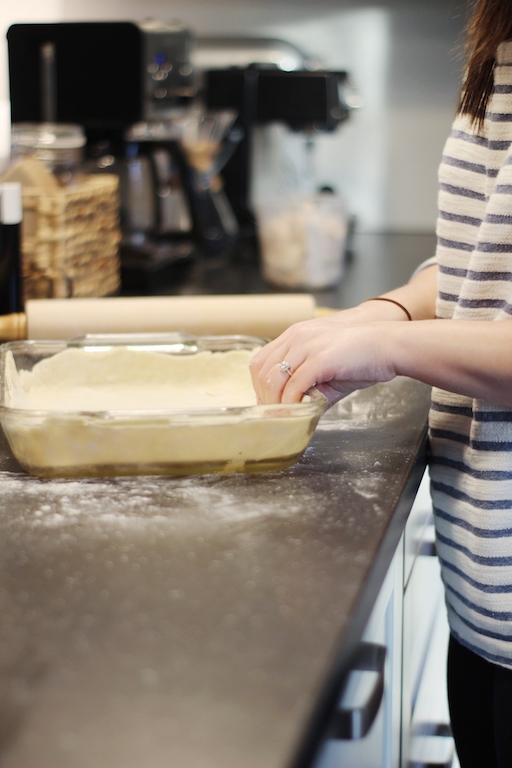
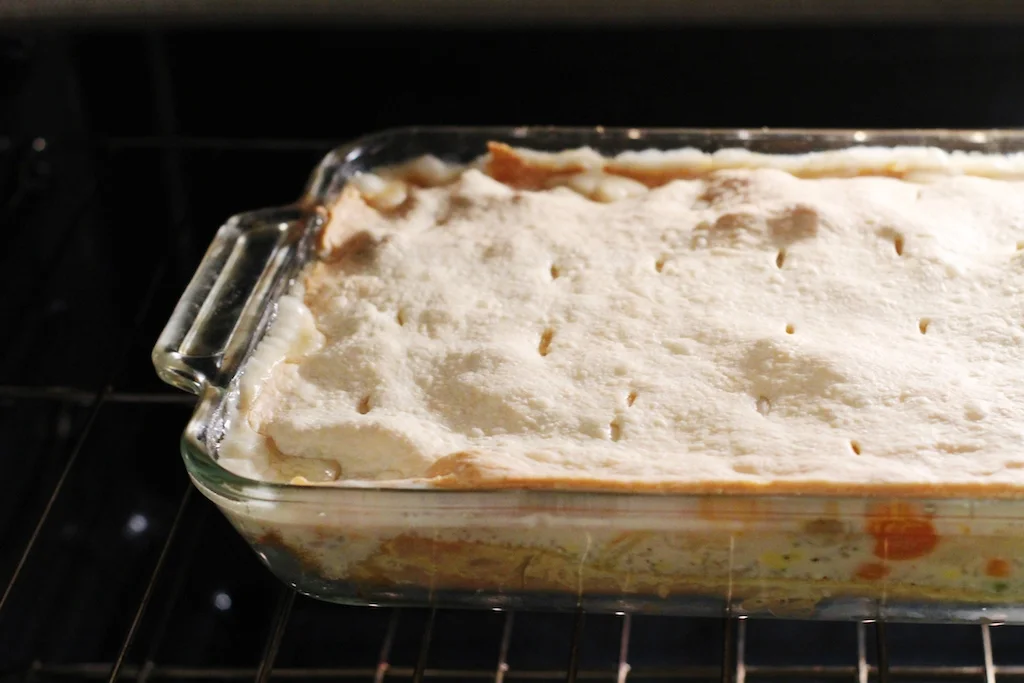
Once you're ready to get your pot pie going, roll one of your discs into a large rectangular shape so it covers at least the bottom of a 9x13 pan, but try to get it large enough to cover the sides of a 9x13 if you can. Preheat your oven to 325. Line the 9x13 with the crust, pressing it down, along the edges, and into the corners of the pan. Pop the crust-lined pan into the oven for about 15 minutes - just until it's no longer "raw." While it's baking, roll your other disc out into a 9x13 rectangle. This piece will cover the pot pie. Set aside. Bump your oven up to 375 once you remove your pre-baked crust. (The reason you pre-bake the bottom crust is so it doesn't stay raw once you put the wet filling in)


Sauce Ingredients
1/4 C butter
1/4 C flour
2 C chicken broth
1/2 C whipping cream
1/2 teaspoon salt
1/4 C grated parmesan
Sauce directions
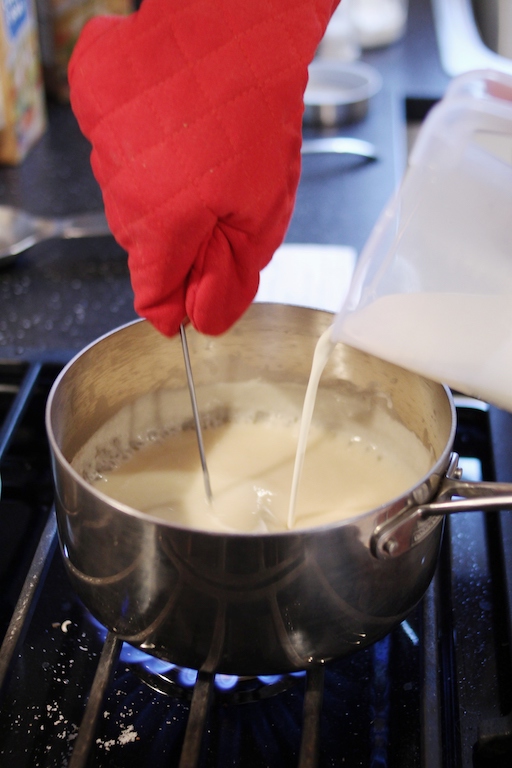
In a medium pot, melt butter. Blend in flour, then slowly incorporate chicken broth, slowly stirring until thick. Add whipping cream and salt and pepper to taste. Should be creamy and not too runny in texture. Add parmesan and cook a couple minutes longer, stirring. Set aside.


Pot Pie Ingredients
3 C cooked chicken (about 2 breasts)
1 12-14oz package of frozen veggies (in a steamer bag if you'd like to save time)
1 10-12 oz bag of frozen broccoli florets (in a steamer bag if you'd like to save time)
1-2 russet potatoes, peeled and diced
Pot Pie Directions
Have your chicken ready to go. When I cook mine a day or two before, I only season it with salt and pepper and maybe a hint of garlic powder. Once it's been cooked, just dice it and set it aside.
Steam all your veggies, except your potato(es) which just need to be peeled and diced. They can be thrown in to the pot pie raw.
In the pot with your sauce, add the chicken, veggies, and potato(es). Mix until well combined. Pour the mixture into your pre-baked crust and spread evenly. Cover the 9x13 with top crust and trim the edges. Bake at 375 until the the crust is golden, about 30 minutes (give or take). Enjoy!


Saltine Bars
I can't believe I'm doing this.
This little recipe is my crutch. My fail-proof, fall-back. I haven't wanted to share this recipe because I have this internal fear that it'll find its way around my circles, or like, the world, and every time I have to bring a dessert, I'll see a buffet table filled with these and I'll cry on the inside... or a little out loud, like a pathetic whimper of defeat that says, "Yeah Joy, your stupid little dessert that takes you ten minutes also takes everyone else ten minutes and now you're not original and yours don't taste as good as Peggy Sue's. Loser!"
So basically, I'm just really territorial about my saltine bars.
But the time has come. I will conquer a new recipe and up the ante and all of you people making my saltine bars will cower in the wake of whatever else becomes my next ten minute dessert.
OKAY. SORRY. Things are getting hostile in here. Maybe my recipe hoarding issues are the reason why my food section always looks a little skimpy... and anything food related should never include the word "skimpy," so I'll make a concerted effort to let go of my recipe selfishness.
So. Here they are.
THE FAMOUS SALTINE BARS.
If you are wondering why I would say they're famous without you ever having heard of them, just believe me. These are the kinds of bars that fit, healthy people take a bite out of, and their eyes suddenly widen like Eve discovering sin. They are the crack of the food world. You've been warned.
On a completely serious note, I can't take these bars anywhere without someone asking why the heck they're so good. The answer to that question (regardless of what food someone may be talking about) is almost always the same.
BUTTER.
Now that I have you on the edge of your seat, just dying to know what else makes them so dang good besides just the butter, let me just give it to you straight in the form of ingredients and directions.
Ingredients
Saltine crackers
2 sticks butter
1 C brown sugar
1/2 - 3/4 C semi-sweet chocolate chips
1/2 - 3/4 C butterscotch chips
Directions
Grease a cookie sheet with butter and line with saltines.
Preheat the oven to 400 F
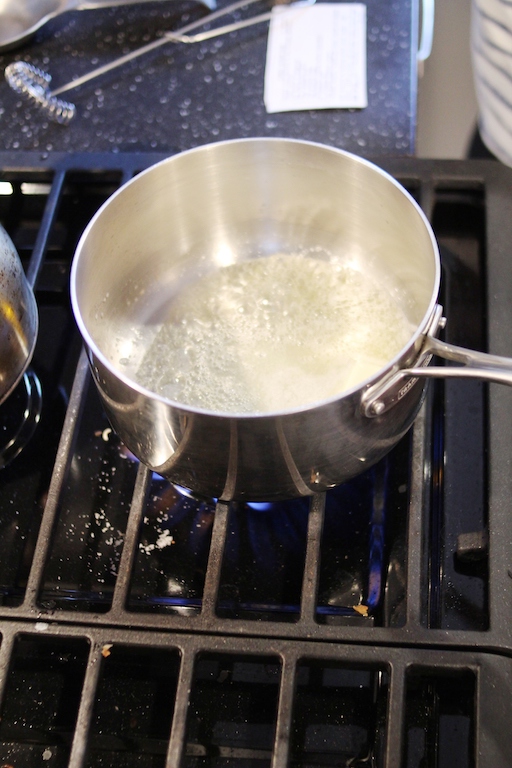
Melt the butter in a pot over medium heat and add brown sugar, stirring constantly. Bring to a boil and stir about three minutes more. It should become thicker and lighten in color.
Pour the mixture over the saltines and spread evenly. Bake for 5 minutes.
Upon removing the pan from the oven, sprinkle the chips over the top while it's still hot and allow them to soften and melt. Then, using a spatula or icing tool, spread the melted chips evenly across the top.
The only recommendation I'd add, is to just make them a couple of times and decide for yourself what your favorite 'chip' ratio is. I like a thinner layer of the chocolate/butterscotch, so I lean towards the half cup of each with a tad more chocolate than butterscotch.
Enjoy these perfectly salty, buttery-toffee, chocolatey treats! Whatever you do, make sure you make them for a function in which you must share... or you will eat the entire pan alone. Happy eating, friends!

Secrets To Successful Thrifting
This shop has been compensated by Collective Bias, Inc. and The Coca-Cola Company. All opinions are mine alone. #tastehydration #CollectiveBias
As a Midwest girl, Georgia summers are a beast. Of course, summer is expected to be hot (I'm not complaining!), but here in the South, it's paired with an overdose of humidity. Since moving here, I have had to be very diligent about keeping myself hydrated, especially in my daily life when it's easy to forget amidst all the running around.
As it's now July, a prime time of year for garage sales and antiquing, I have been on the hunt for some special pieces to complete our kitchen and living room. Specifically a solid retro-modern coffee table. I love the hunt for an awesome deal on a table I could refinish, or a one-of-kind piece of art, but all that run-around definitely takes it out of you. Let me share with you a few of the steps I take to make sure I'm ready for a hot, summer thrifting day.
1. Pack the essentials


My every day essentials always include:
- A phone charger
- A small roll-on scent
- A favorite lip balm/gloss/lipstick
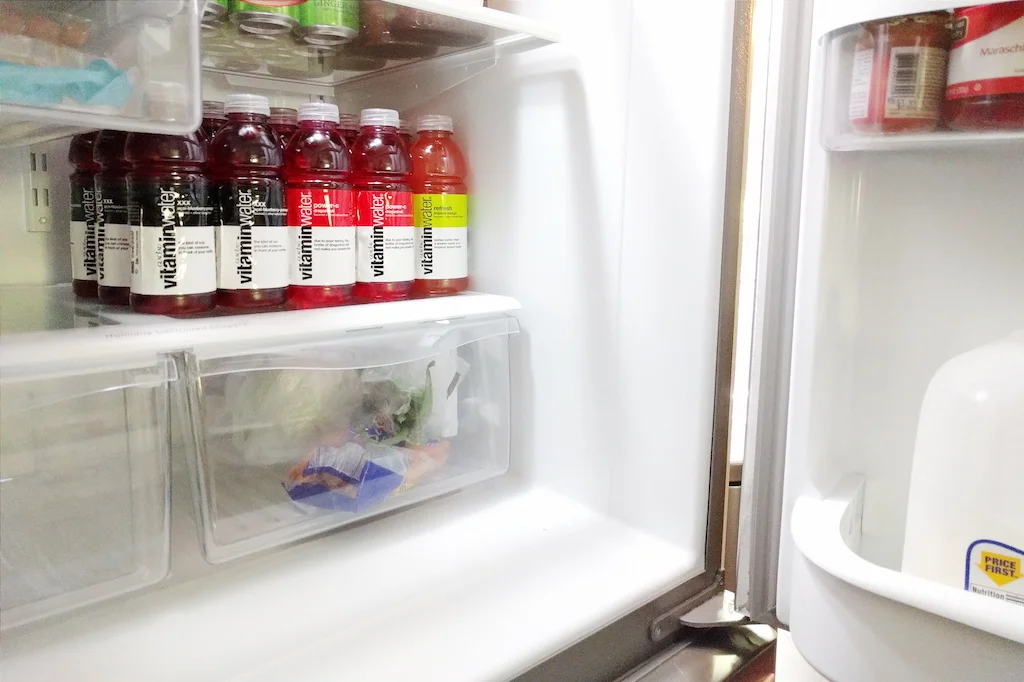
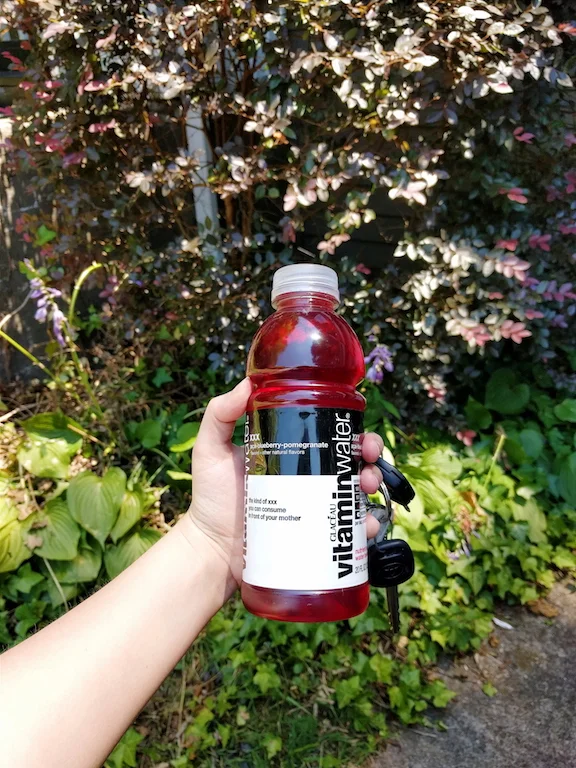
- VitaminWater® for staying hydrated
- A well organized wallet
- Contact/business cards
2. Map it out
Have you had those days when you feel like you are running from one end of town, to the other, and then back again? And by the end of the day you are completely wiped and feel like you somehow managed to get nothing accomplished?
Between the heat and the traffic of the Atlanta area, it's so easy to find myself in such a scenario - and it leaves me feeling very flustered. So before I even get in the car, I create a game plan for my stops. It really helps to map it all out before I get going and can't use my phone while driving.
Am I picking up groceries that need to get home before they melt? Make that a last stop.
Am I planning on picking up some bulkier items? Better make sure I bring the larger vehicle today.
Sometimes mapping it out can be hard when you're hitting up random garage sales, but it helps to try and get them done first. Their hours may be shorter, while actual stores will be open at reasonable times.
3. Listen to your body

4. Find stores with plenty of stock and variety
Lately, the area antique malls have been drawing me in. Prices range from "ridiculous" to "a steal," but that's what makes it so quirky and fun to sift through. I've seen tables of similar size and shape range from $30 up to $700 (or more!). Sometimes you find an untouched gem, and other times you'll come across a booth of beautiful reclaimed furniture. You may turn up empty handed by the time the day is out, but the experience is definitely an accomplishment in itself, so don't feel discouraged or unproductive!


5. Stop before you get tired
6. Enjoy the process
Thrifting can cause a little burn-out, but if you fight through the urge to quit, it all becomes worth it when you find the perfect pieces to finish your space. Like these amazing side tables we scored for our guest room!