
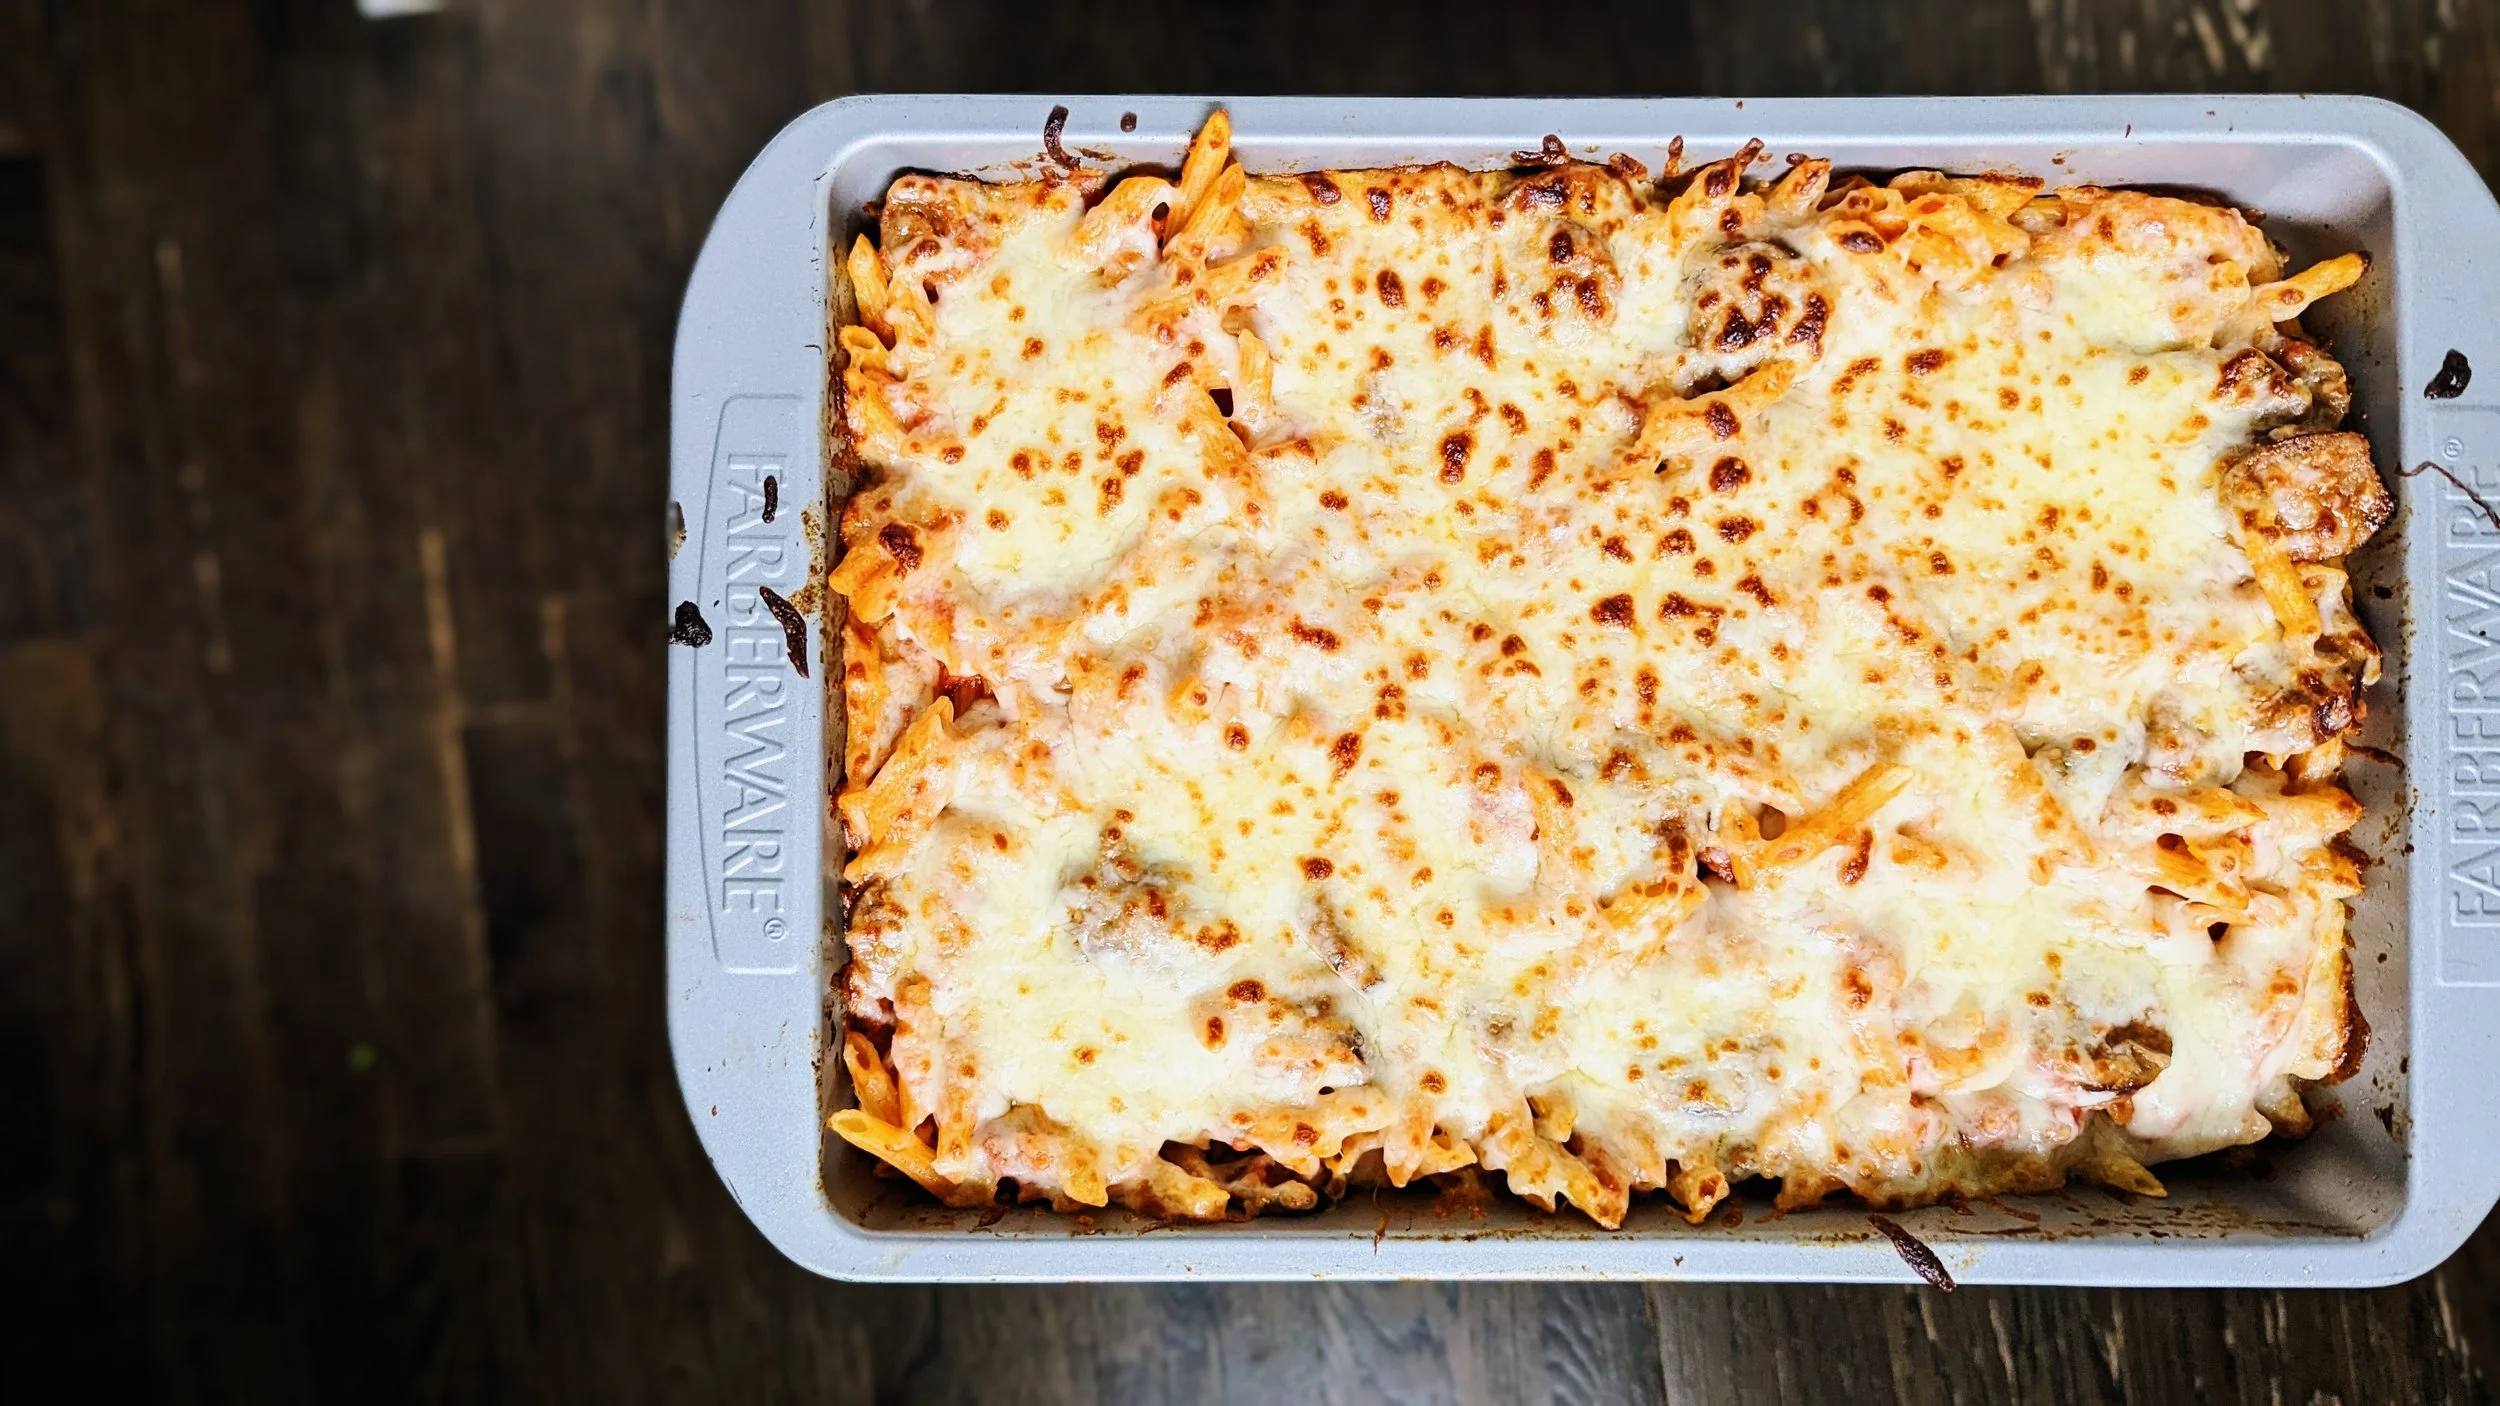
Italian Sausage Pasta Bake
Need a “simple ingredient meal?” You’re in the right place. Let’s jump right in.
Need a “simple ingredient meal?” You’re in the right place. Let’s jump right in.
INGREDIENTS
1 box penne or mini penne pasta
1 large jar pasta sauce (I prefer Raos marinara)
1 package mild Italian sausage (ground or links sliced)
2 cups mozzarella cheese
DIRECTIONS
Preheat oven to 350
Cook pasta according to package directions
Cook sausage
Prepare a 9X13 baking dish with nonstick spray
Drain pasta, add jar of sauce and cooked sausage. Mix.
Pour mixture into prepared pan
Top generously with mozzarella
Bake until cheese is melted - and broil until browned bits appear
Serve and enjoy!
I love this one because it’s a simple pantry staple meal and kids love it. Plus, by adding a simple side salad, it feels cohesive and filling with very little effort.


Family Meal Planning
I’ve been asked time and time again how I plan meals for my family, and ways to make the process as stress-free as possible. So today, I’m dusting off the blog to finally share that process with my friends and perhaps old readers ;)
I’ve been asked time and time again how I plan meals for my family, and ways to make the process as stress-free as possible. So today, I’m dusting off the blog to finally share that process with my friends and perhaps old readers ;)
Now, keep in mind that I have a tendency to ramble, and I want to fit in all the details to cover any questions. Ultimately, though, if you can make this a practice in your home, it only takes one night a MONTH to really sit down and plan, and then a few minutes once a week.
Here are the basics of the process:
Once a month: At the end of the month plan out dinners (and only dinners!) for the next month. This can be time-consuming if you let yourself get distracted, but by creating a master list of your family’s favorite meals, it shouldn’t take more than an hour.
Weekly: sit down for a few minutes and simply fill in the planned dinners, and rotate through your family’s usual breakfasts and lunches.
Grocery shop: I order from Kroger and have it delivered each week.
Prep fruits and veggies for the week and store them appropriately to keep them fresh and easy to grab, and pull out any frozen meat that will need to be thaw.
I’ve been using this process for probably 3+ years and made my own meal planning sheets that I print off and fill out. My brain just works better in this process if I physically write it out myself and erase and move things as I need throughout the month/week. I actually keep mine on the front of our fridge so I can glance at it quickly and so can everyone else in my house.
However, it would be very easy to use this template on your computer and view from there.
If you visit that link, you’ll see the tabs of each version on the bottom of the page. My monthly template, weekly template, and then examples of how I fill out each one.
Now, how I decide on what to fill in?
This is where you start to take your family’s preferences into account. Once a week I do Mexican, pasta, chicken, and takeout. I’ve also had phases of pizza once a week, or a frozen Trader Joe’s meal. A soup? Seafood? Veggie based? Beef? Breakfast for dinner? Takeout twice (or more?) a week? Whatever your family likes and creates some variety or makes life easier!
When I fill it in for the week, I take into account our plans. If we have late afternoon plans, I wouldn’t schedule a meal that takes a lot of time and effort. And when possible, I do some of the chopping and prep work during the boys’ nap/quiet time, but you do that whenever it’s best for you. Start of the week? End of the day for tomorrow? Whatever! So schedule out your meals in a way that realistically suits your life.
What recipes do I pull from?
I pull from a mixture of family recipes and favorites I’ve acquired from the internet. I throw in a new recipe probably a couple times each month and that gives us a larger library to rotate through (or not if it was a fail haha). Take the season into account - cozy fall recipes, bright spring recipes, etc…
Down below is a master list of our favorite recipes that we rotate through, but I highly encourage you to do this for your home to make the process of meal planning seamless.
If they’re linked, you’ll find a recipe. Over time, I’ll start adding my family recipes to the blog so you can have a link to those as well :)
Breakfasts
Scrambled eggs, bacon, hash
Over easy eggs, toast, sausage
Avocado toast, yogurt
Breakfast burritos
Breakfast sandwiches on English muffins or croissants
Bagels with preferred toppings
Soft boiled egg, toast, sausage
Pancakes (homemade or boxed)
Fresh waffles
Frozen waffles, yogurt
Banana pancakes
Muffins (banana, blueberry, bran)
Scones (lemon blueberry, orange cherry, cherry almond)
Finnish pancakes
Dutch babies
Brioche french toast
Crepes
Cinnamon rolls (easy version or overnight)
Trader Joe’s frozen croissants, yogurt
Peanut butter toast
Cereal
Oatmeal (cinnamon apple, PB banana)
Egg-in-a-hole, bacon
Hashbrown bake
Quiche (bacon asparagus)
Lunches
Leftovers :)
Salami sandwich on croissant
Tuna on croissant
Paninis
Ham and cheese sandwiches
PBJ
Chicken wraps
Grain bowls
Mac n cheese (boxed or frozen)
Quesadillas (with leftover tacos)
Mini frozen tacos from TJs
Egg salad
Potstickers and fried rice
Chicken nuggets
Snack lunch/charcuterie
Grilled cheese and tomato soup
Chicken salad sandwich on croissant
Hot dogs, beans
*I always serve sandwiches with cut fruit and veggies and maybe some chips
Dinners
PASTA
Spaghetti and meatballs
Ravioli
Chicken Alfredo
Pesto pasta
Carbonara
Lasagna
CHICKEN
Chicken pot pie
Chicken divan
Chicken, mushroom sauce, rice, veggie
Chicken, rice, broccoli casserole
Olive garden chicken, potatoes, veg
Grilled tenderized chicken sandwiches on French bread
MEXICAN
Chicken burrito bowls
Taco salad
Ground beef tacos
Birria tacos
Nachos
Tostadas
Mexican pizzas
Fish tacos
Mexican lasagna
SEAFOOD
Seafood boil
Breaded pan fried cod
SOUP
Tortilla soup
Ramen
Chili
OTHER
Meatloaf
Breakfast for dinner
Pizza
Pizza sandwiches
Veggie pizza
Steak and potatoes
Pot roast, carrots, mashed potatoes
Burgers, fries, veggies
Hot dogs, beans, salad
Brats, salad, Mac n cheese
Pasties
Butter chicken and naan/paranthas
Sushi
Mediterranean chicken kabobs with taziki, pitas, hummus and rice
Roasted veggies and sausage
SIDES
Broccoli salad
Roasted veggies (broccoli or root)
Corn bread
Corn on the cob
Pasta salad
Salad
Cottage fries
Cottage cheese (for the boys)
Scalloped potatoes
Roasted potatoes
Rice
Spanish rice
Refried beans
Potato wedges
Mashed potatoes
Grilled summer veggies
Any veggies
Fried rice
Frozen 3 min rice
Frozen french/waffle/sweet potato fries
Garlic bread
I sincerely hope this is something that is helpful to you. Whether or not you use any of this exactly the way I do, maybe you’ve walked away from this post with some ideas. Do you have any other questions for me? Leave me a comment, email me, or shoot me a message on Instagram. I’m happy to help :)

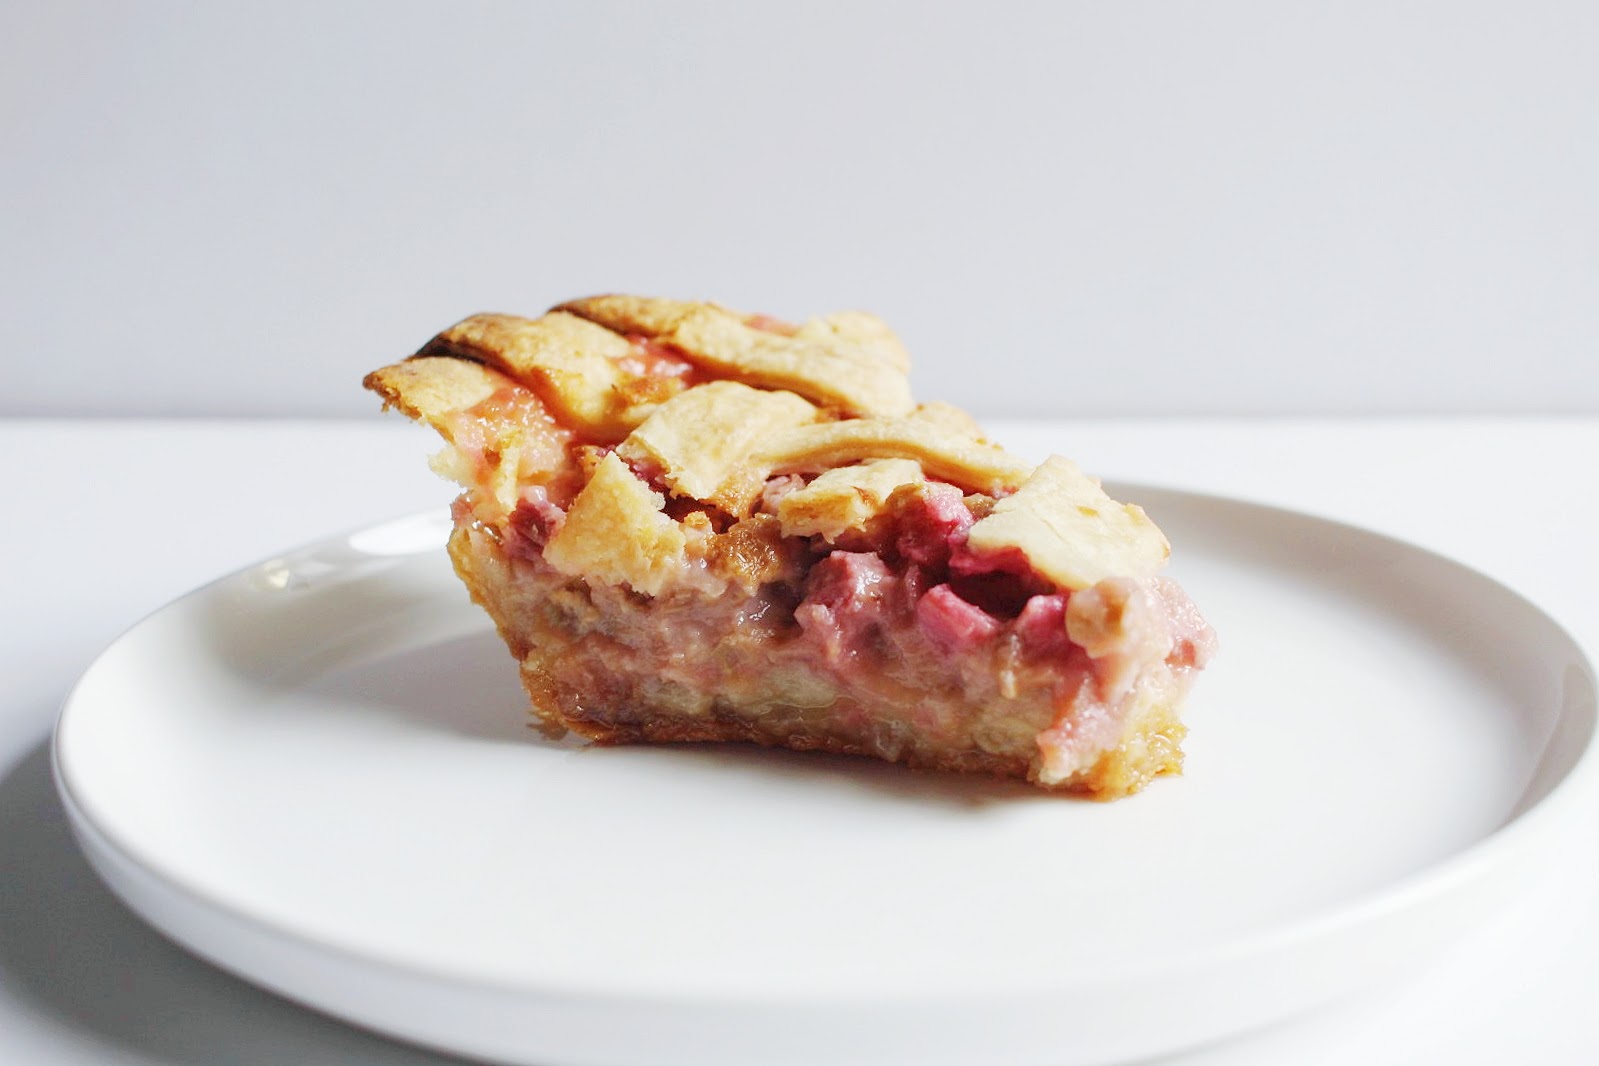
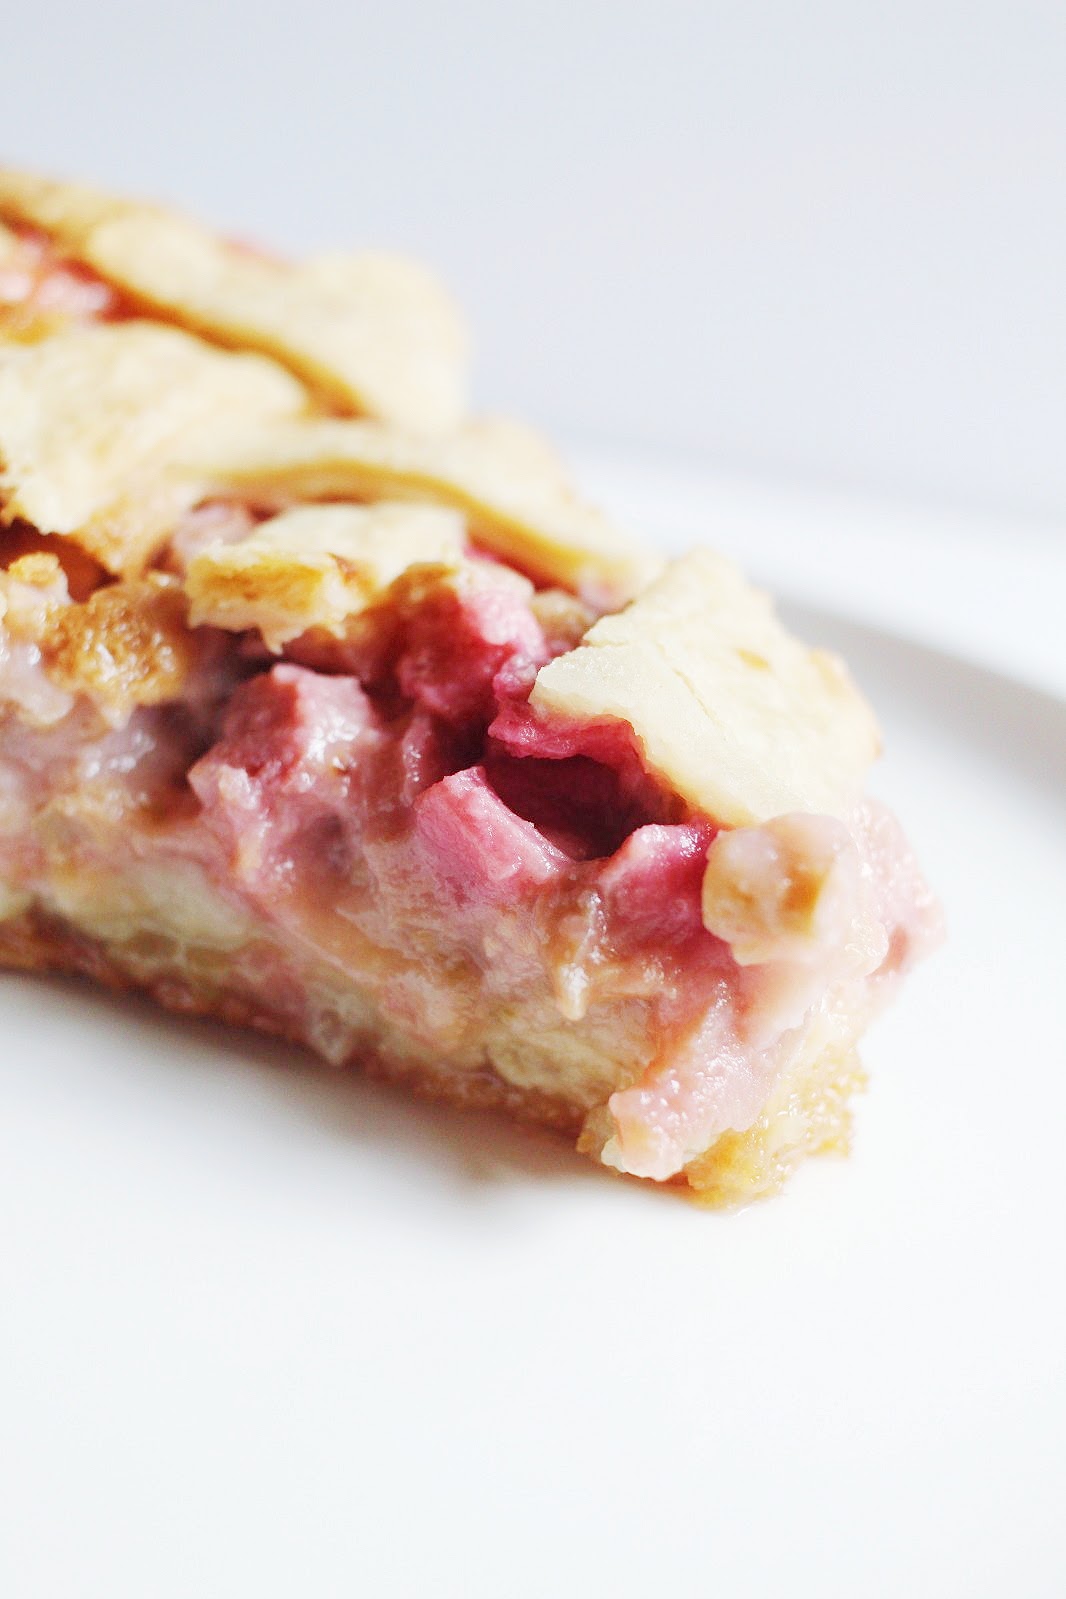
Joy's Rhubarb Custard Pie
Read BELOW the recipe for me talking about how good it is. But I hate scrolling through a long explanation, so here’s the recipe!
Read BELOW the recipe for me talking about how good it is. But I hate scrolling through a long explanation, so here’s the recipe!
Start with halving this Perfect Pie Crust recipe or you could do a pre-made crust - that’s fine too! That pie crust recipe is my absolute go -to for EVERYTHING, though. I use it for chicken pot pie, pasties, all pies, etc… it’s so versatile and tasty and easy.
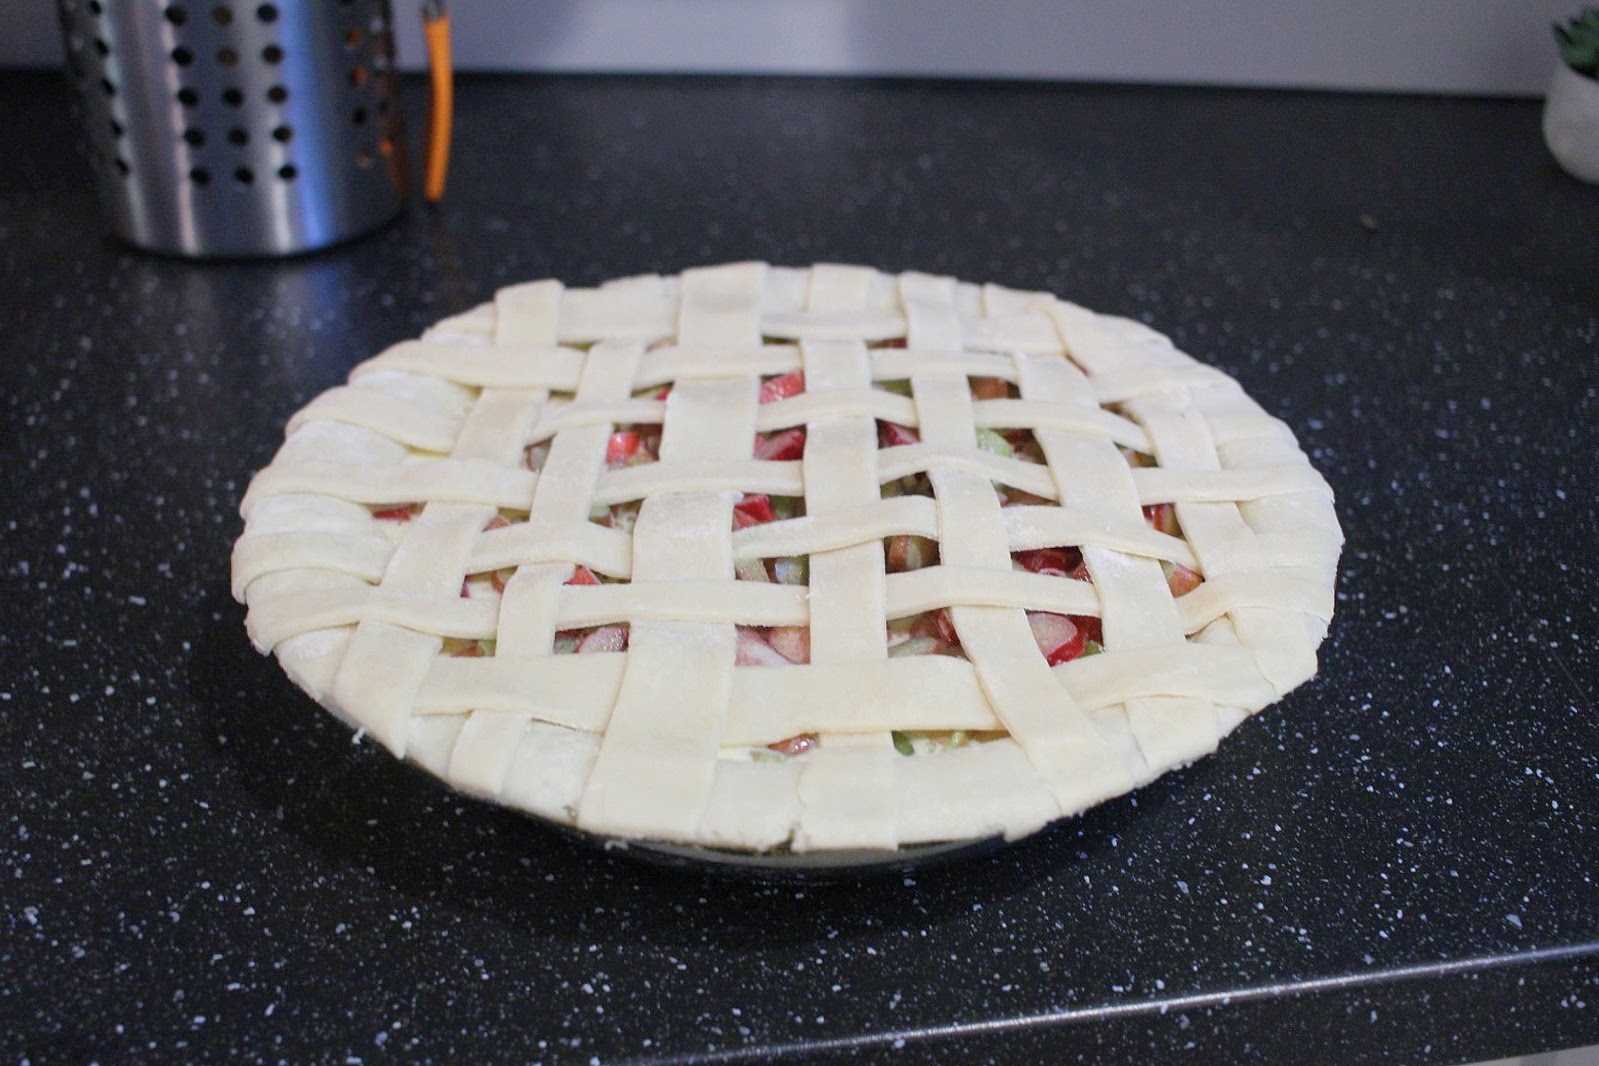
After allowing the crust to rest in the fridge, roll it out and place in your pie dish.
If store-bought, allow to thaw.
Ingredients
4 C rhubarb, cut into pieces
3 eggs
1/4 C flour
1 C sugar
1/4 C heavy cream
dash of salt
Directions
Preheat oven to 340 degrees on convection - or 360 non-convection.
Blind bake your crust until slightly crispy but not browned. About 15 minutes - give or take.
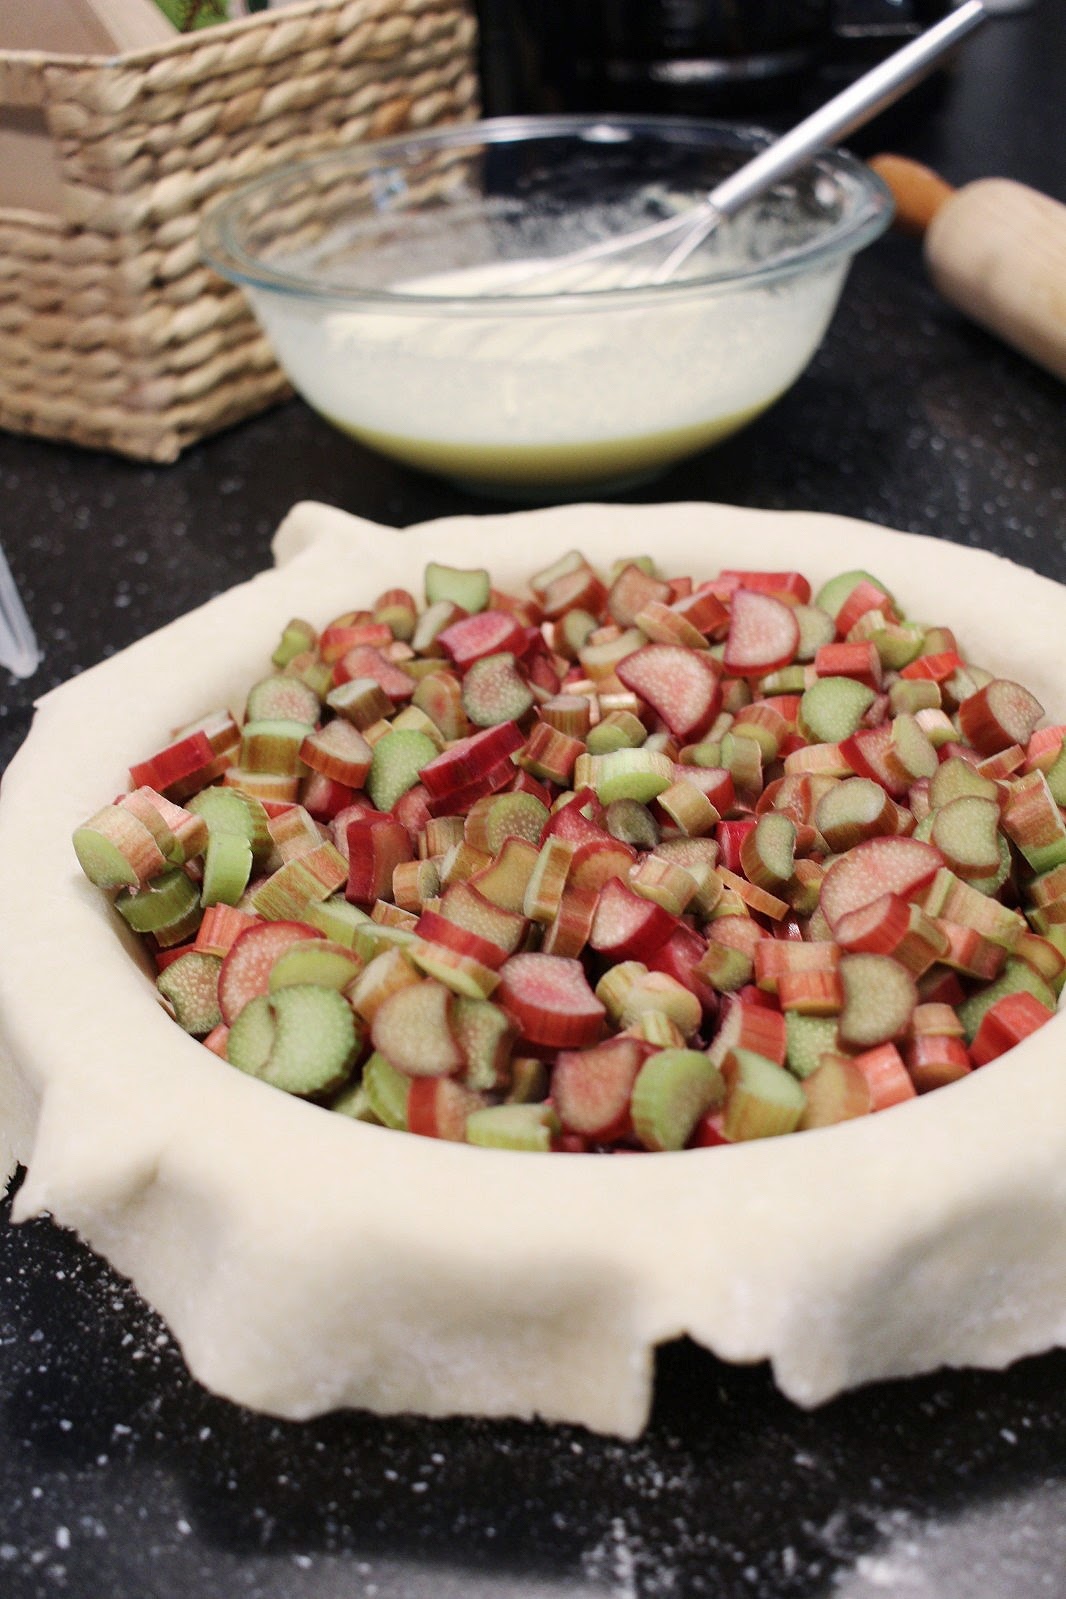
Cut about 5 stalks of rhubarb (4 cups worth) into small chunks.
In a separate bowl, add eggs and flour.
Using a whisk, beat well to incorporate flour until mostly smooth.
Add sugar, salt, and cream and beat until smooth.
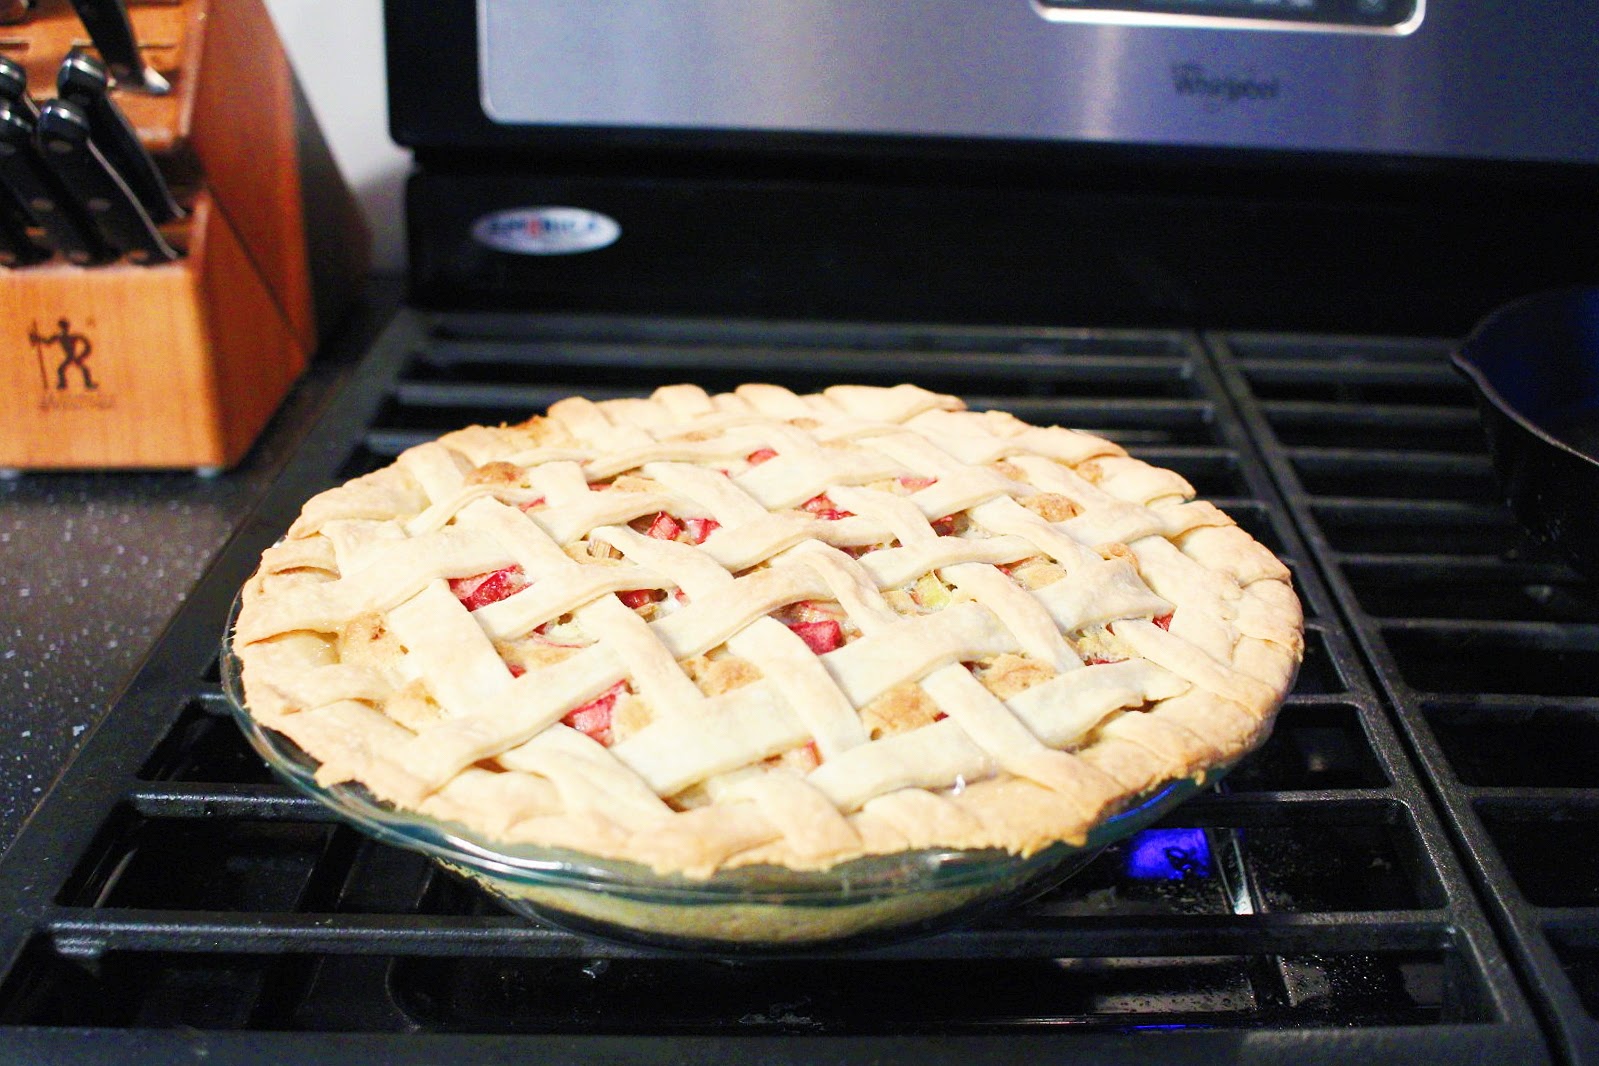
Add rhubarb to the crust and pour the custard over top. Bake for 55 minutes or until nearly set - it can have a minor wiggle to the center - it will set.
Allow it to cool for at least 15 minutes.
I am not a pie person. Don’t like making them. Don’t like eating them.
BUT THIS PIE.
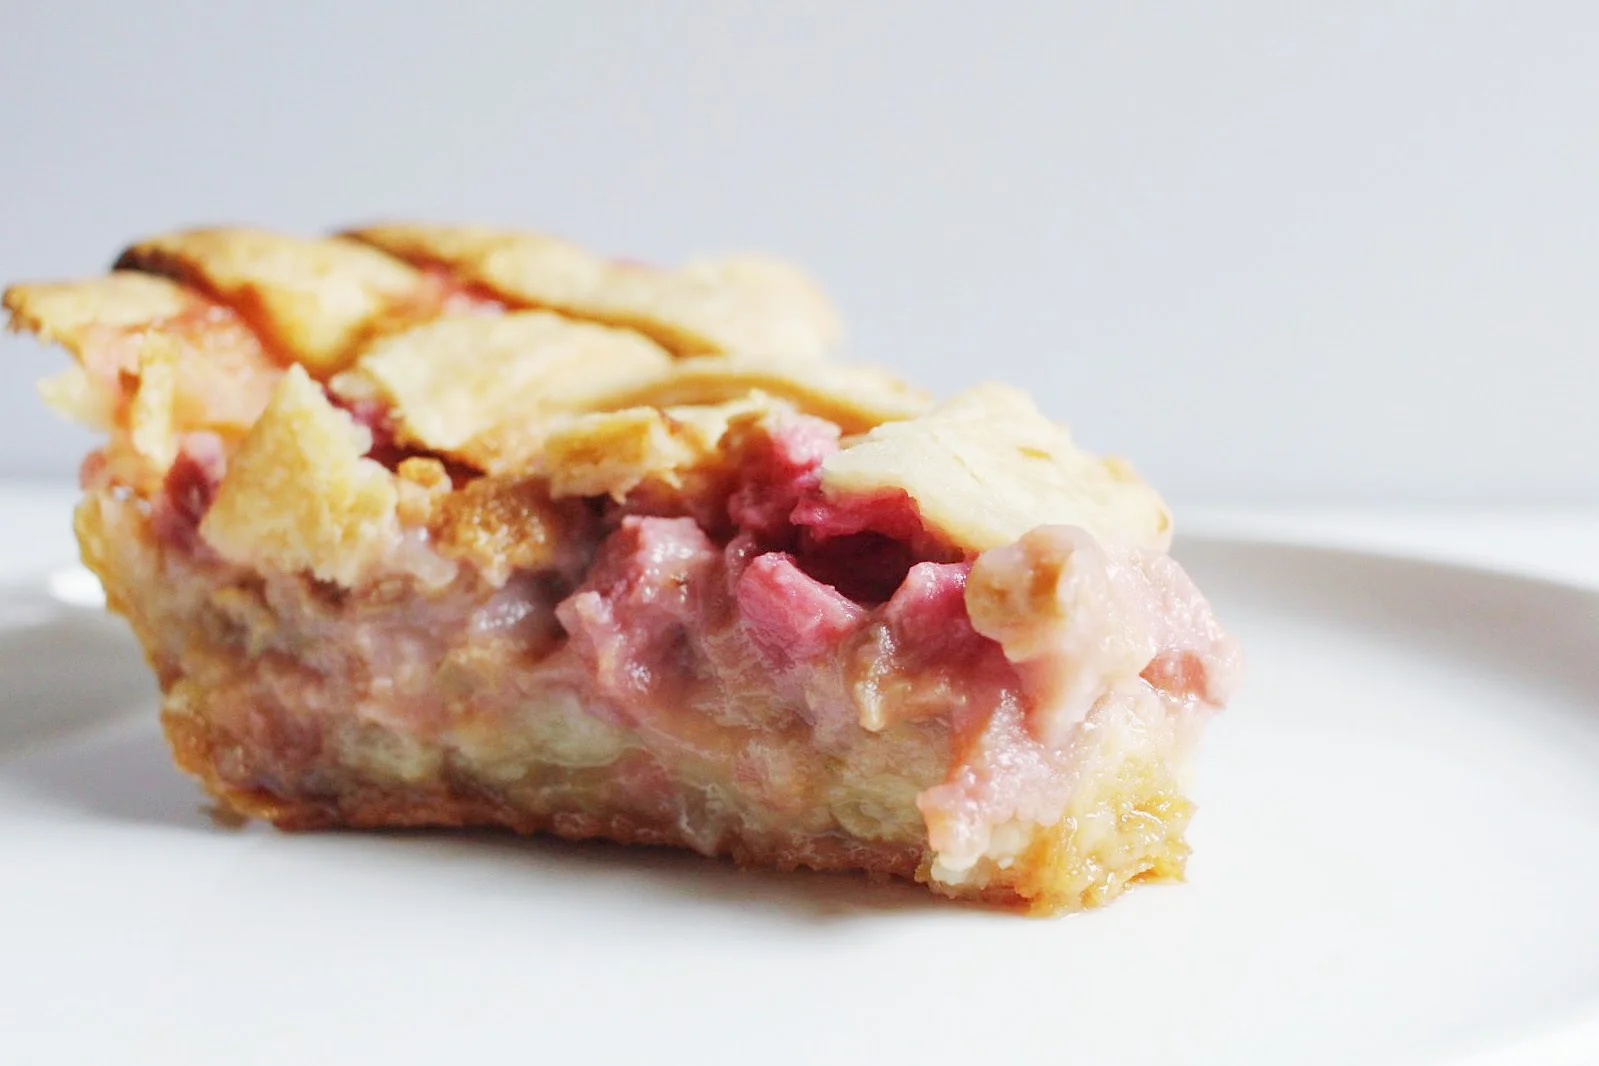
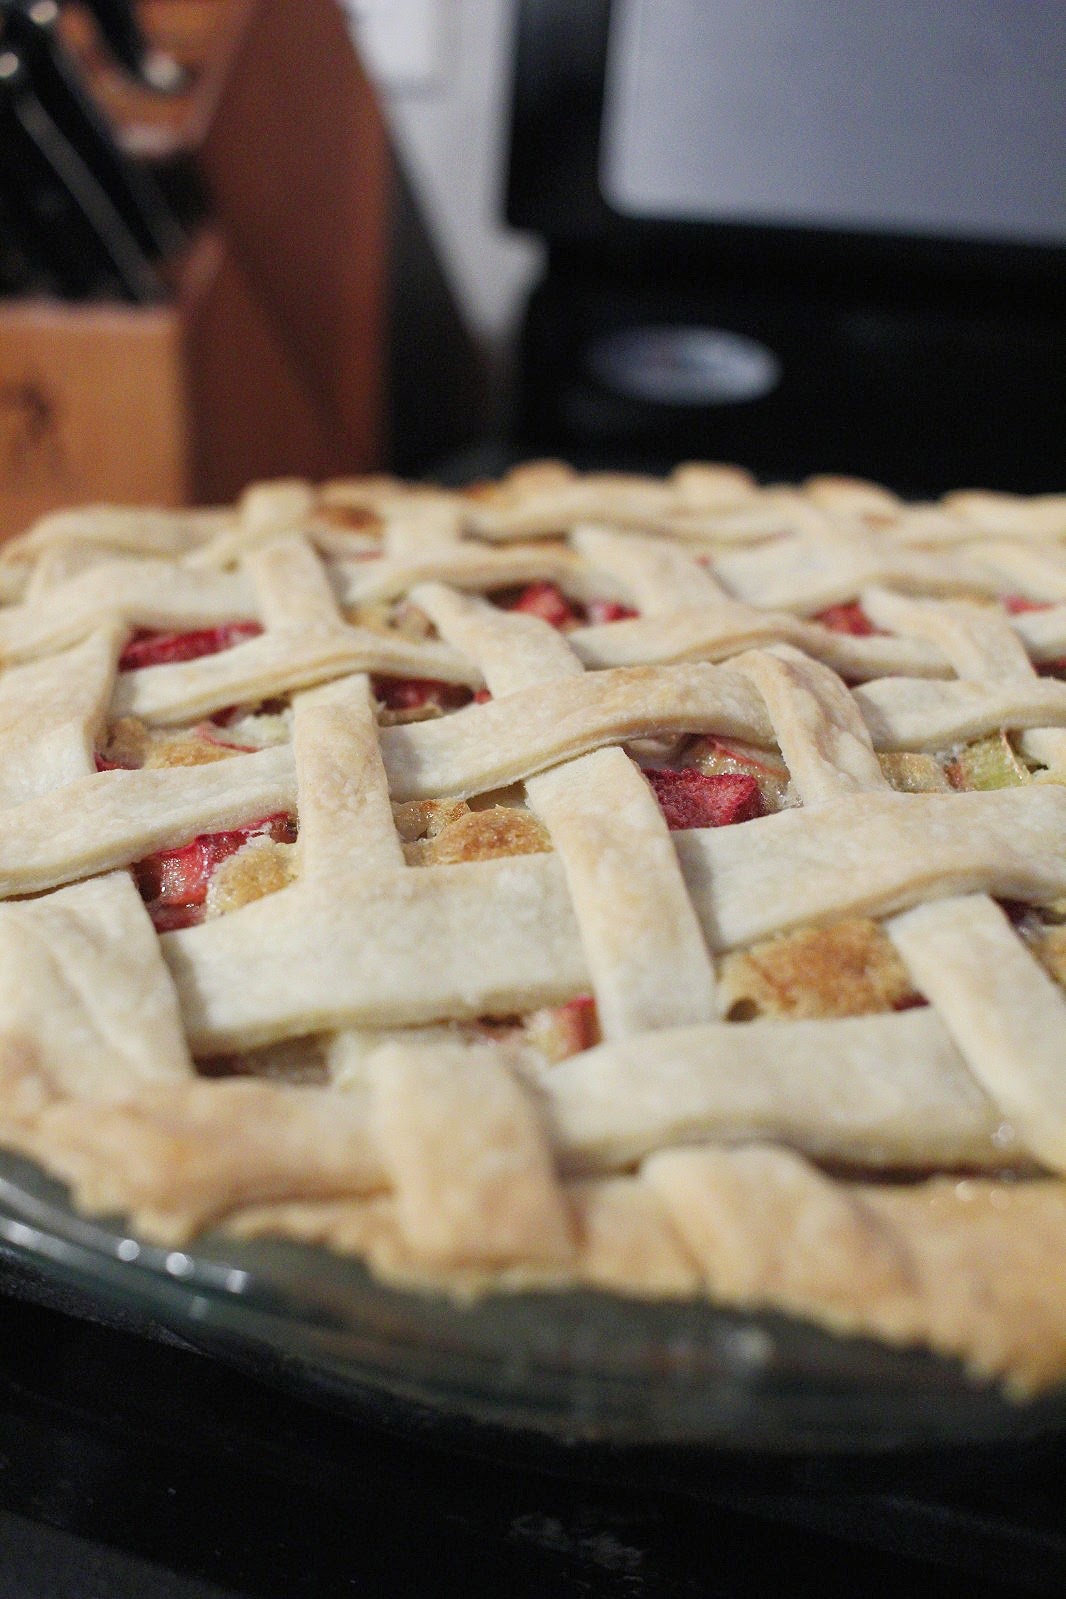
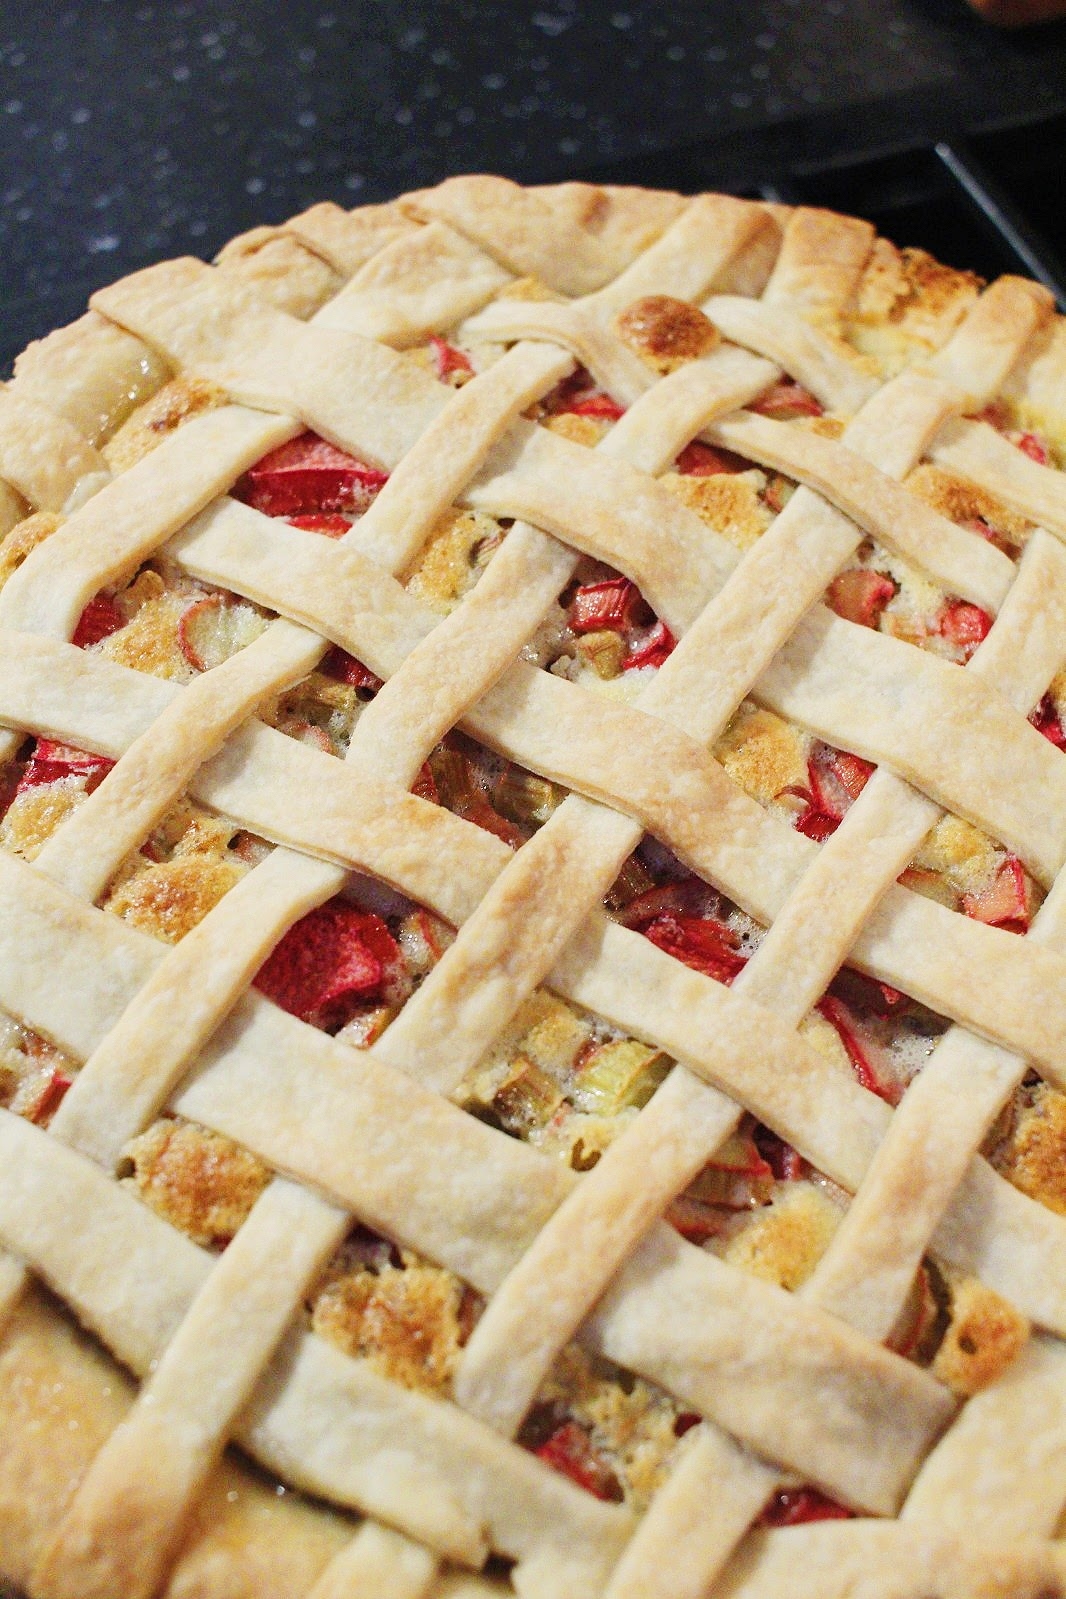
It is the thing of my (and Tom’s) dreams. It has such a perfect texture, and the balance between the tanginess of the rhubarb and sweet, creamy, custard is HEAVEN. Most people are a big fan of strawberry + rhubarb and I’m not opposed but I prefer that mixture in “bar” form. THIS PIE IS SO GOOD SO DON’T TRY ANY OTHER ONES OKAY BYE.
Here is an older version of this pie recipe, but my new version has surpassed it and is actually simpler to make.

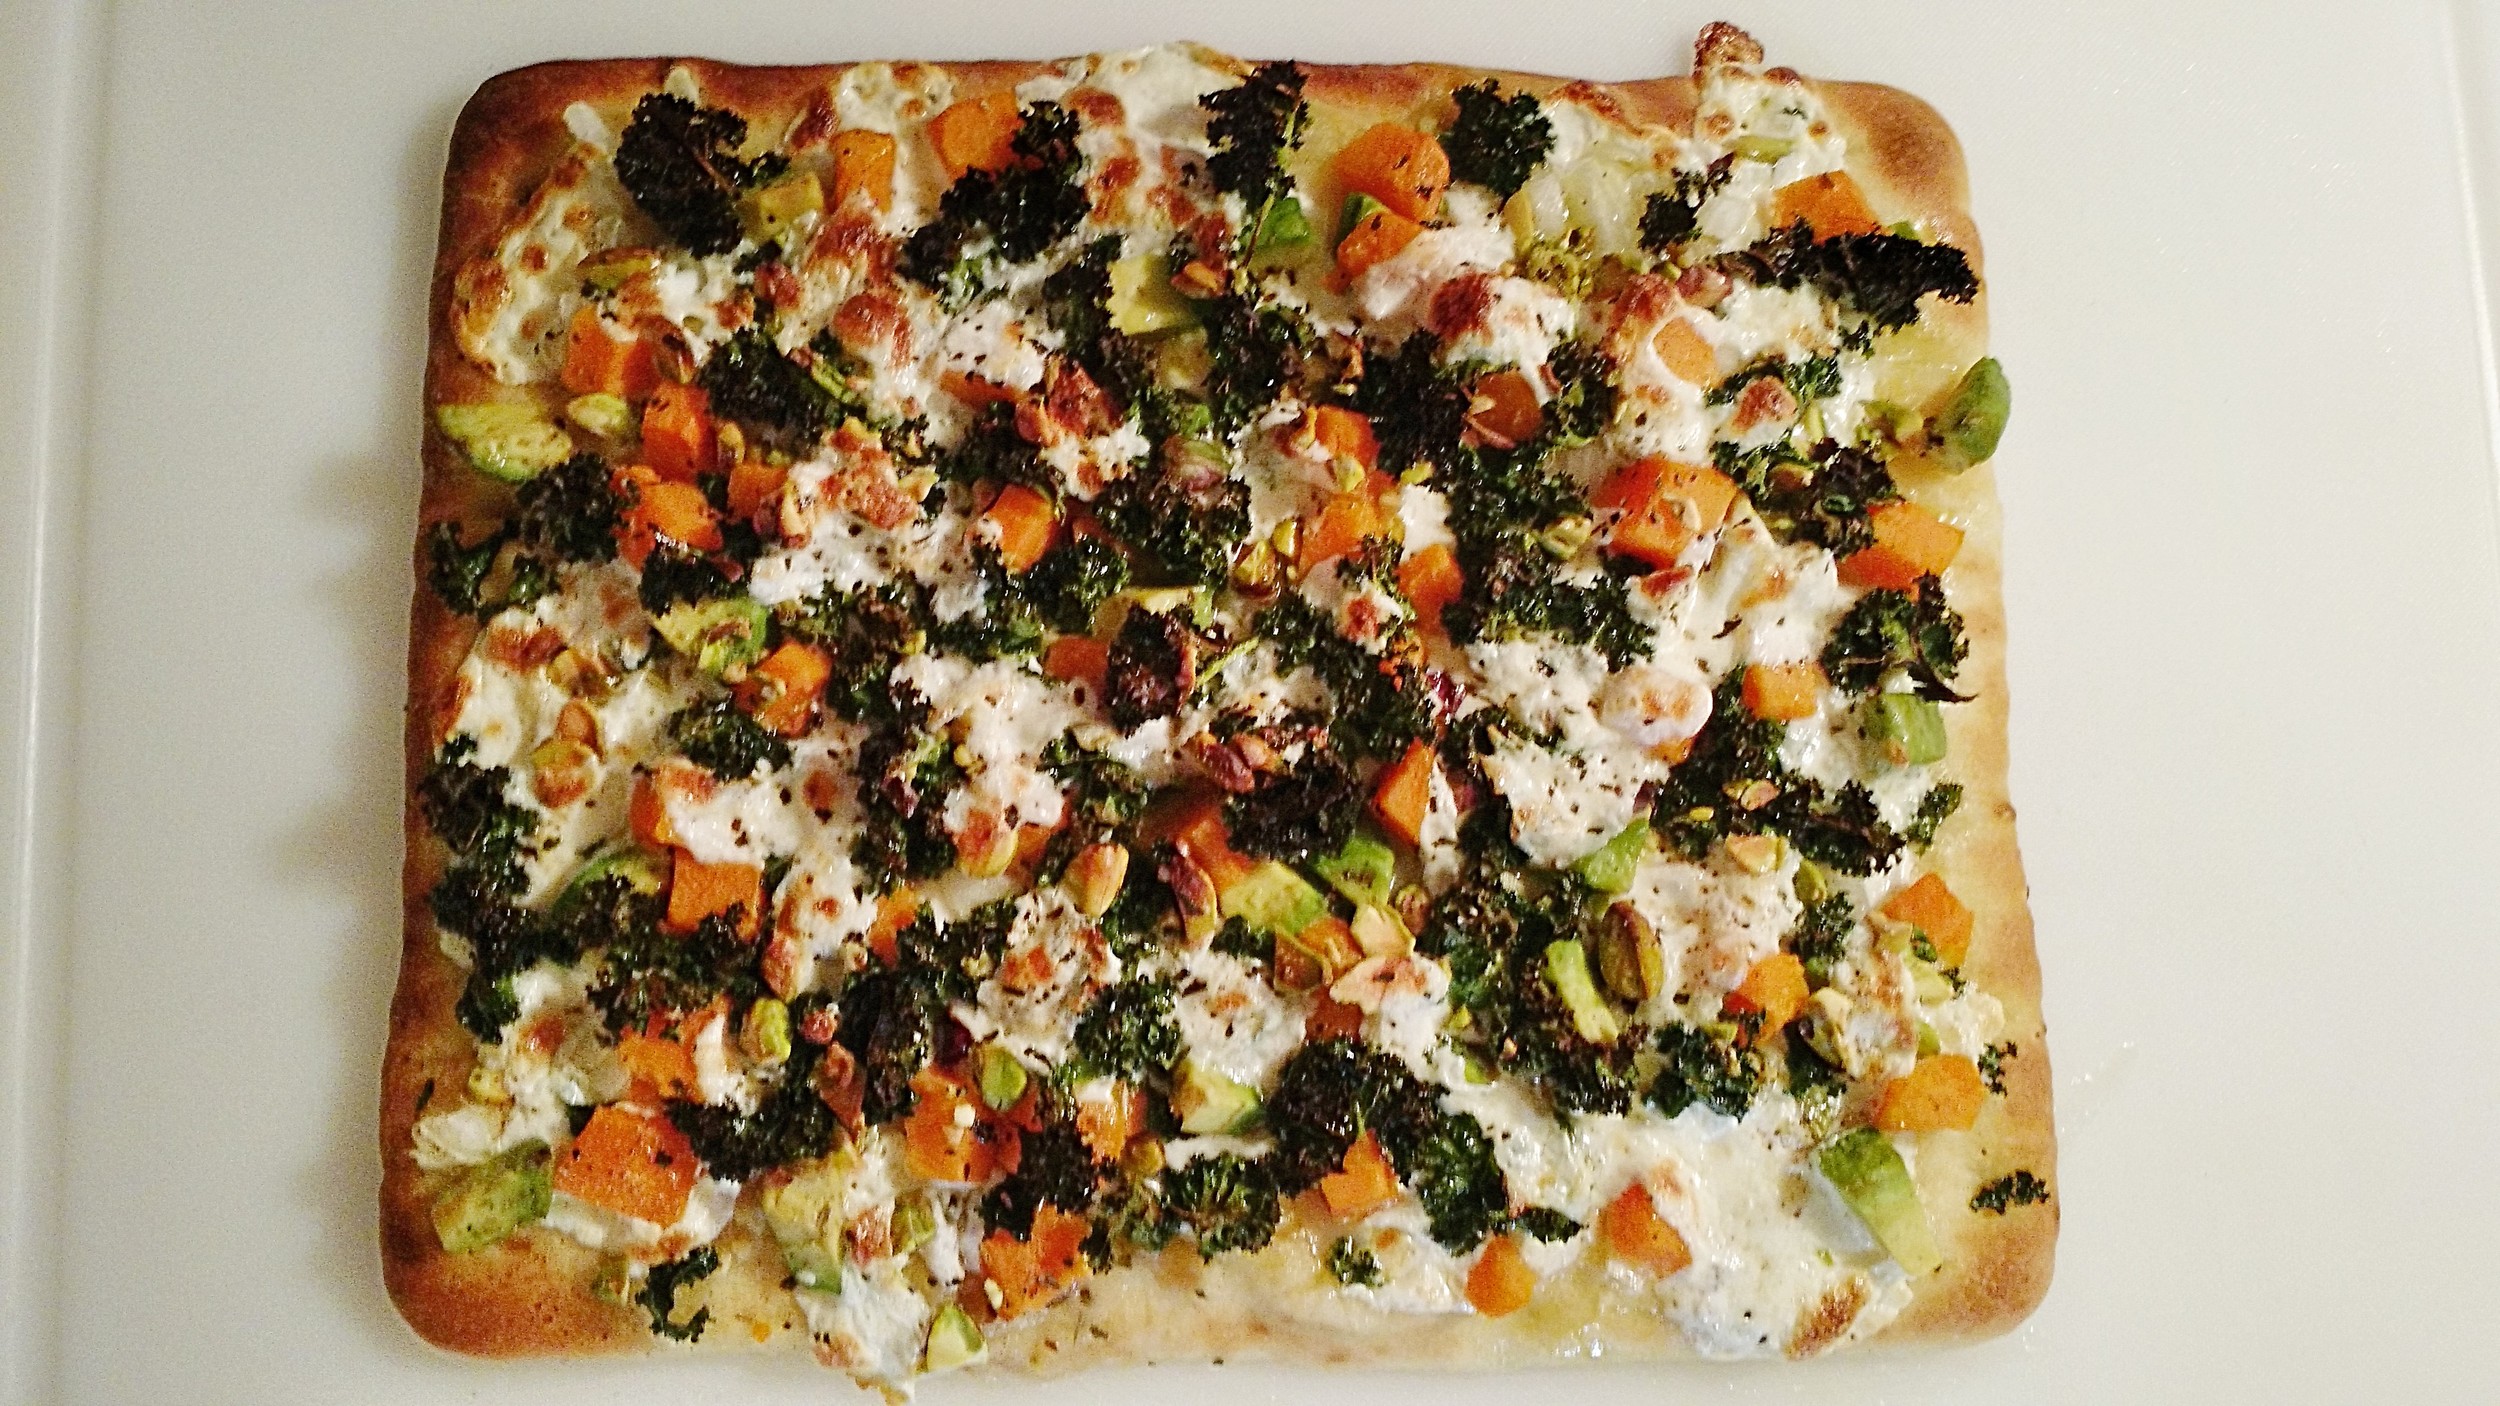
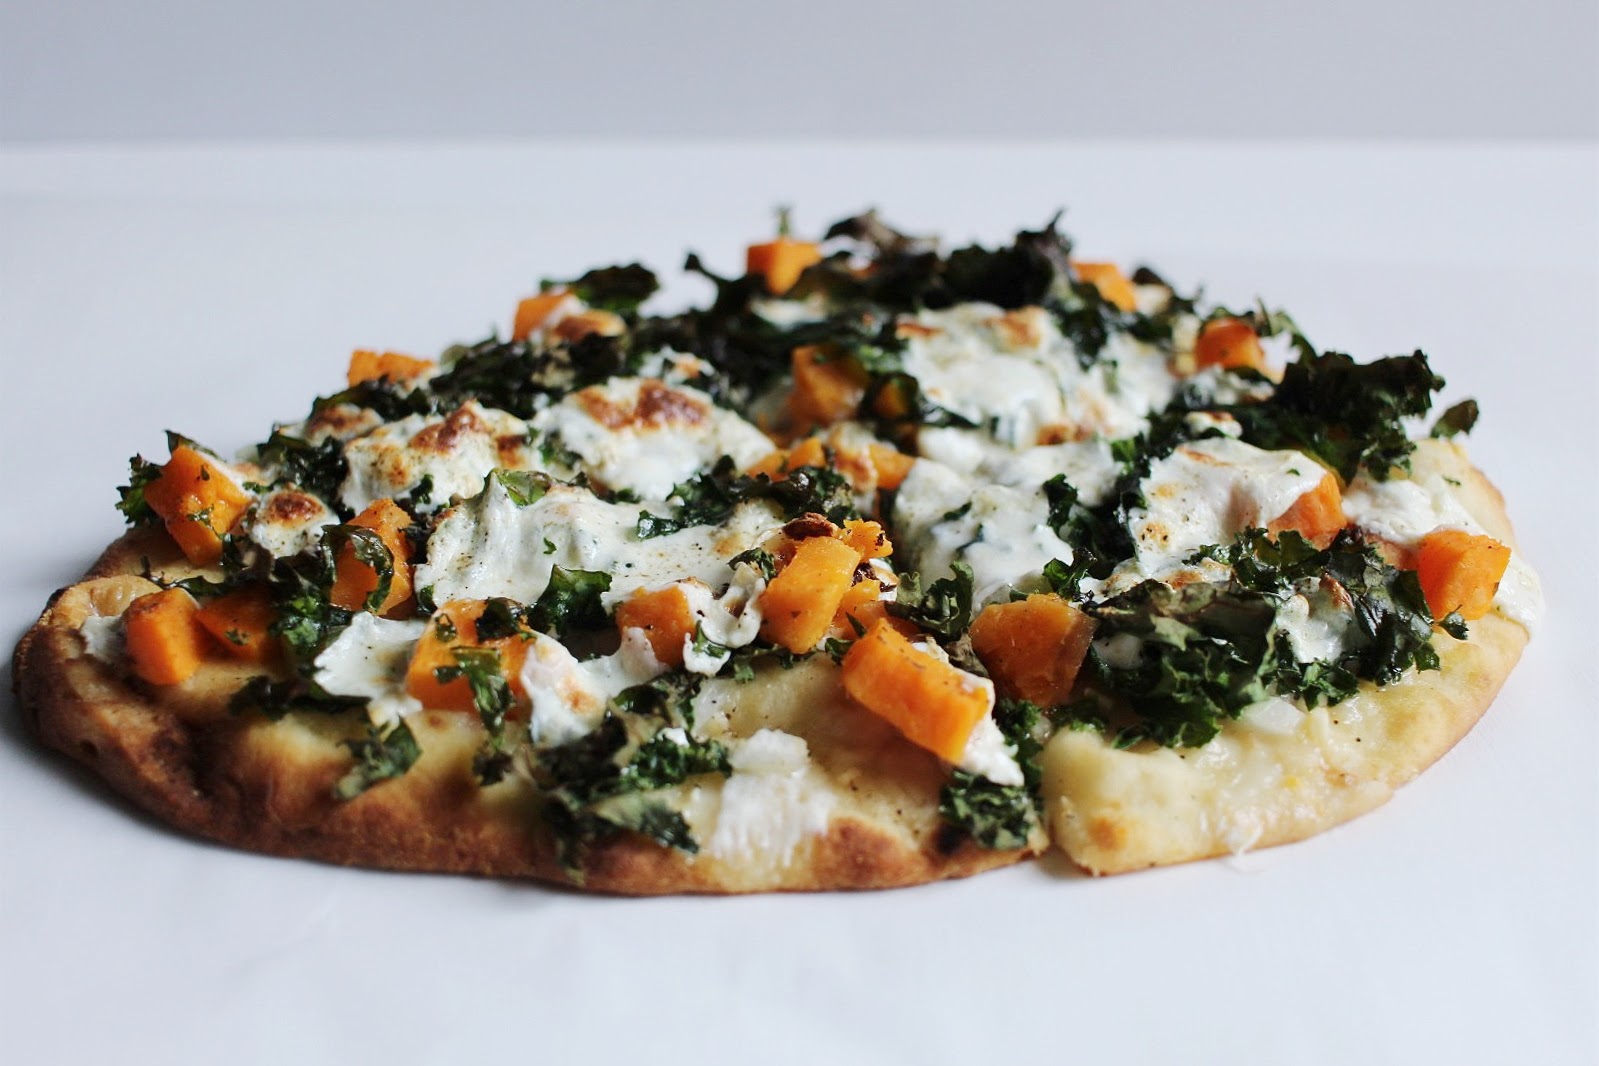
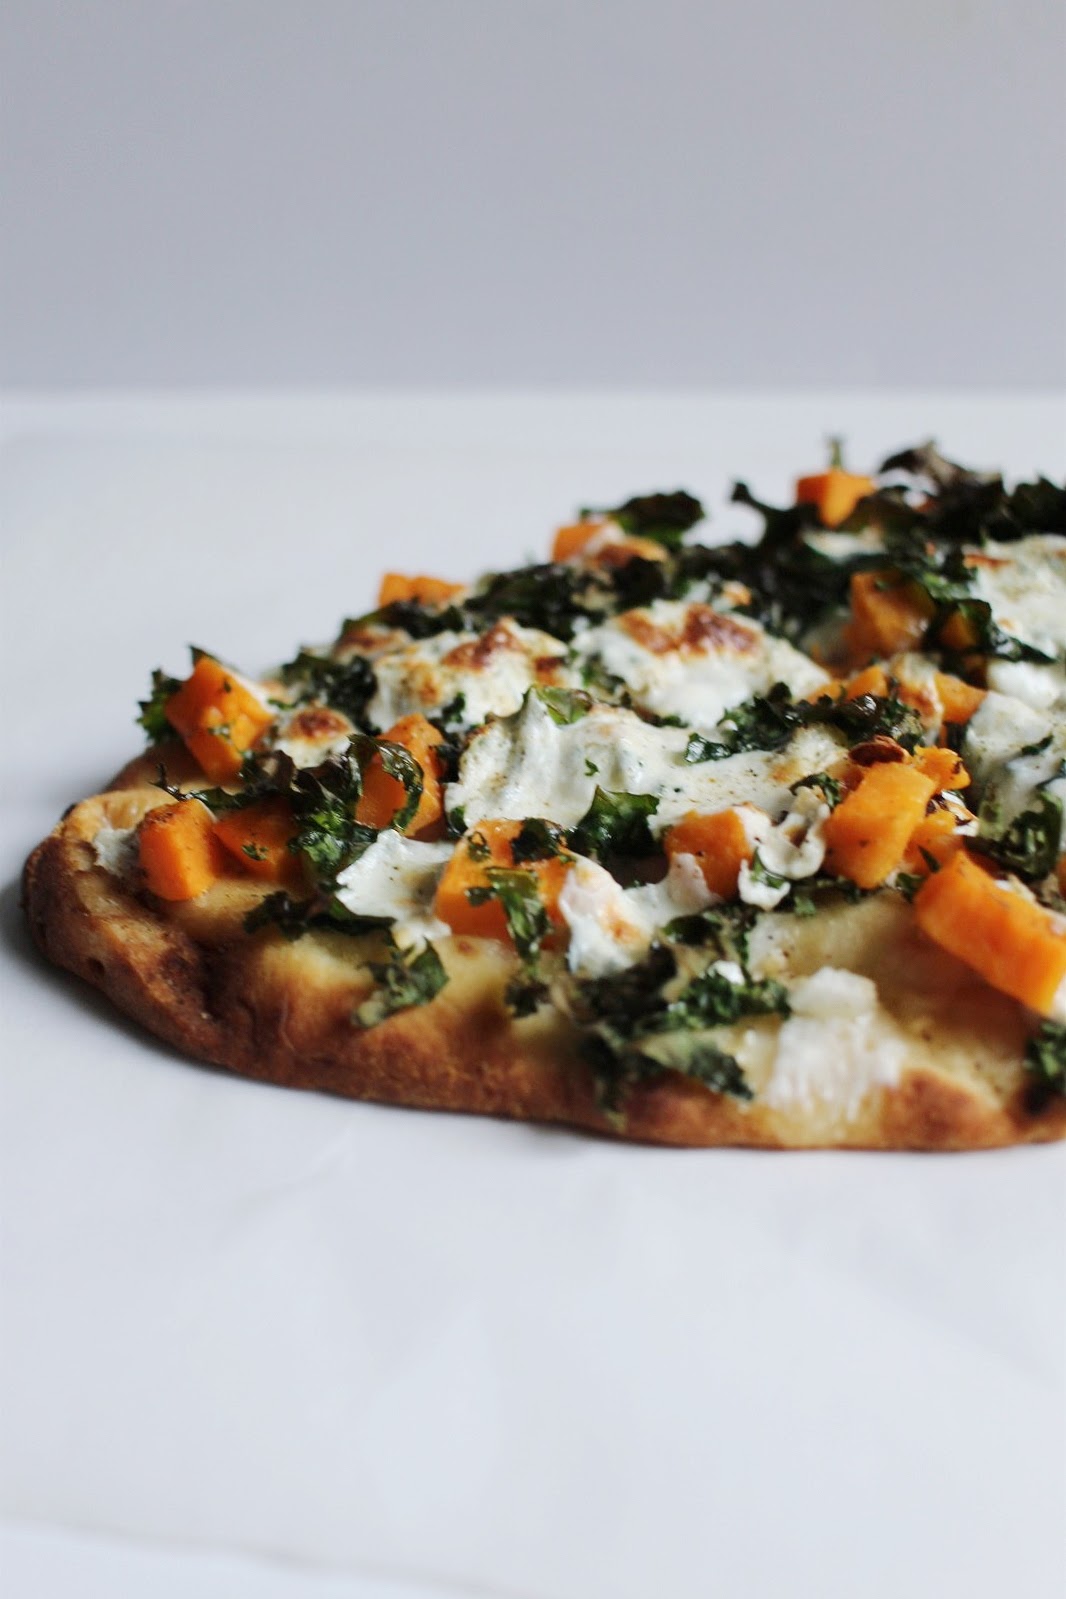
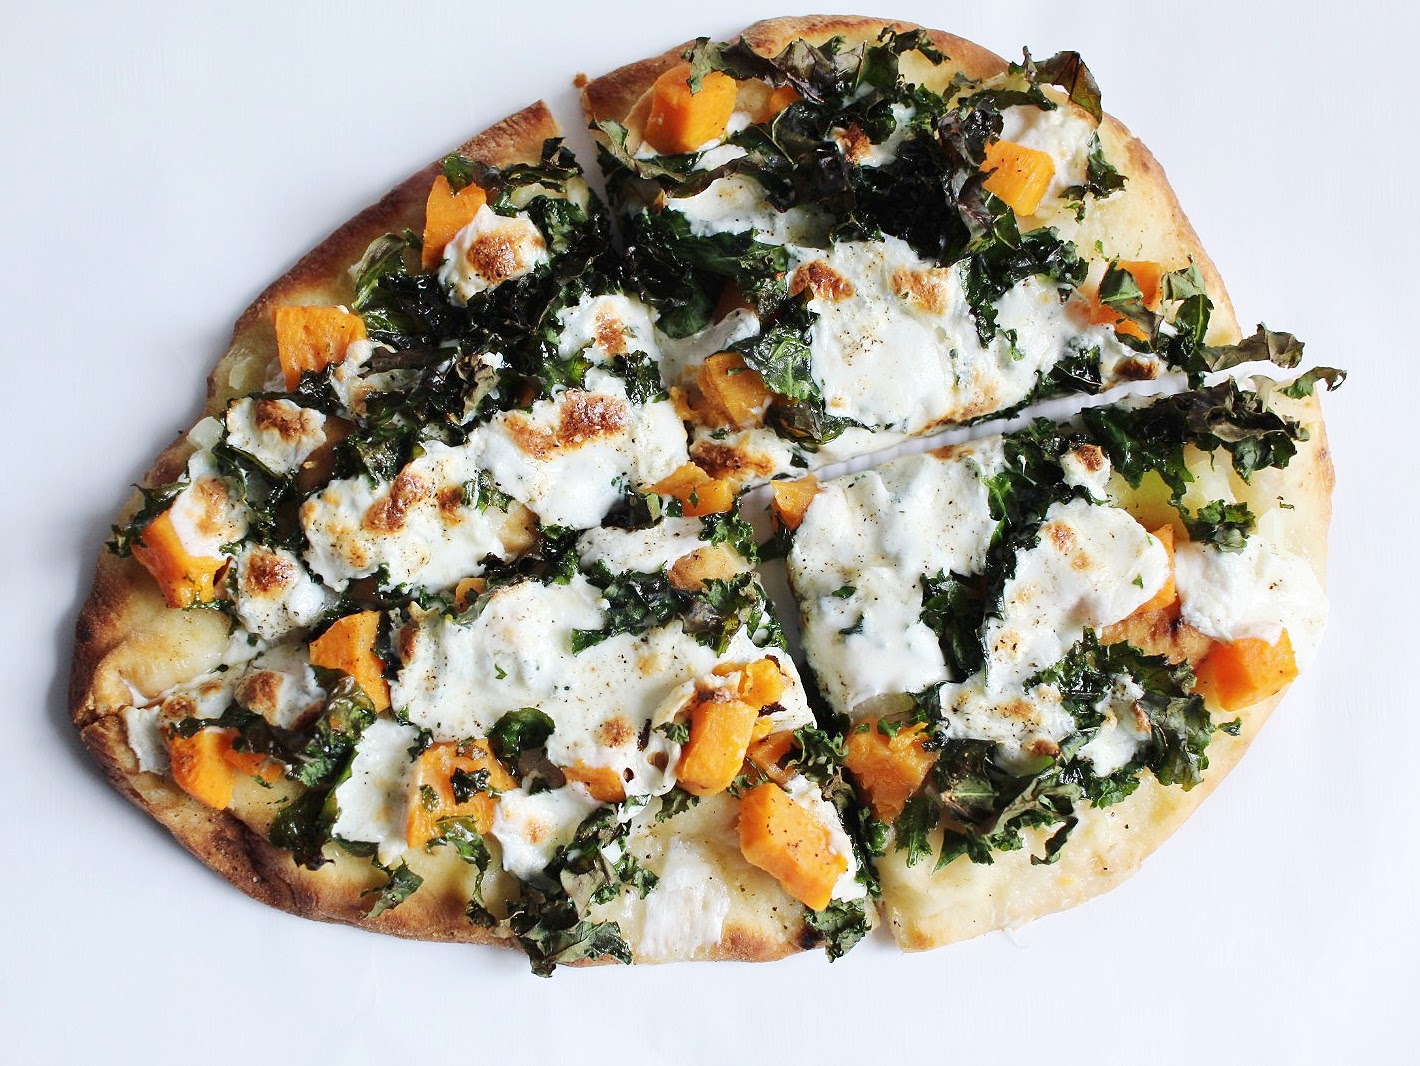
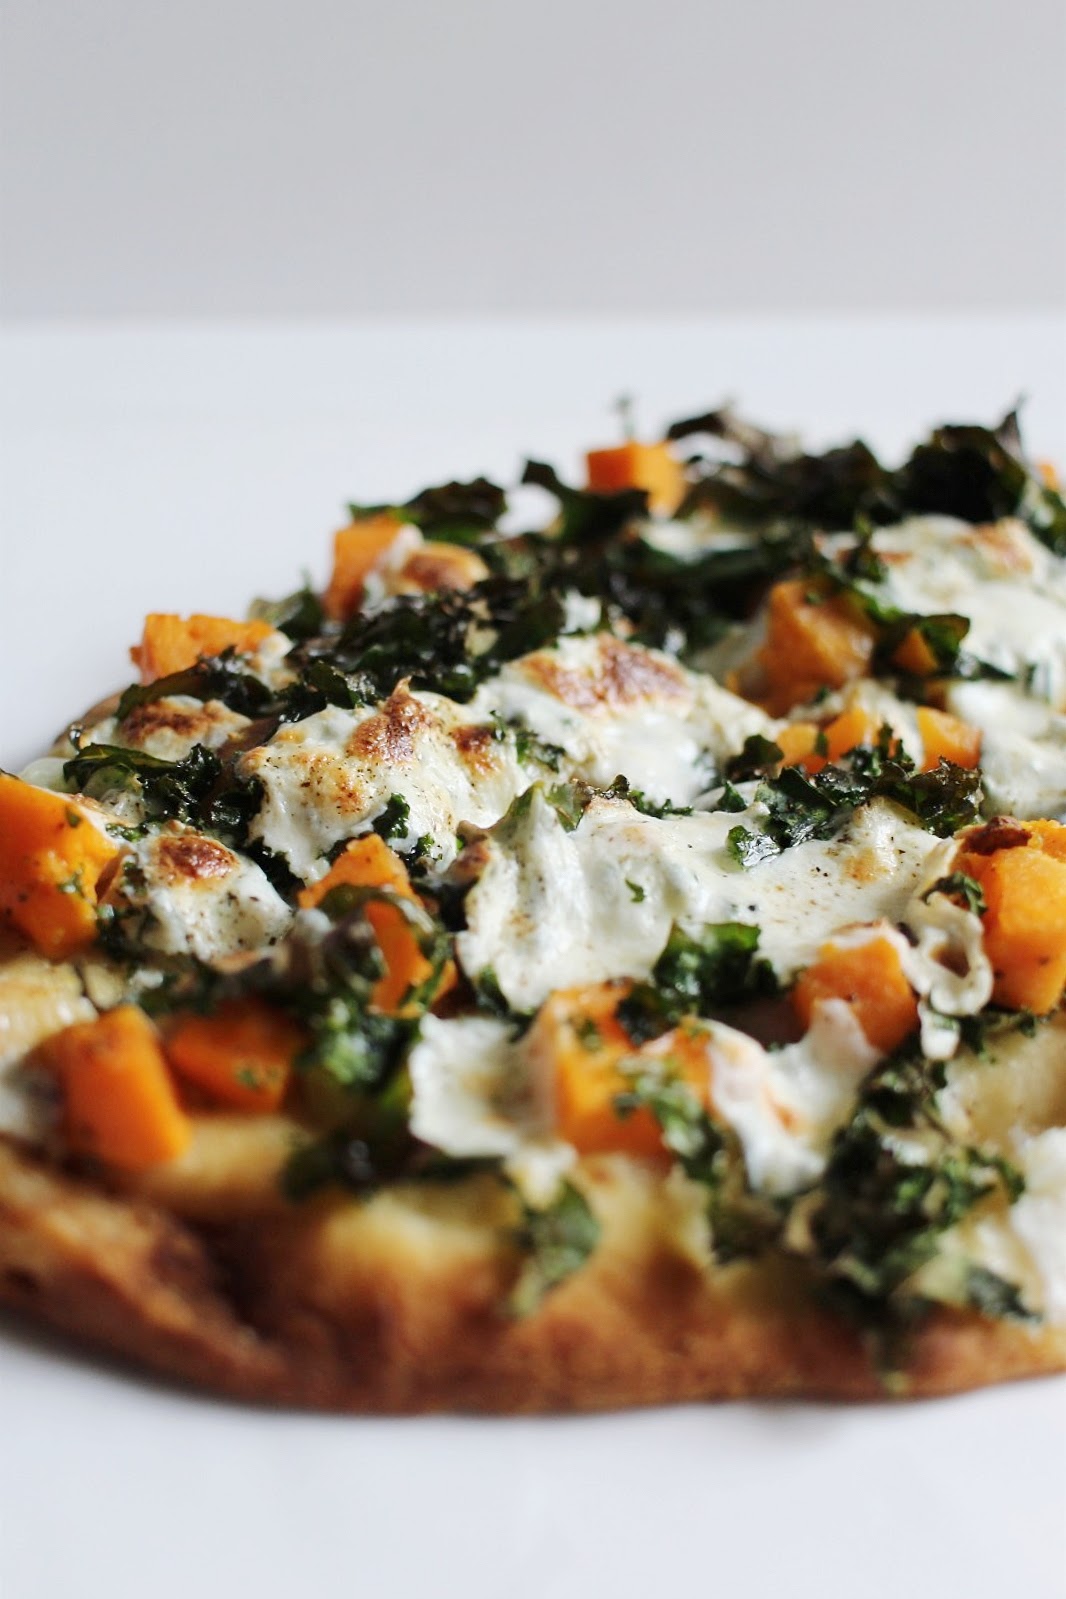
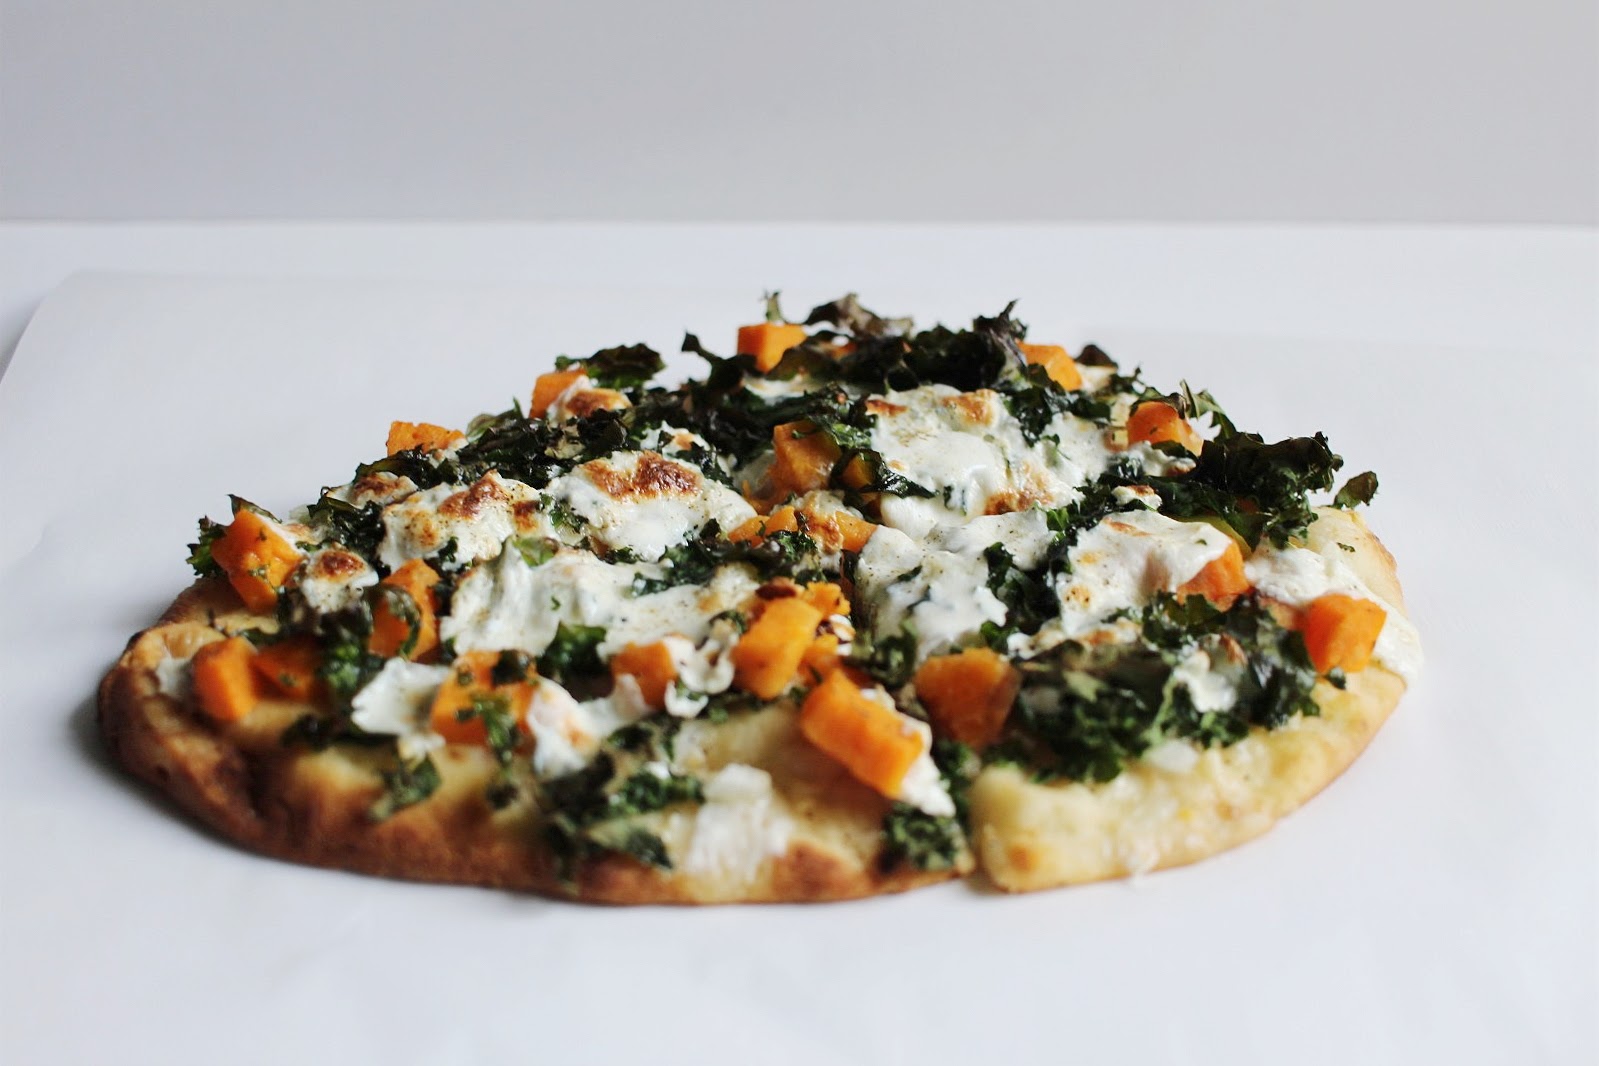
Veggie Flatbread Pizza
Now I know I'm mostly the baking type, but today you are gonna be so #blessed to drool over this flatbread pizza that I made up. I got this...
Now I know I'm mostly the baking type, but today you are gonna be so #blessed to drool over this flatbread pizza that I made up. I got this idea after having dinner with a friend in the area and we split a veggie flatbread (which is very unlike me to get veggie anything) but our waiter totally sold us on it. He said it had bits of pumpkin and kale, and the flavor was really amazing... and even though he preferred meaty pizzas, this one had a special place in his heart. I guess we were feeling daring, so we agreed to give it a try. From then on, that flatbread branded a little spot in my heart too. So being a doting wife, I set out to recreate it for my husband one night before he got home from work.
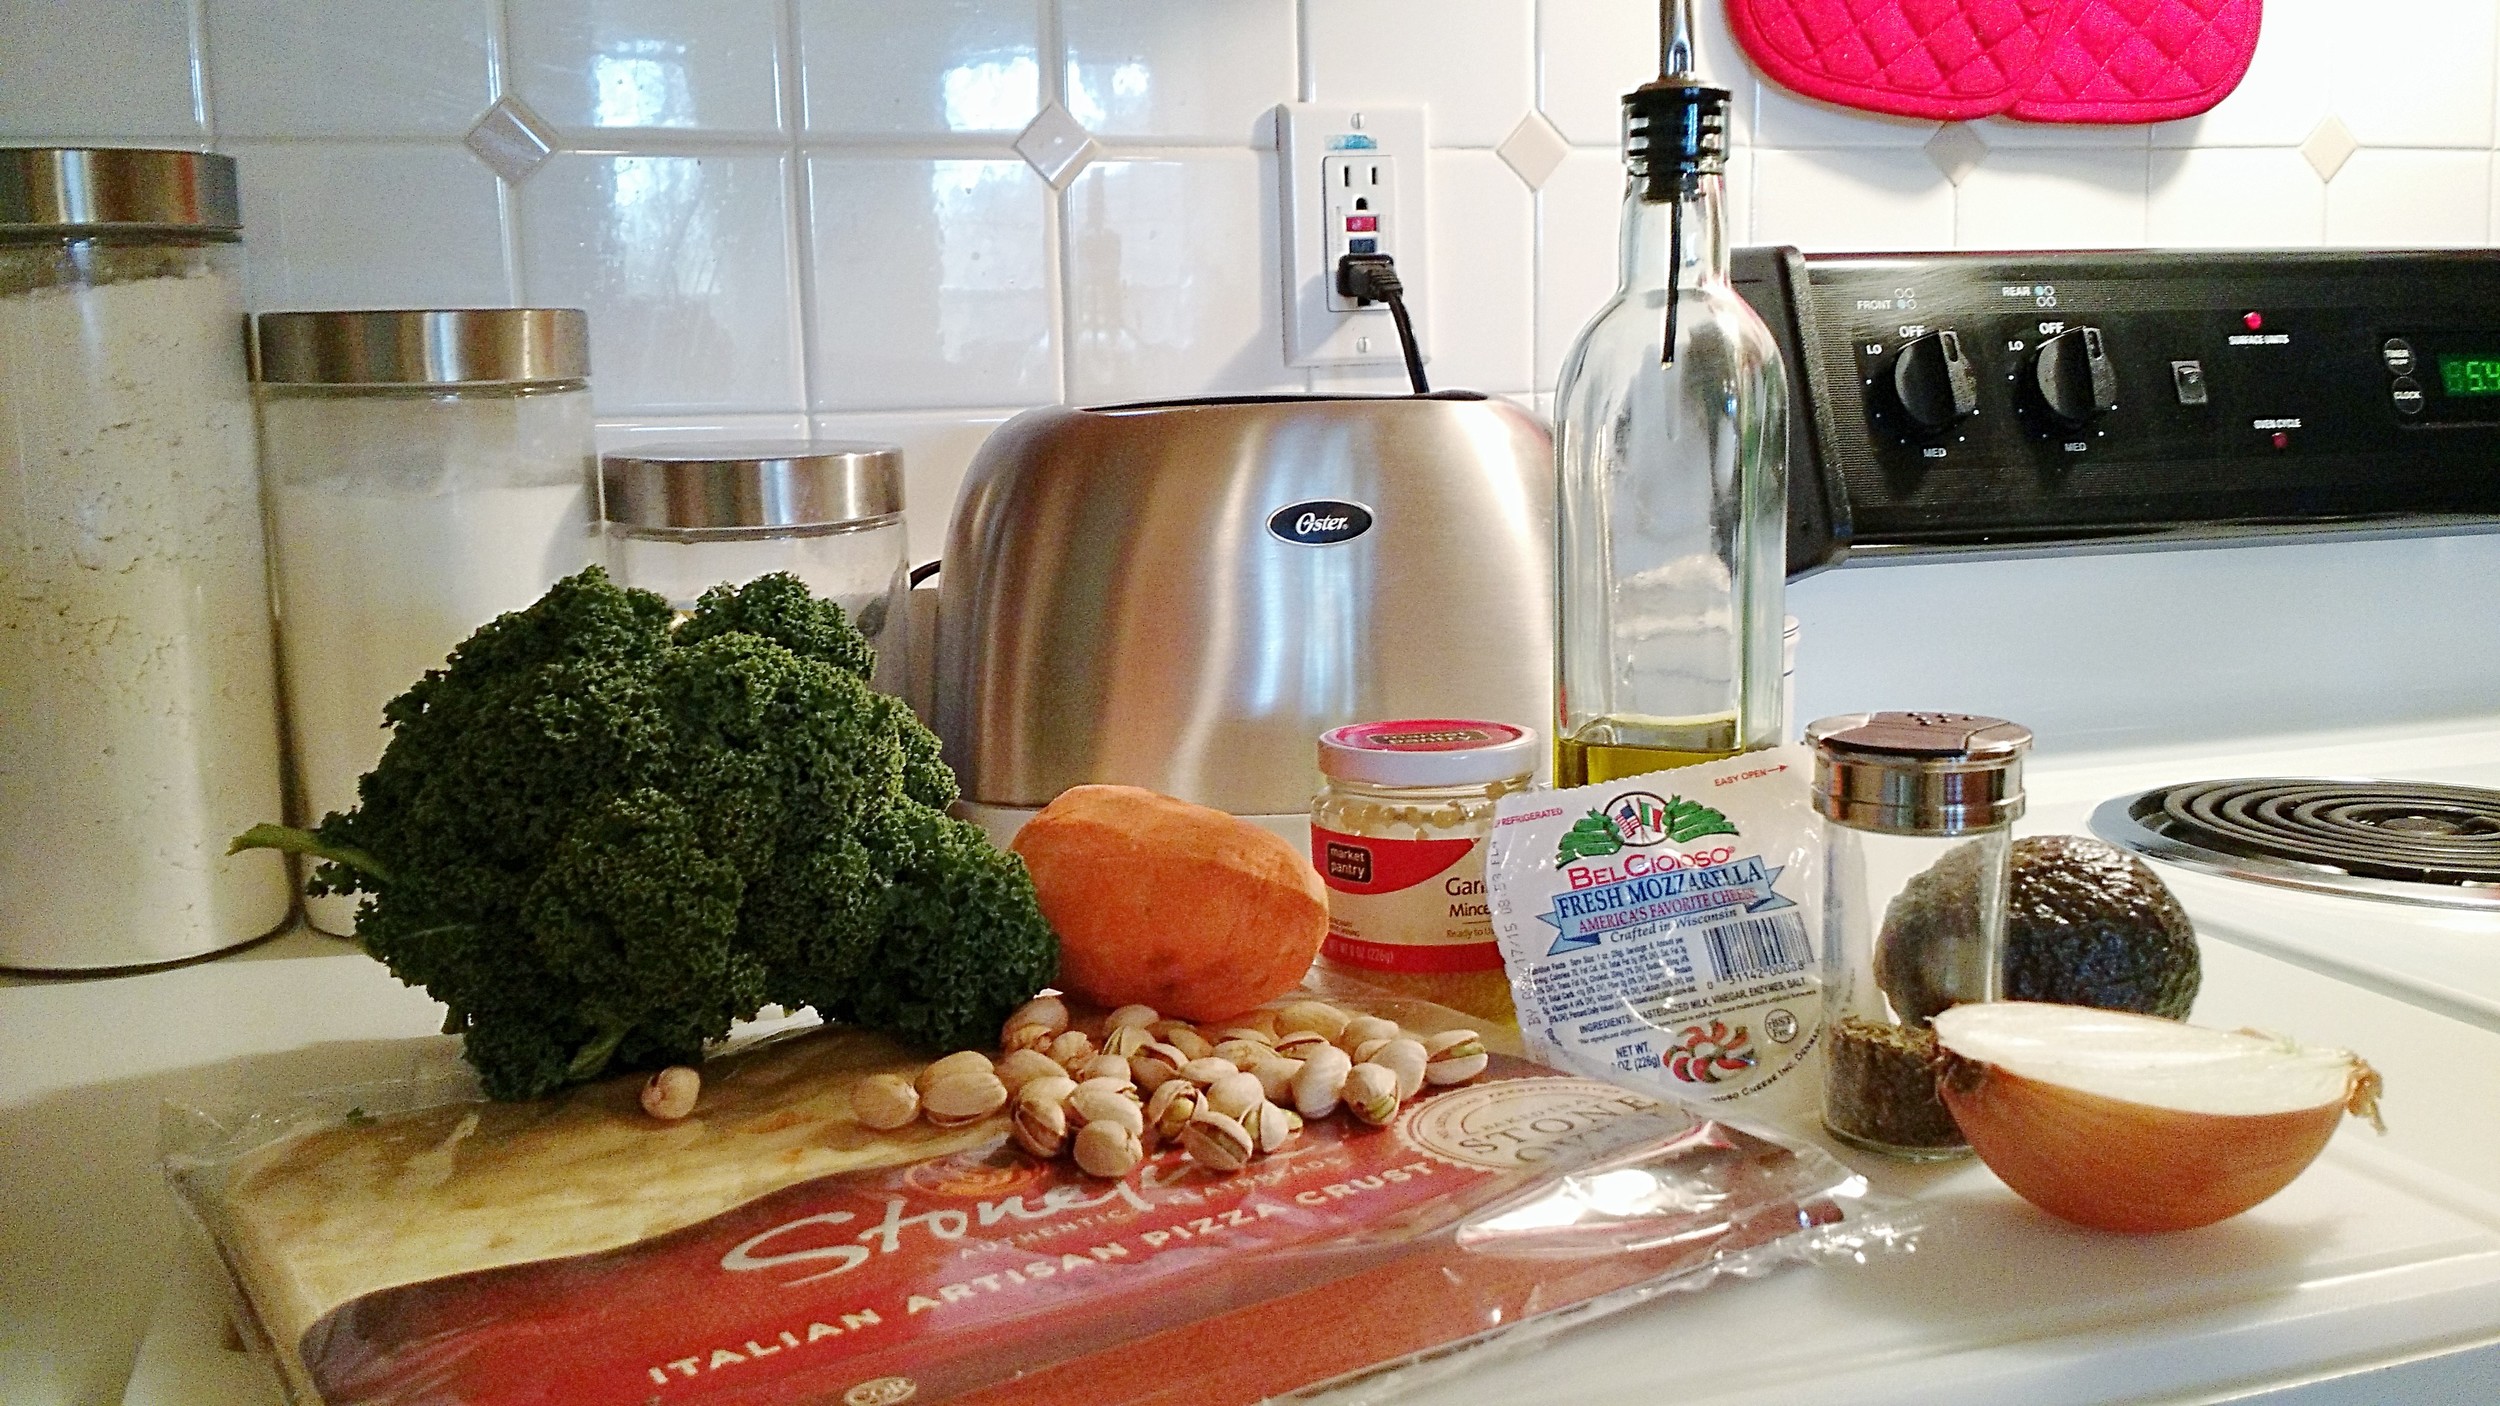
There are seemingly many ingredients, but none of them cost much and you only need a little of each. I consider this flatbread to be healthy, but considering my meat-and-potatoes husband requests this, I feel like maybe I'm fooling myself. I'll let some health nut be the judge of its nutritious value.
Ingredients:
Store bought flatbread/naan - large
Fresh mozzarella - one ball, cubed
Olive oil
1/2 Sweet Potato - peeled, sliced in rounds, cooked, then cubed
1/2 Onion - chopped
Kale - several leaves, removed from stem, roughly chopped
Garlic - 1-2 cloves, chopped
Salt & Pepper to taste
Basil (dry or fresh)
OPTIONAL: 1/2 Avocado - small cubes
OPTIONAL: pistachios - handful, roughly chopped
Directions:
This looks really labor intensive, but I promise it's not.. just some chopping, but it goes fast because you only need a portion of each item. To save even more time, I use chopped garlic from a jar! This is seriously so flavorful and delicious. You could add or subtract anything you want. We've added sesame seeds in the past, which was good, and I sort of want to add bacon one of these times too (making it not-veggie haha). If you give this a try, let me know what you think!
Here are some glamour shots of the steps in order:
Preheat oven according to flatbread package instructions. Mine says 400.
Bring a small pot of water to a boil and let your sweet potato rounds cook. About 7-10 minutes.
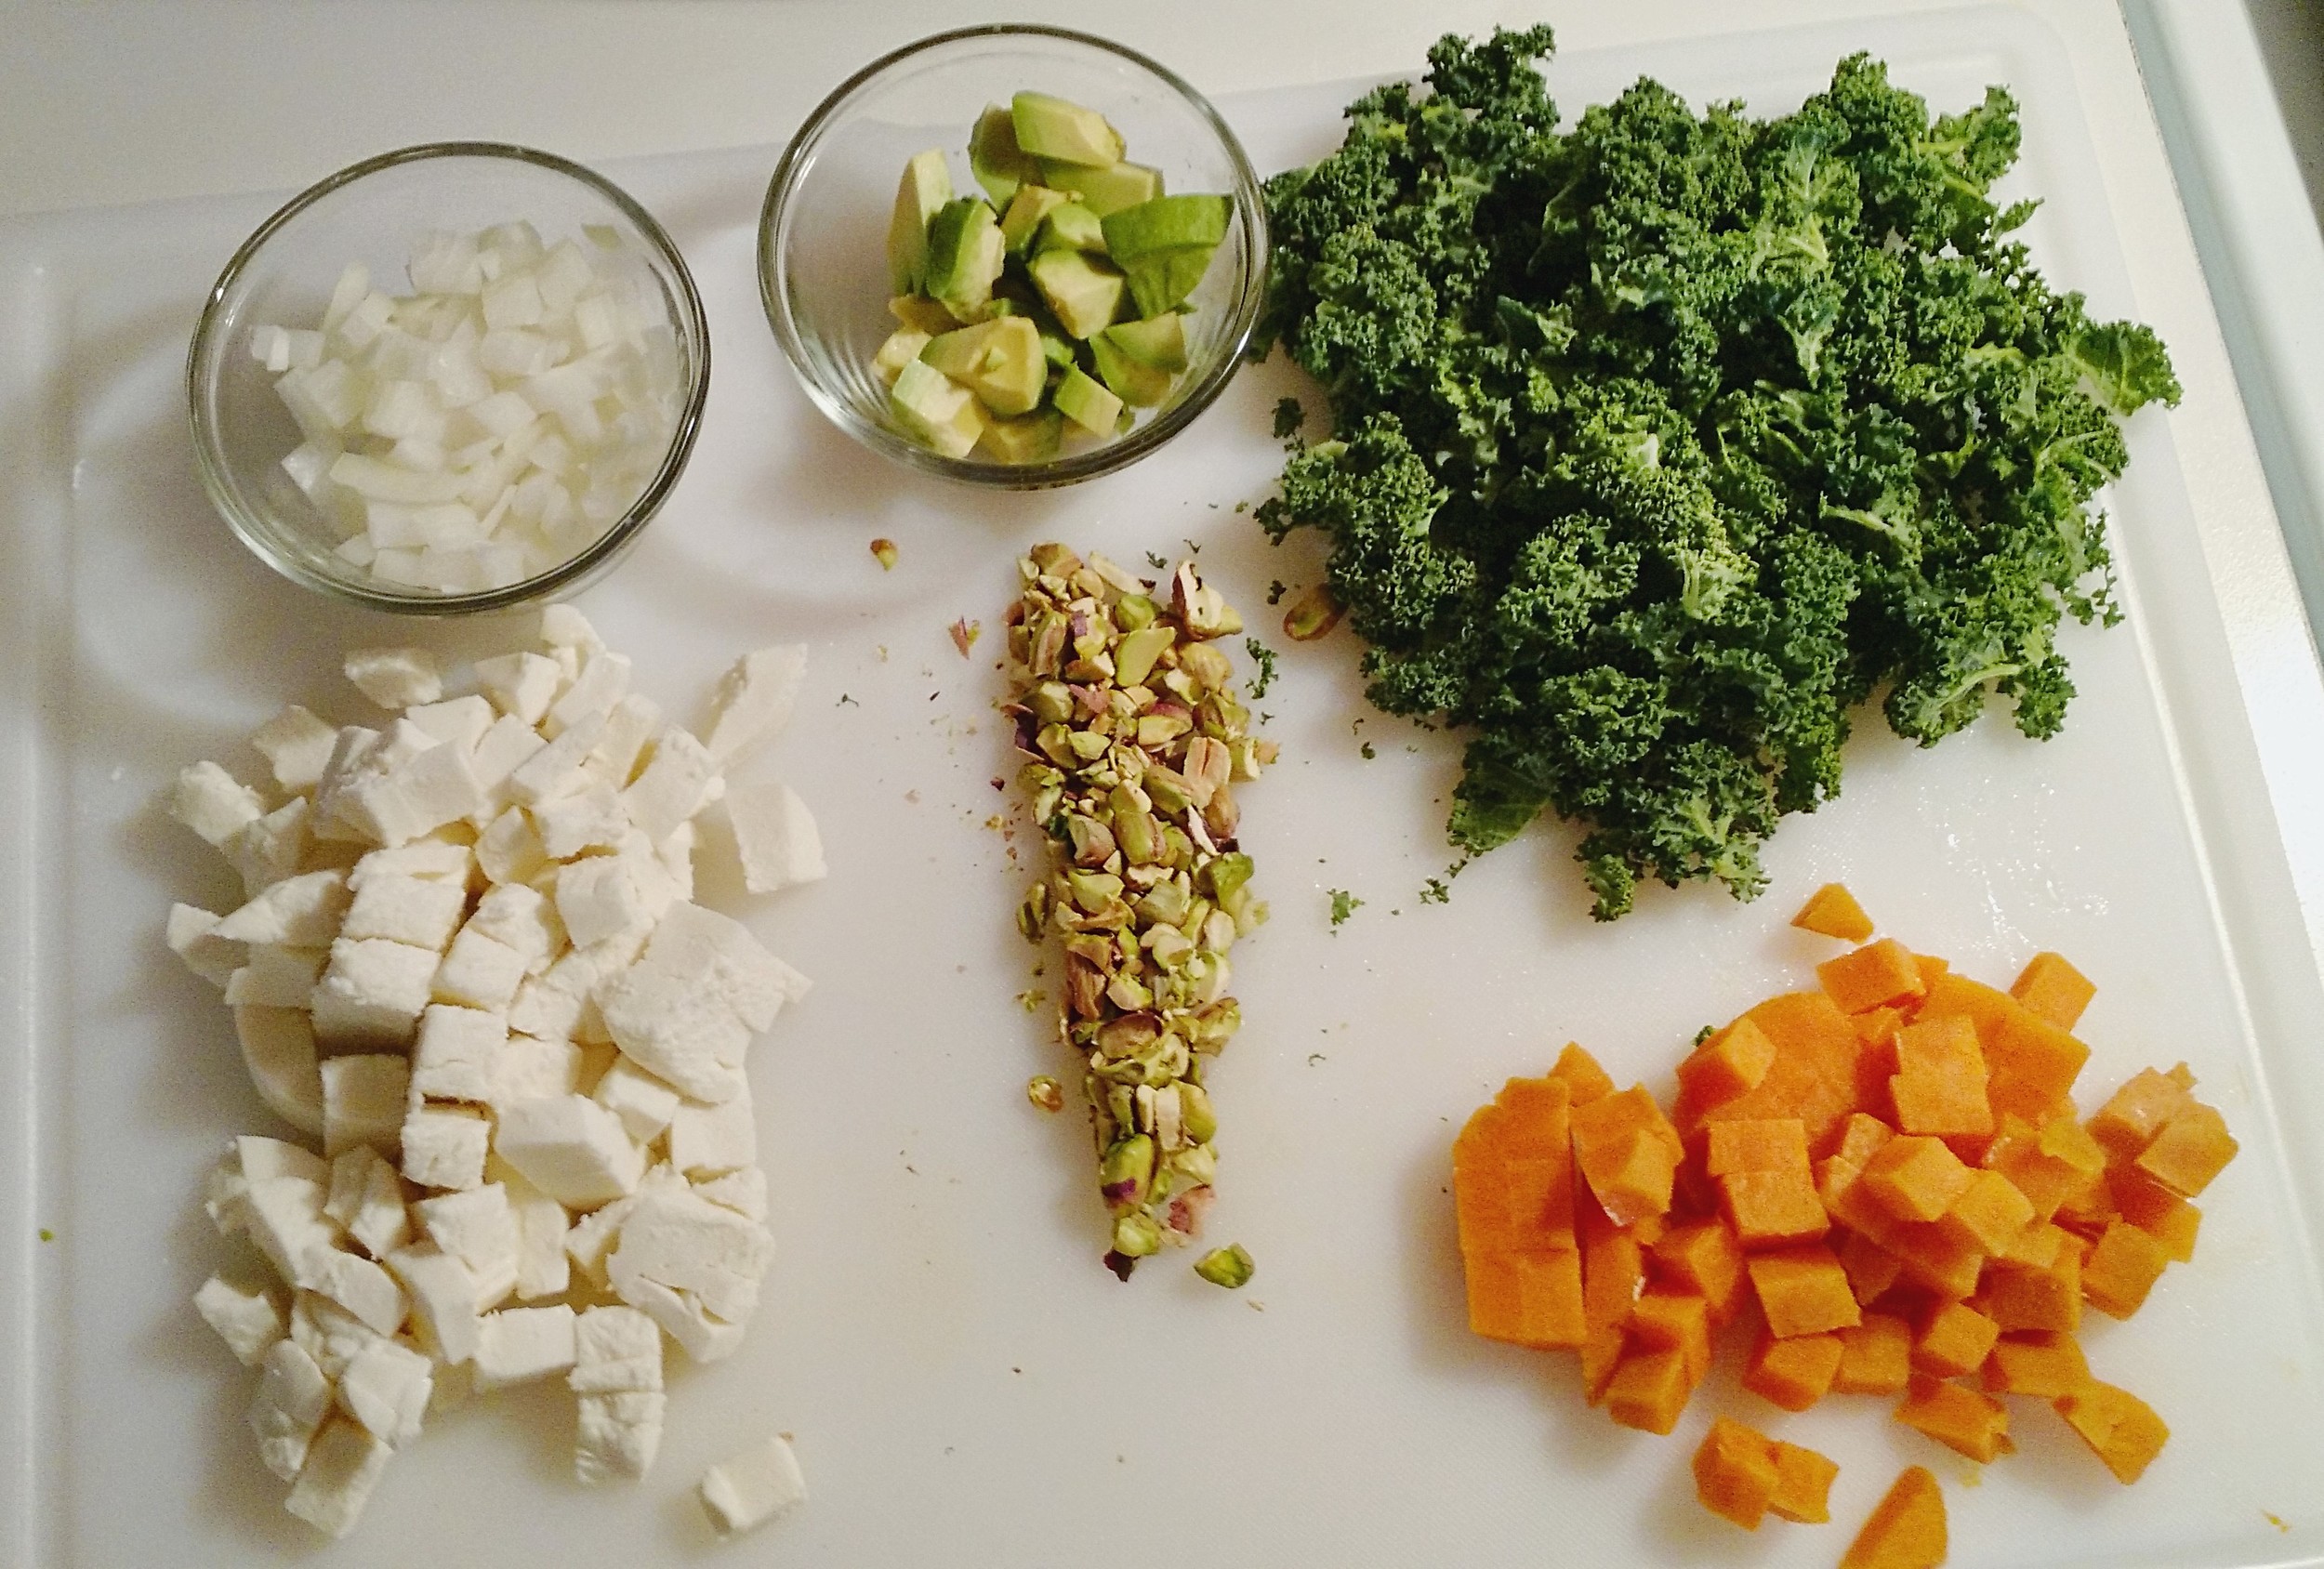
While the potatoes are cooking, chop the onion, garlic, pistachios, and kale. Cube the mozzarella and avocado. When the potatoes are done (can easily be pierced through with a fork), strain the water and let them cool briefly. Then cube them. Set all aside.
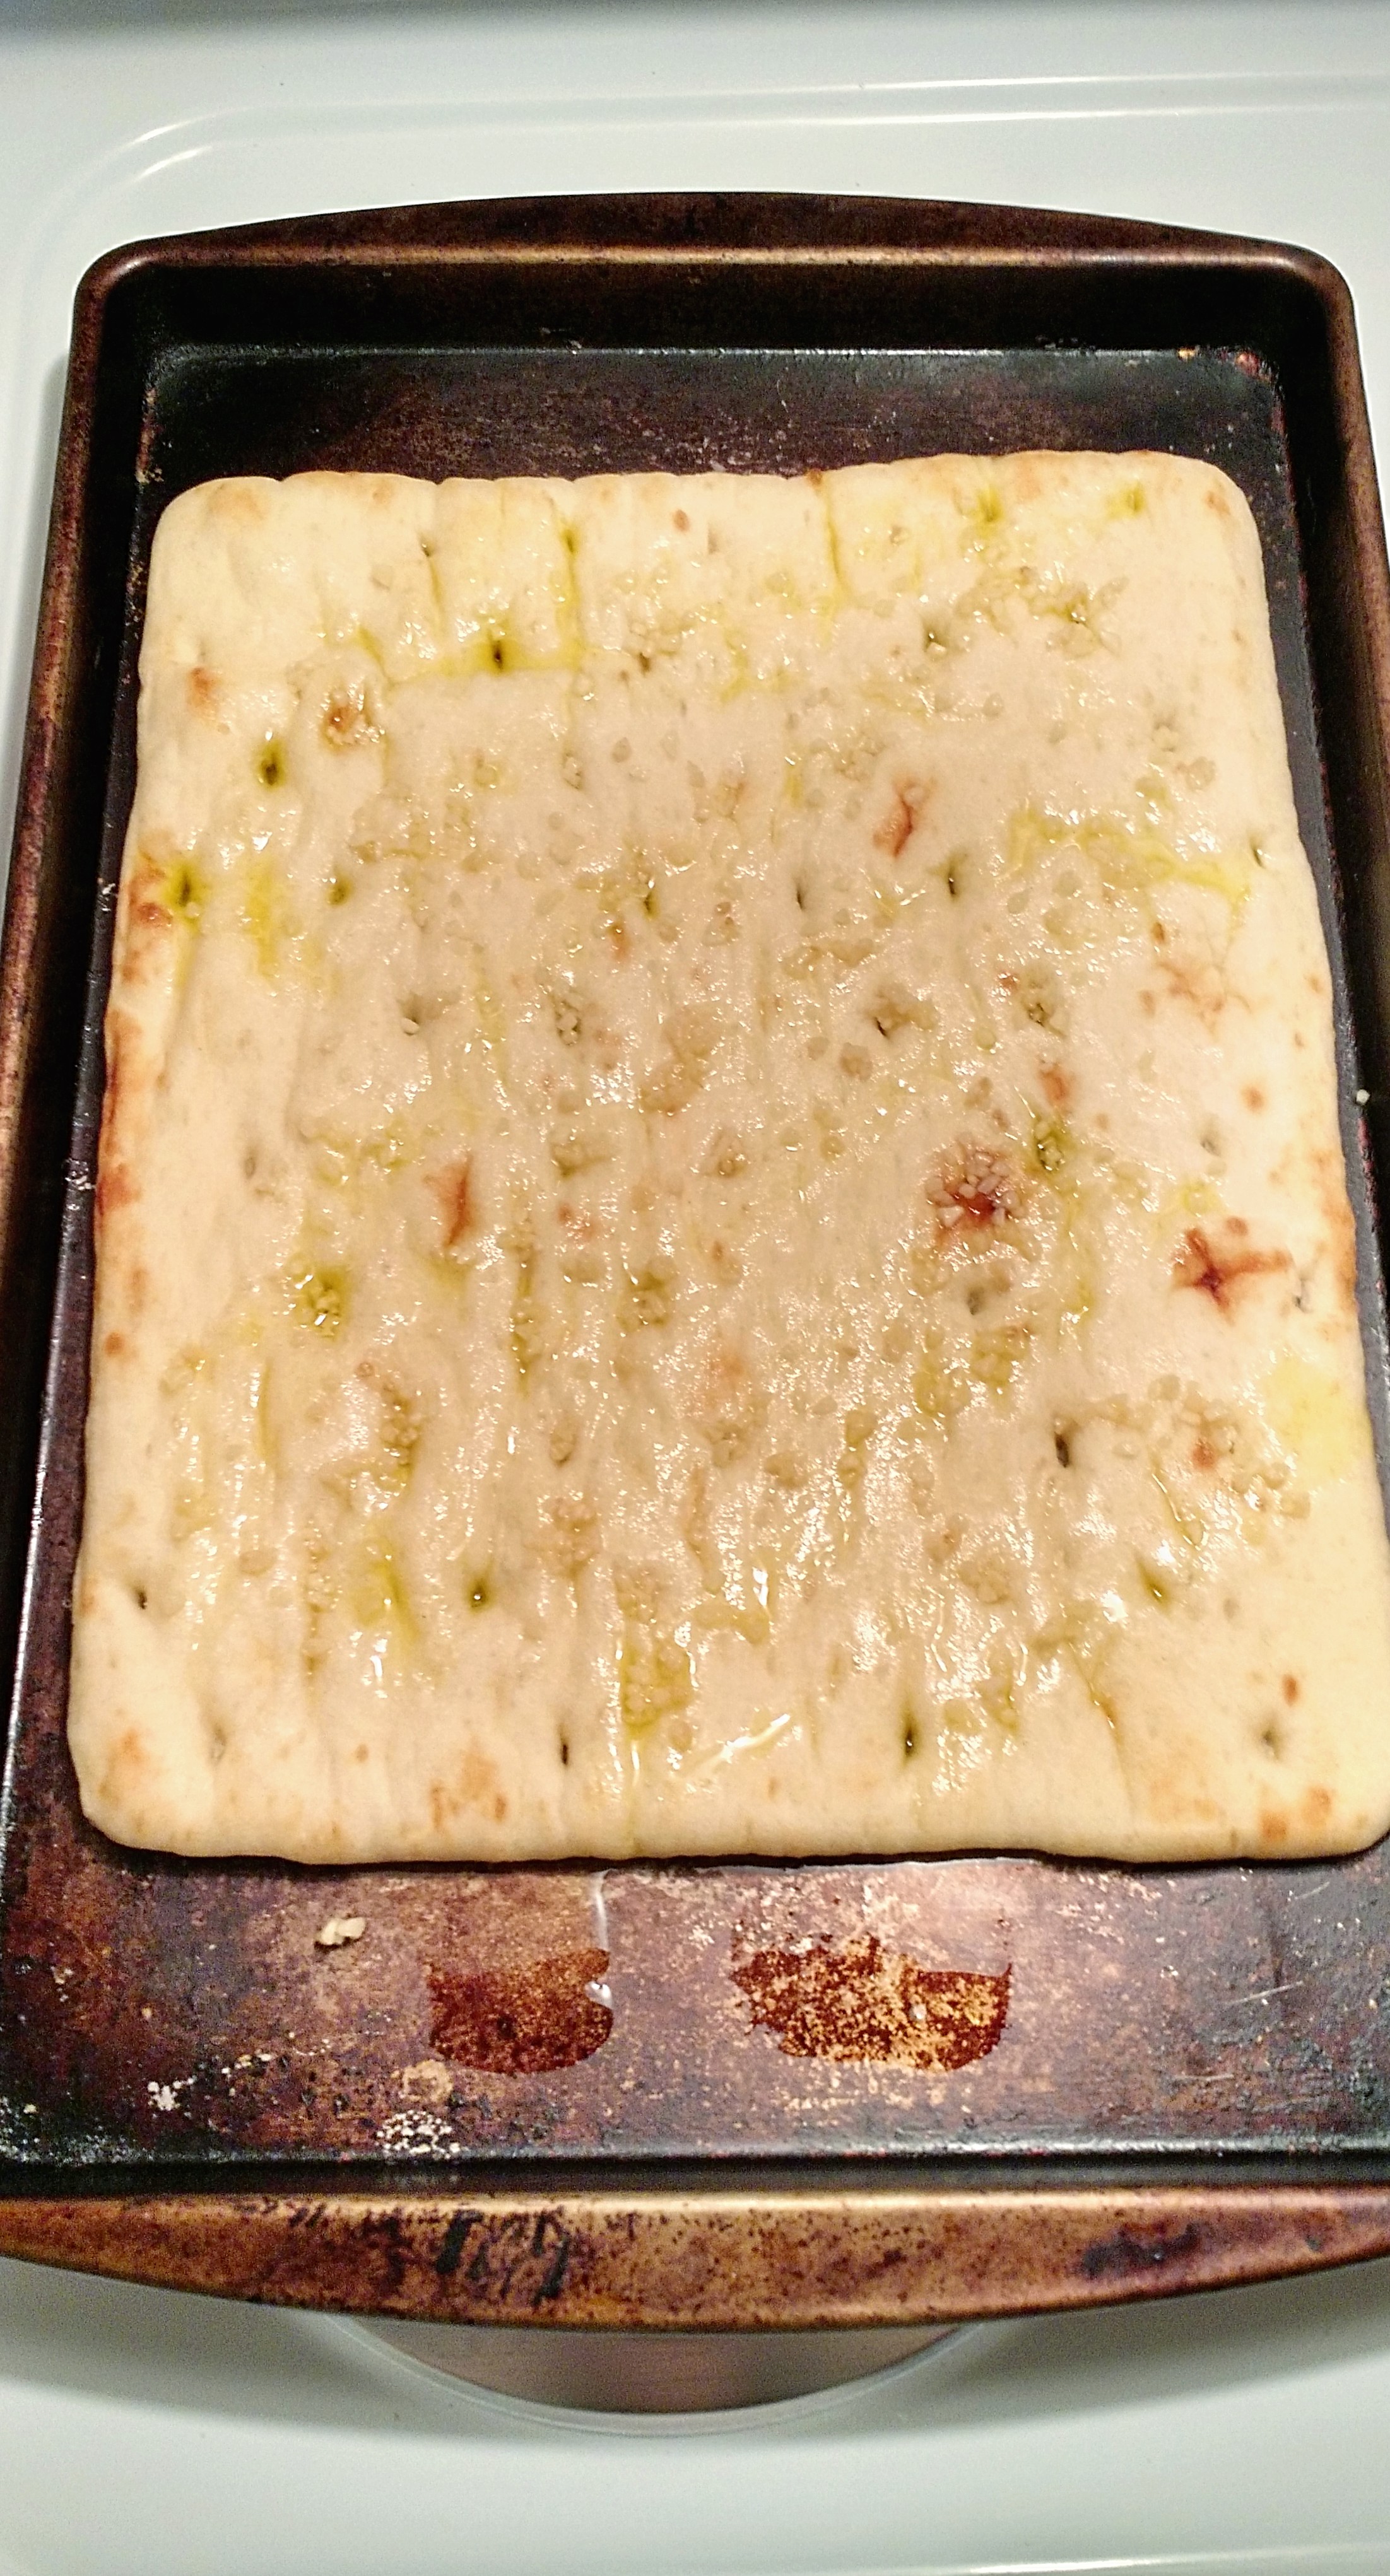
On a cookie sheet (or whatever baking pan you have) place the flatbreads. Add the chopped garlic evenly over the top.
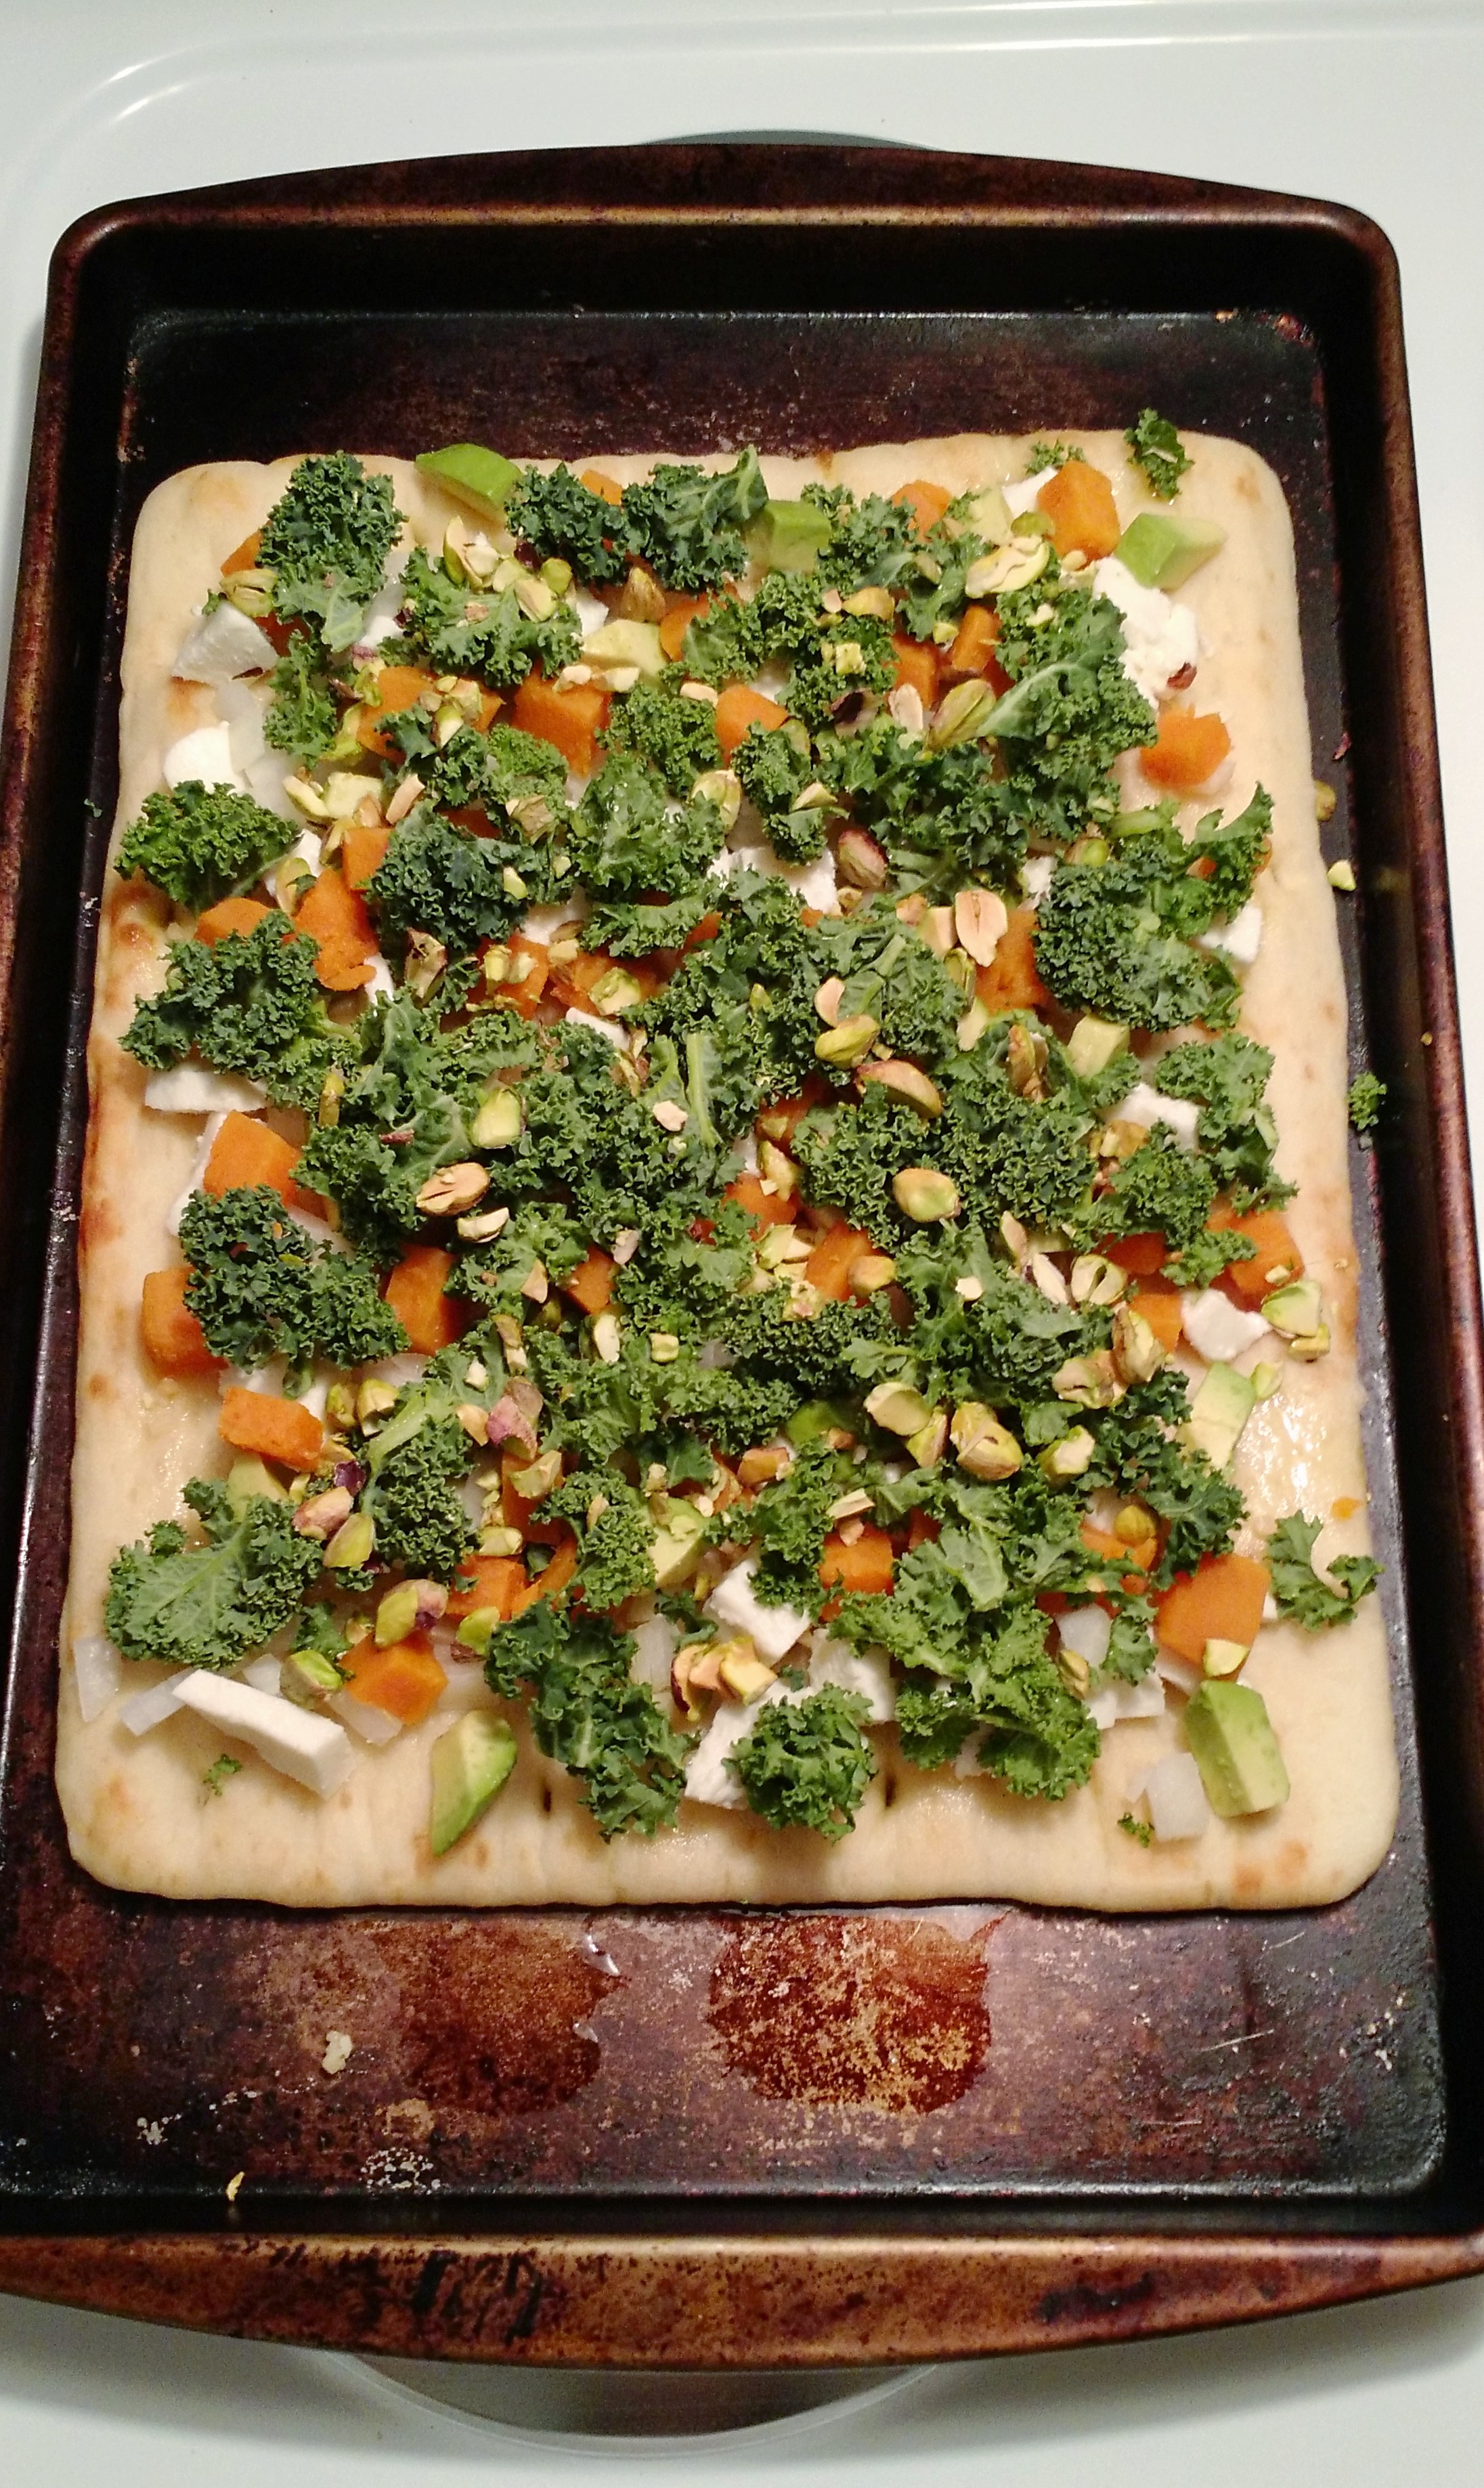
Add potatoes, onion, avocado, kale, and pistachios evenly across the flatbread.
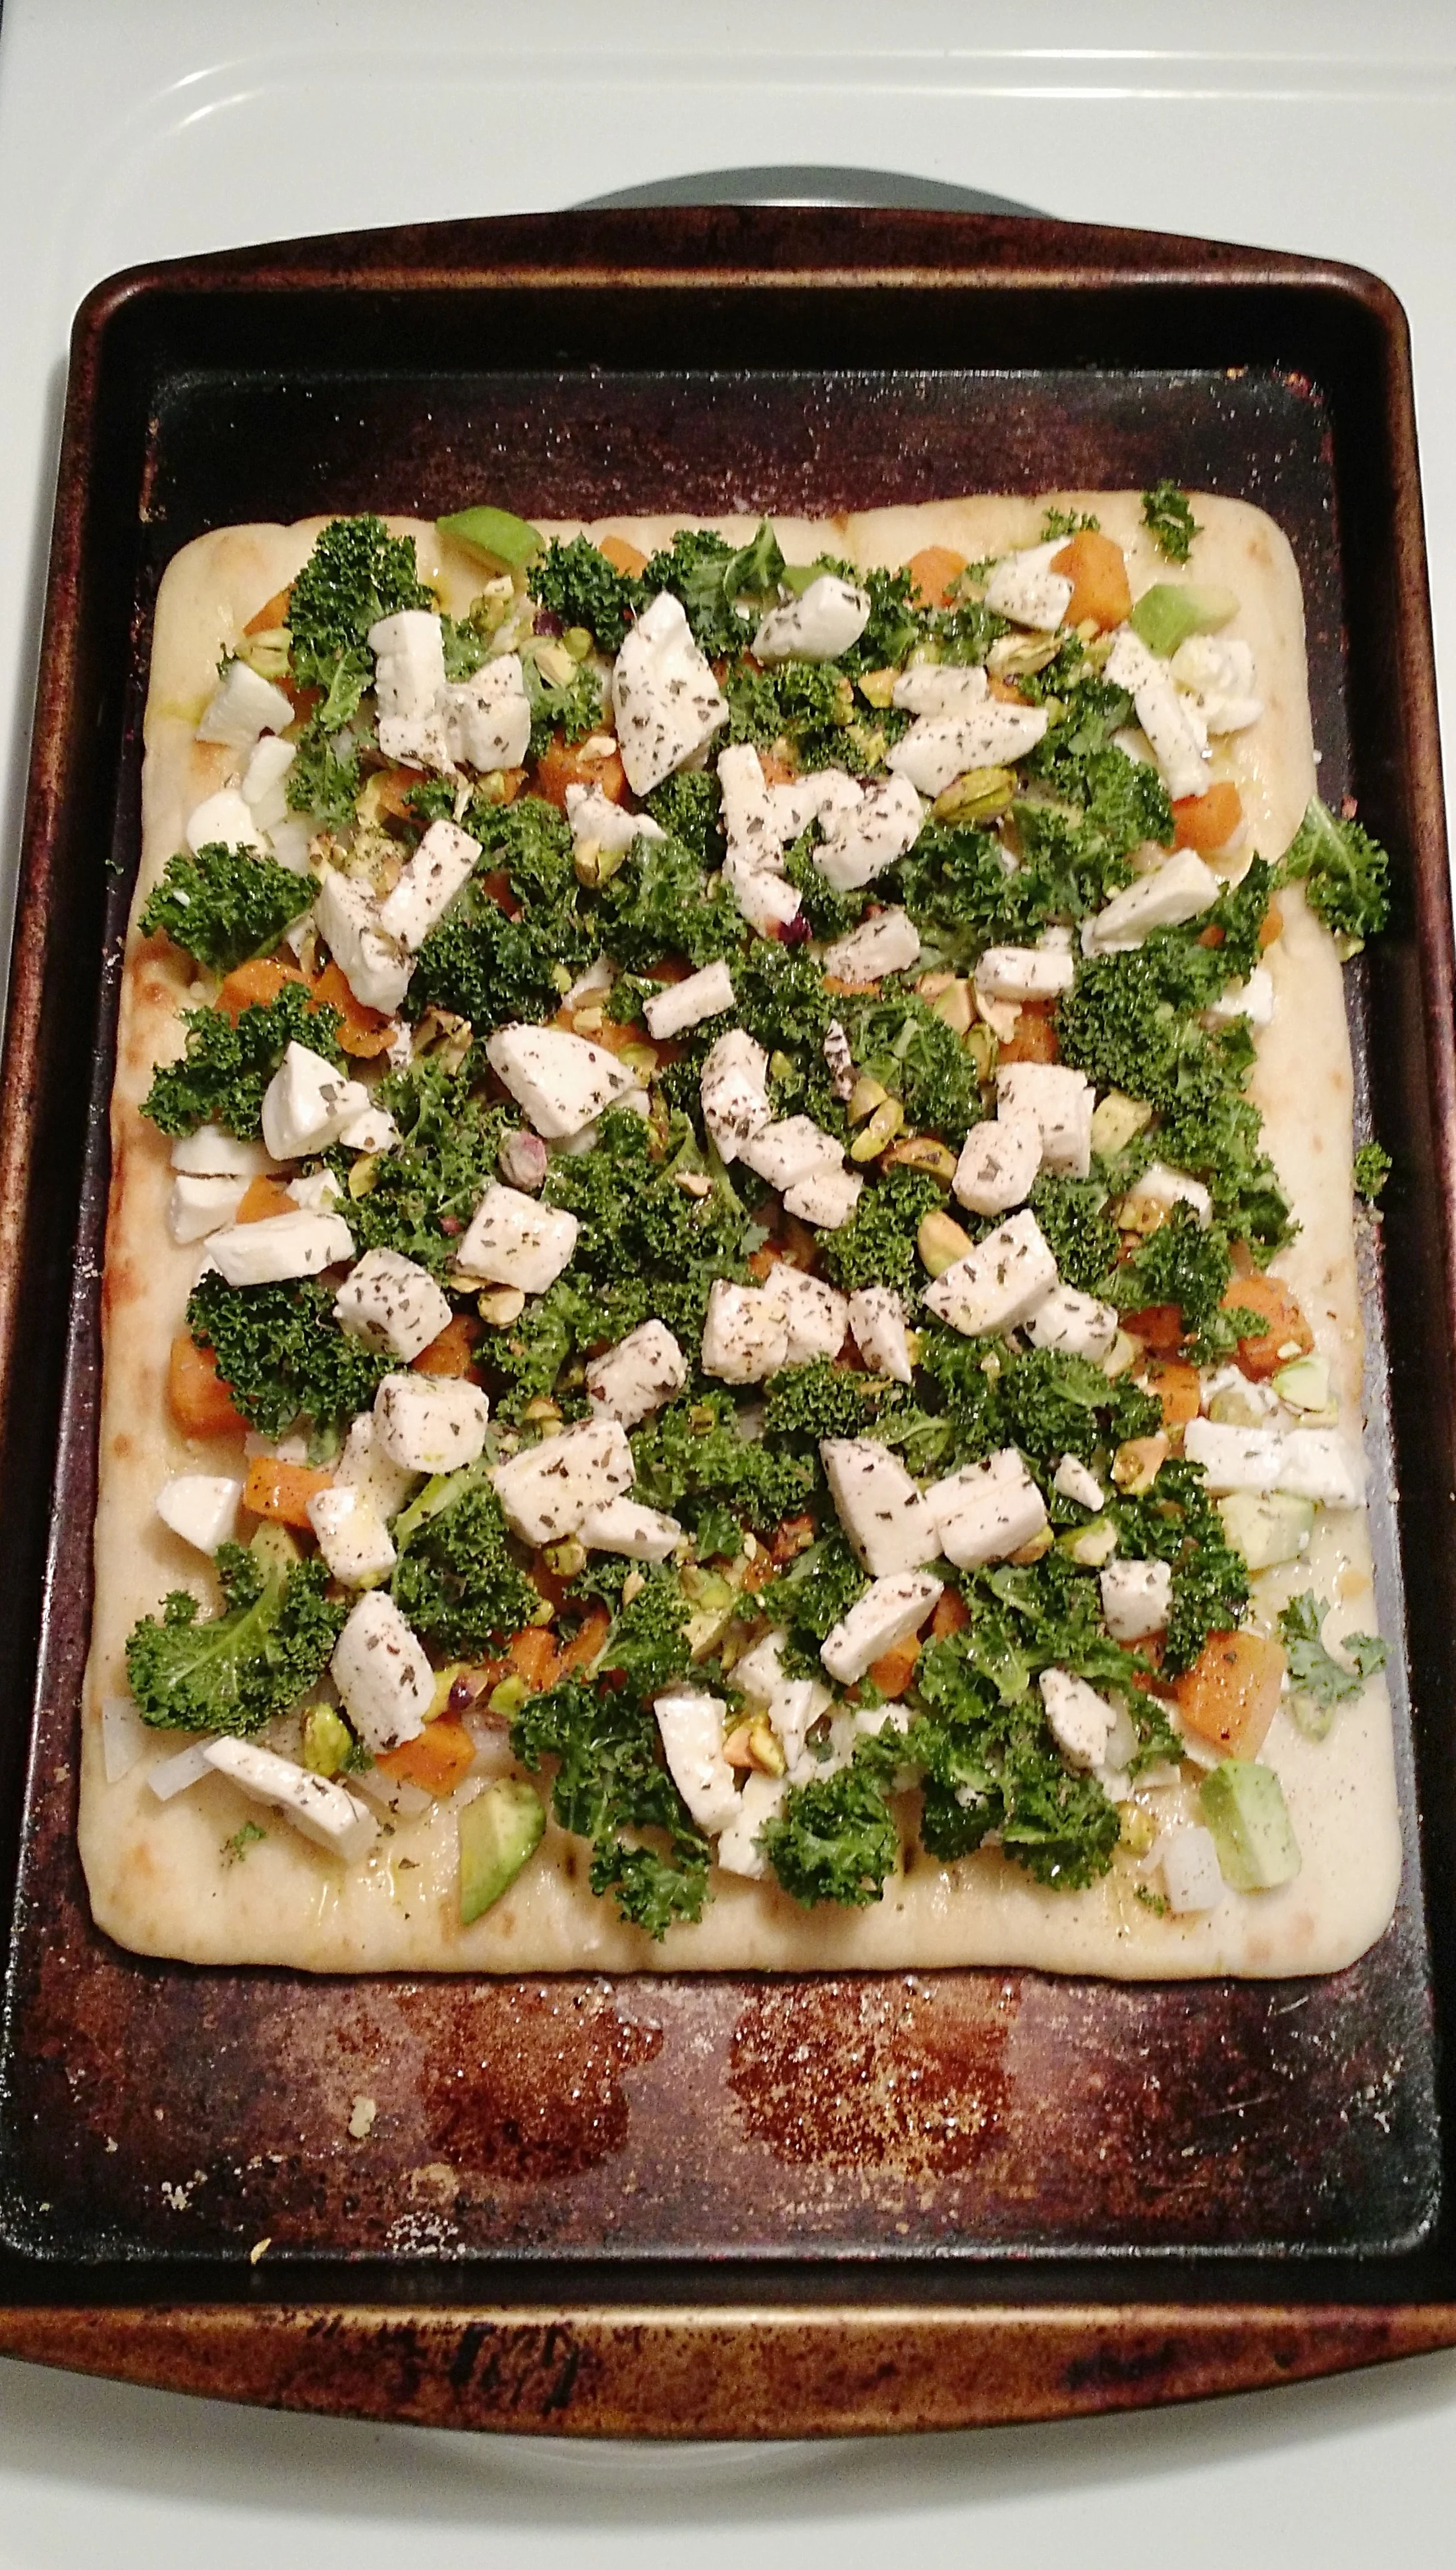
Add mozzarella. The flatbread should look quite "full."
Drizzle a little olive oil, and sprinkle lightly with salt, pepper, and basil.
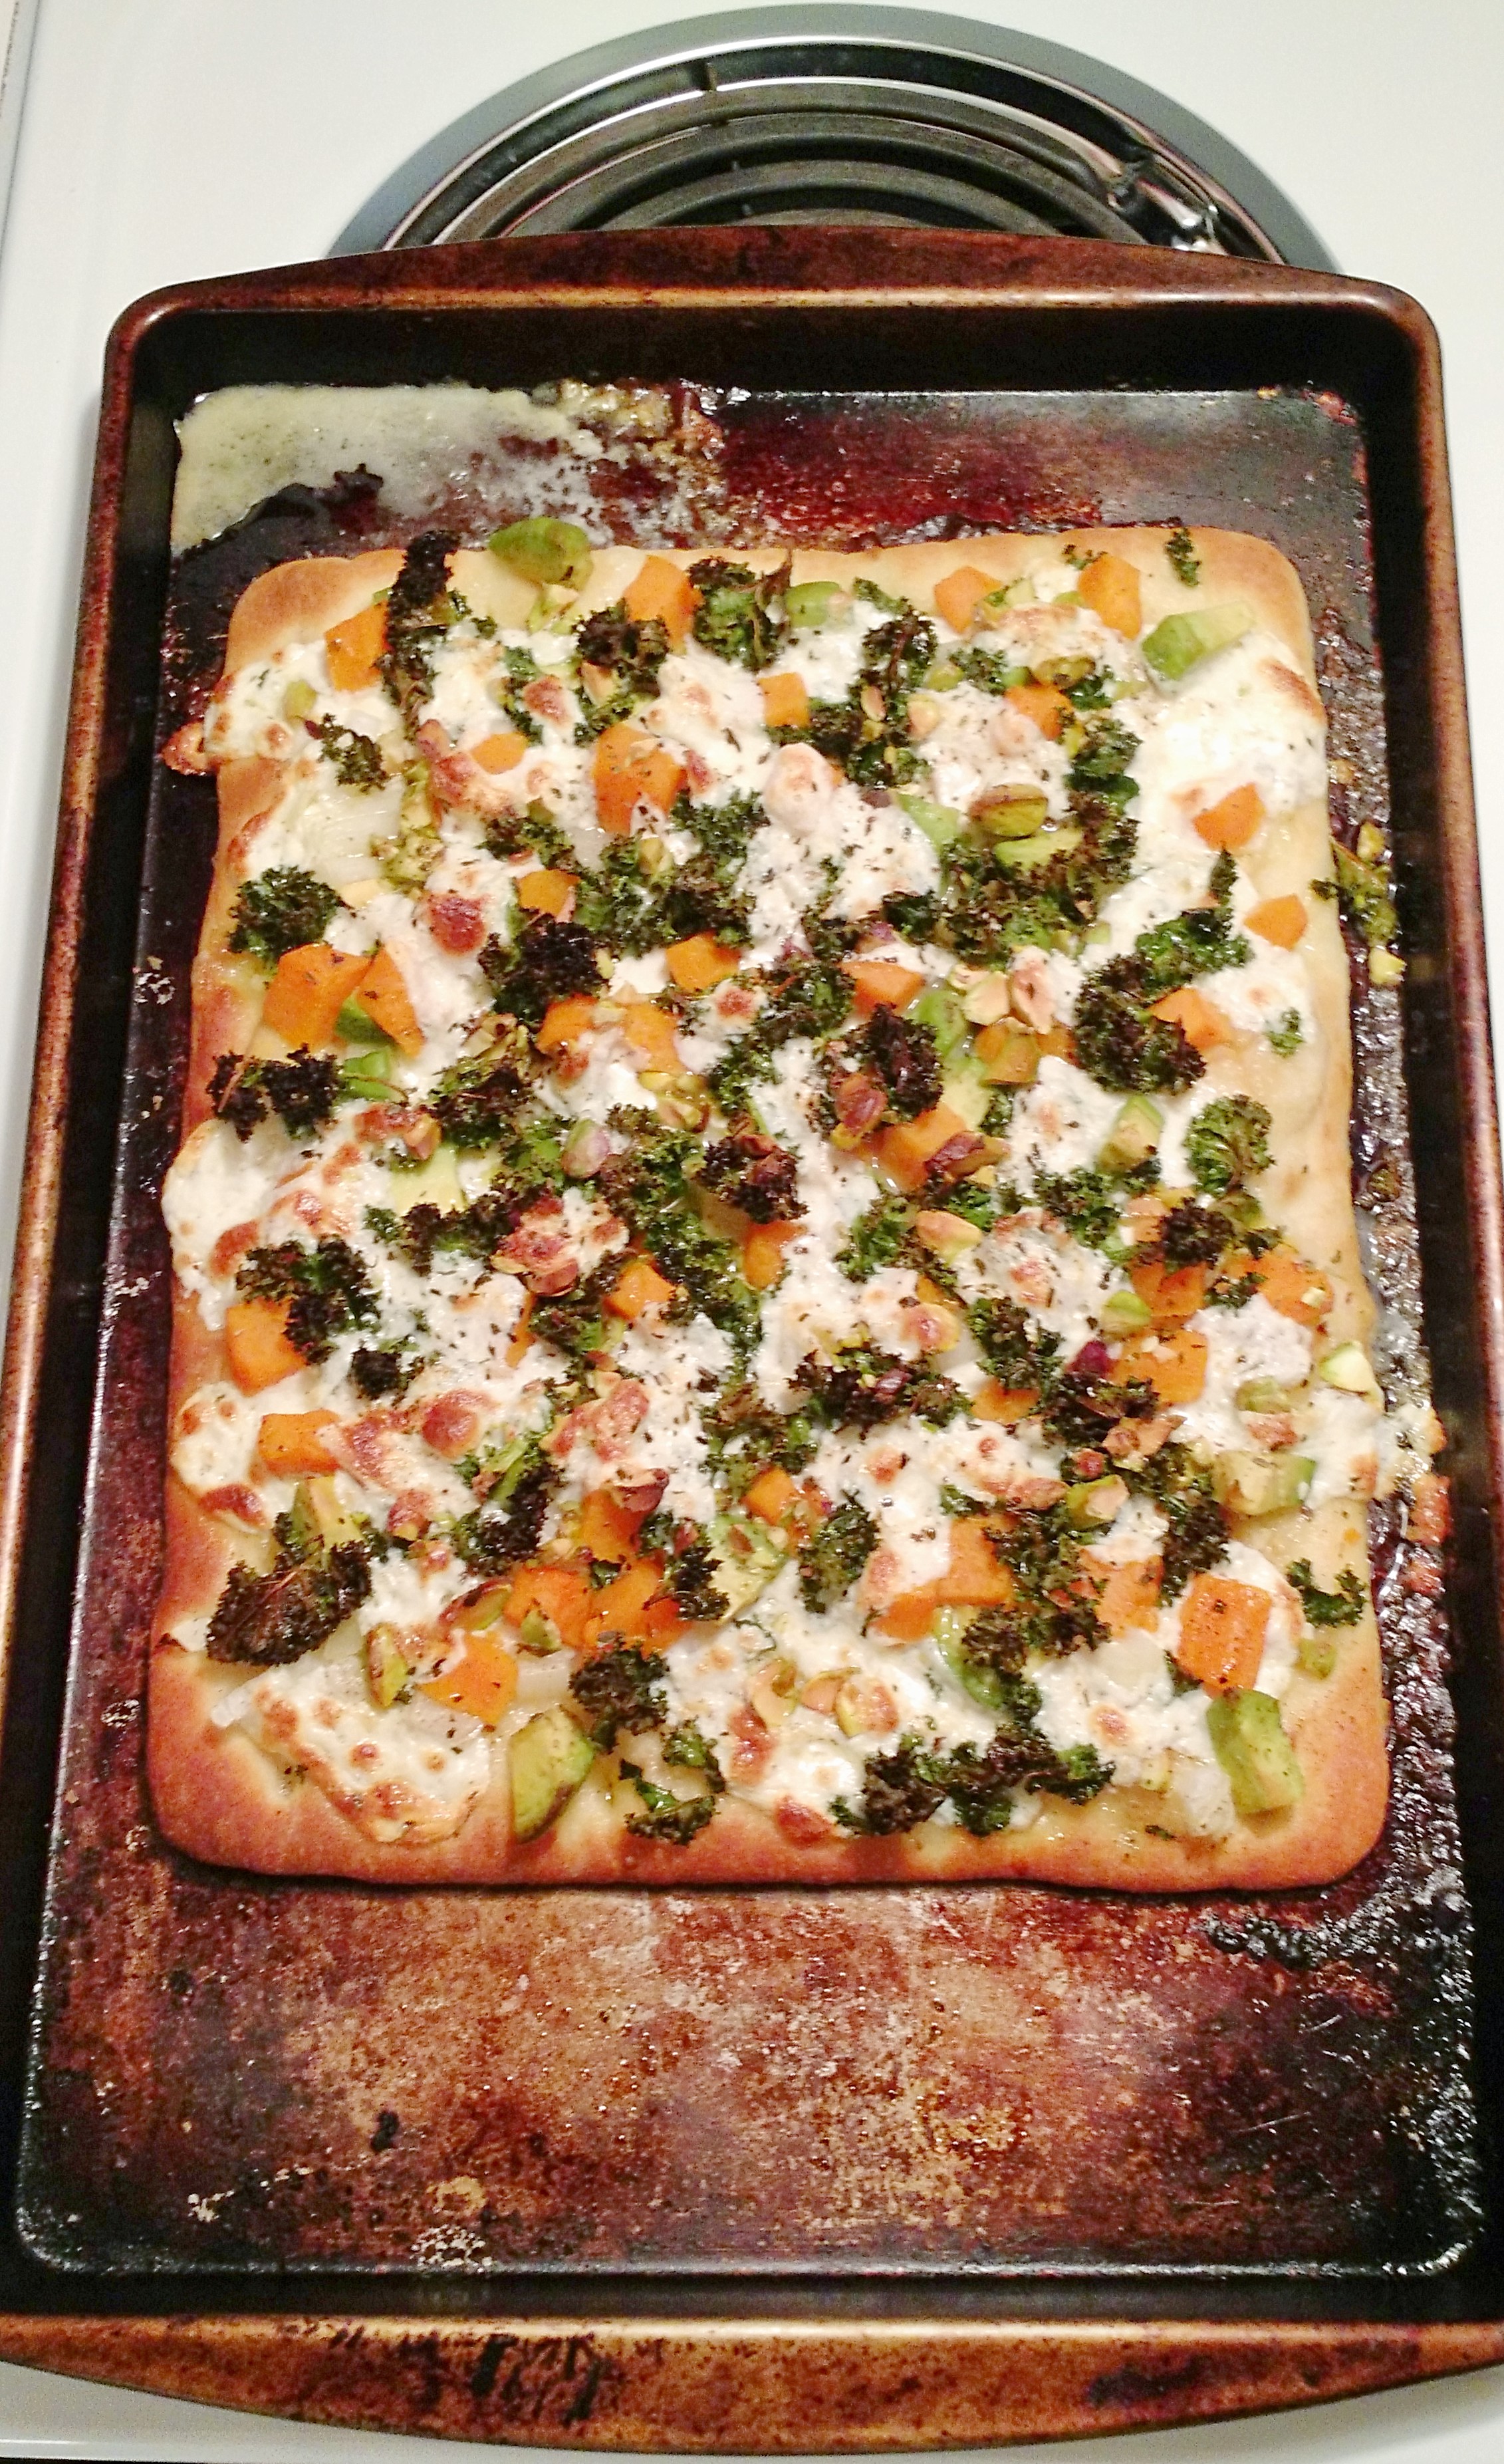
Bake according to package directions, about 15 minutes. Turn oven to broil for 1-5 minutes at the end.
Grab a glass of wine and enjoy!

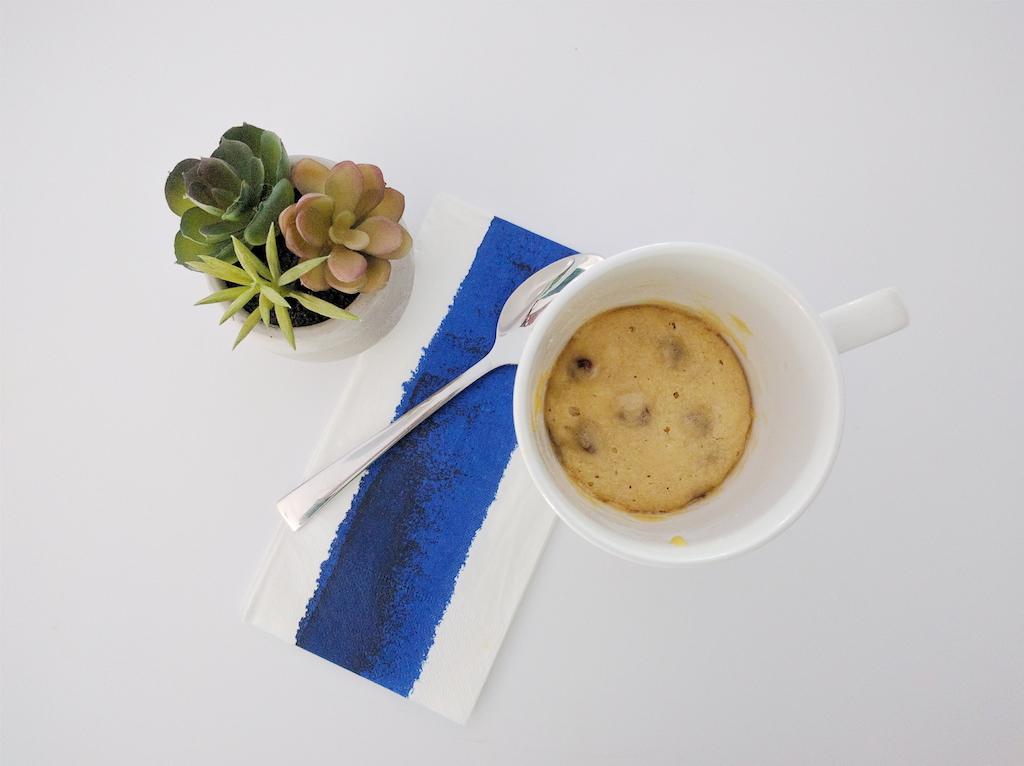
The Best Mug Cookie
Did you guys know I have a sweet tooth? Because it's a pretty basic fact about me, so in case you didn't, now you do. Growing up, I spent a...
Did you guys know I have a sweet tooth? Because it's a pretty basic fact about me, so in case you didn't, now you do.
Growing up, I spent a lot of time baking with my mom. Breads, cakes, cookies, pies, etc. It wasn't just about making something yummy, it was about learning techniques, talking, laughing, cleaning up, testing out changes to a recipe, or figuring out different substitutes for missing ingredients. There is an art to baking that I whole-heartedly enjoy and it's often therapeutic for me to spend an afternoon baking.
And yet, sometimes, I just want the taste of something baked without actually having to make an entire batch of something.
That's where this little fella comes in.
This recipe has been tried and tested over and over until I figured out just the right ingredients, measurements, and microwaving time to get it juuuust right. If it looks familiar to other ones you've seen, I wouldn't be all that surprised, because there's only so many ingredients you can really use in a microwavable cookie without it turning out "too this" or "too that"... but I assure you, this one is purely from my own experience.
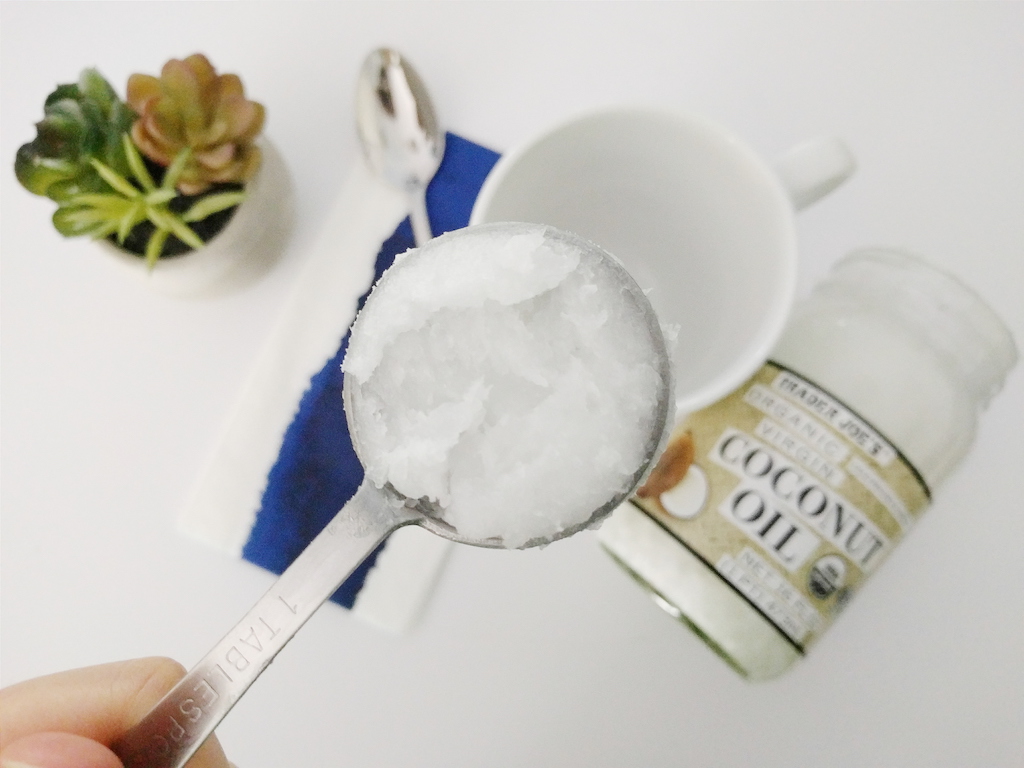
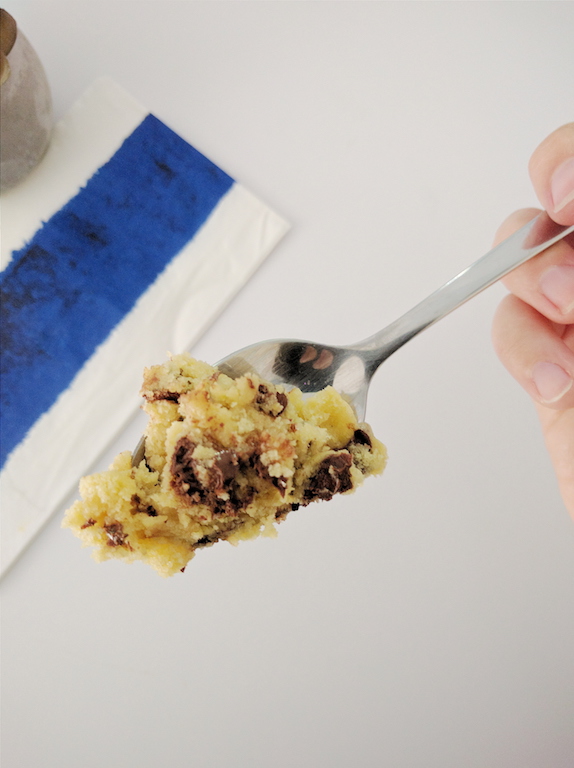
The thing I love about this cookie, is the coconut oil. Not only do you get that slight hint of coconut flavor, but it gives it the perfect amount of moisture so that the cookie doesn't get dry and cakey (a common problem among mug cookies). Also, by cooking it for less than a minute, it hits the just baked mark and is slightly doughy.
Below, you'll see what you need and how much, but as for the chocolate chips, feel free to sub them out for peanut butter, chopped nuts, or a mixture of whatever you like. Just remember to add no more than a total of a small handful of whatever you add, and you'll be golden.
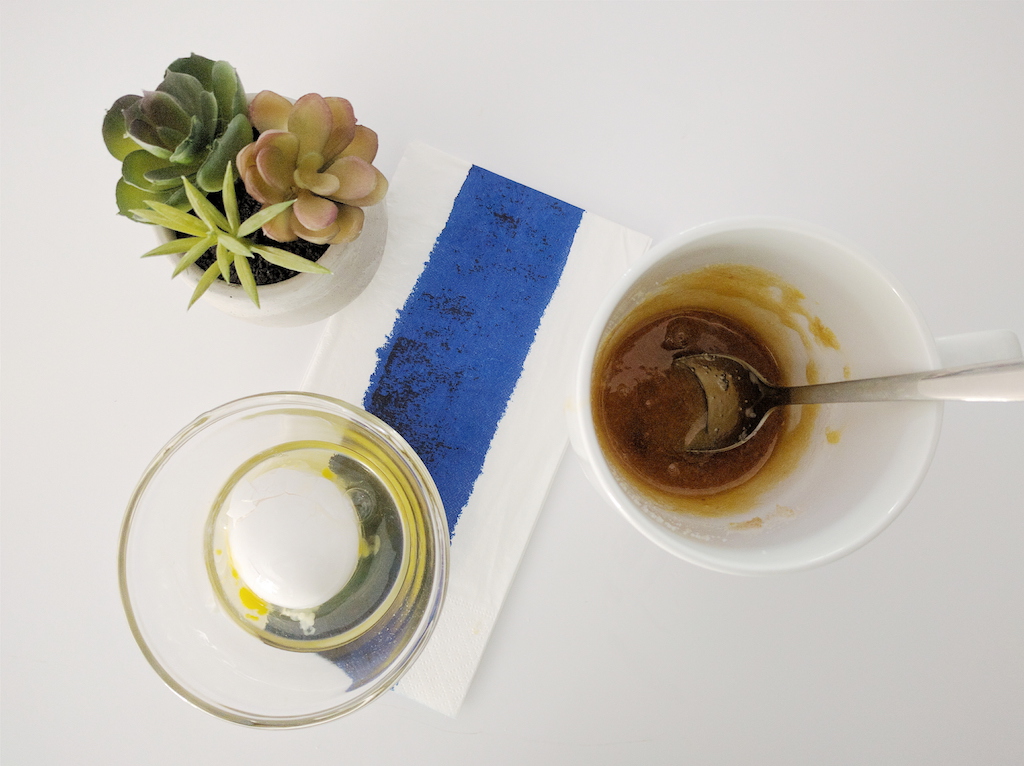
Ingredients
1 T melted coconut oil
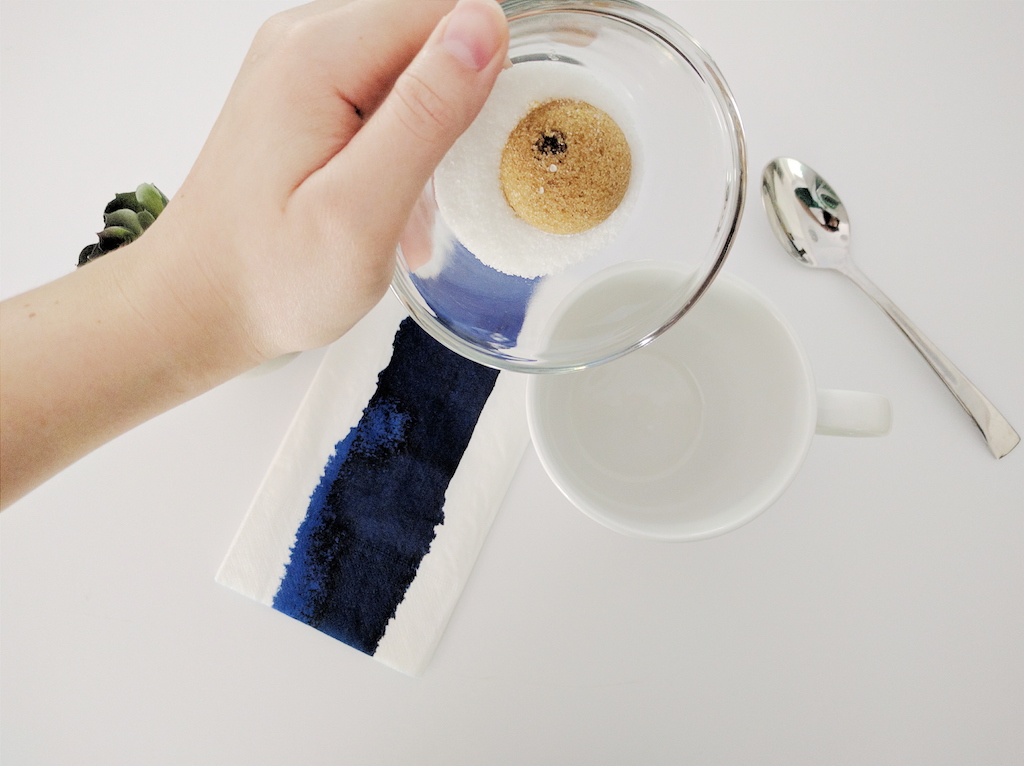
1 T sugar
1 T brown sugar
Pinch of salt
1 egg yolk
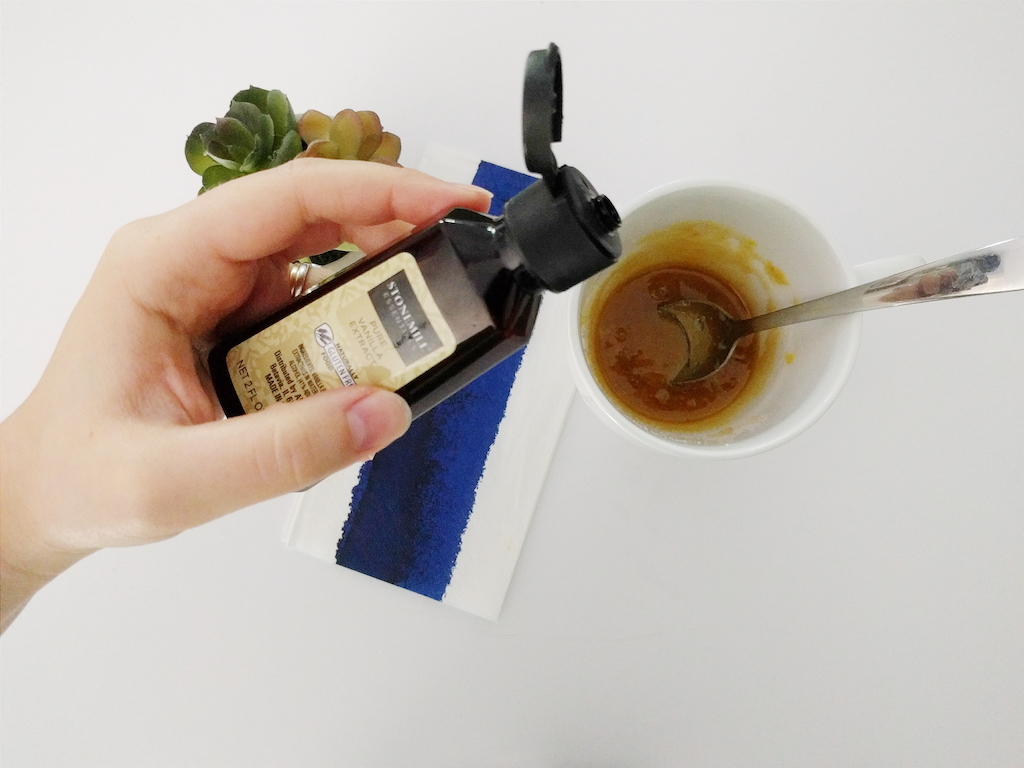
2-3 drops vanilla
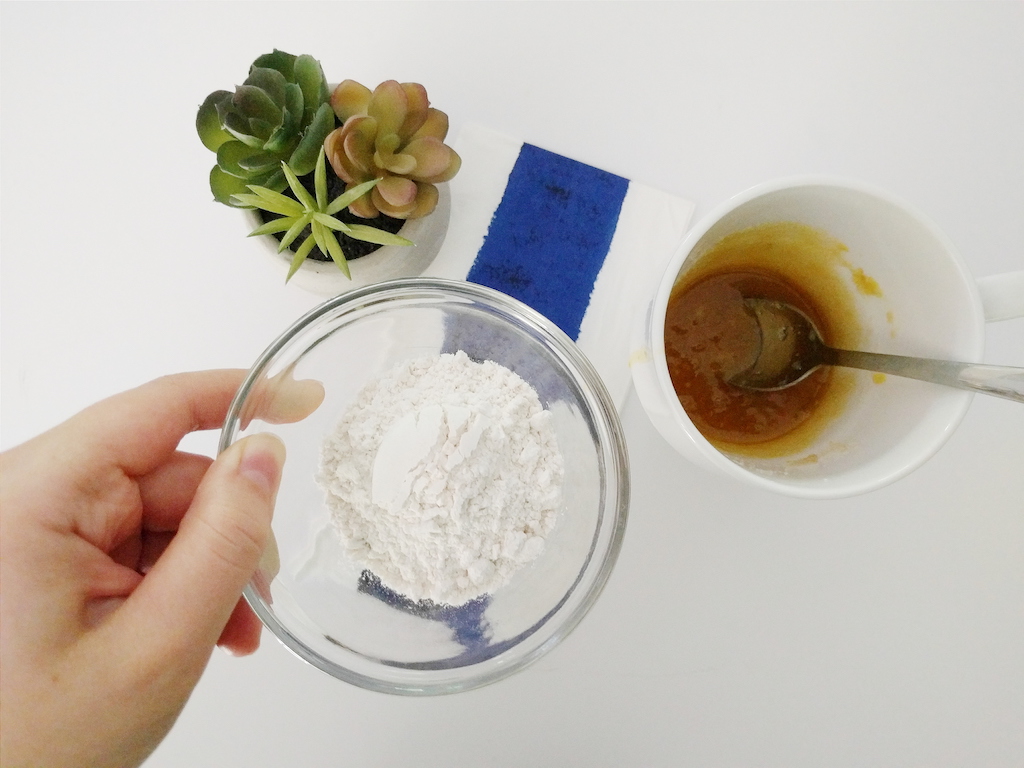
3.5 T flour
Small handful chocolate chips
Directions

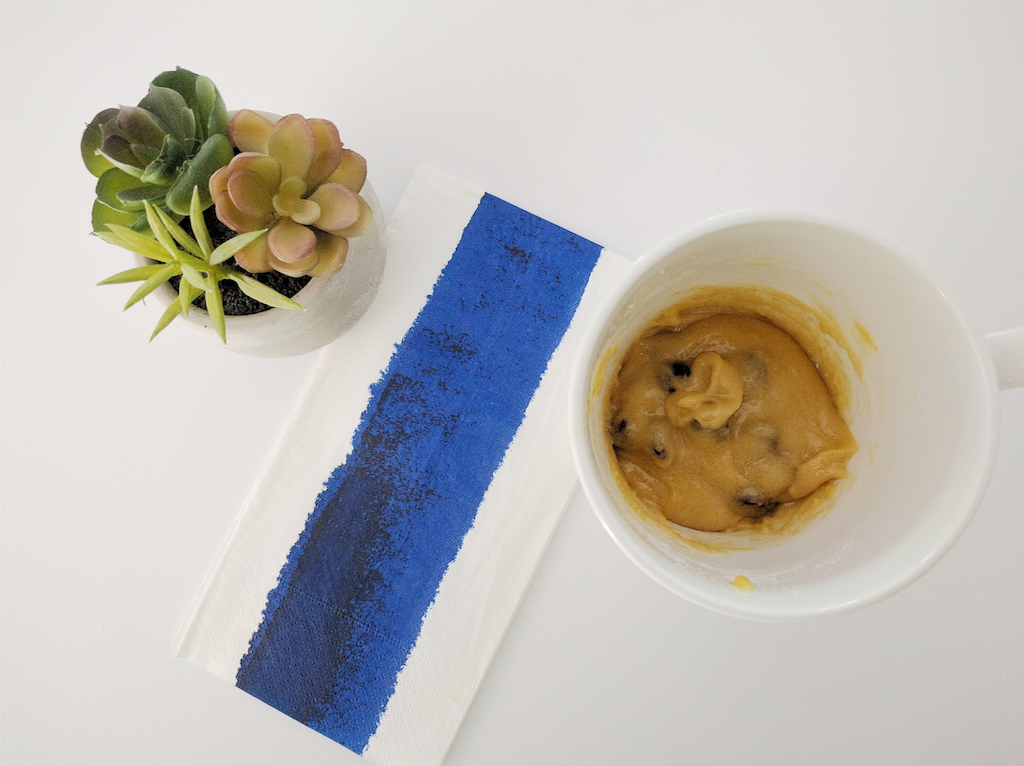
If you're planning on making more than one, be sure you treat them separately. Don't double this for one mug, or microwave two mugs at one time or they won't turn out right. I say all of this from experience... trust me!
These go great with ice cream or milk... but be wary... they can become terribly habitual to make!
Have you tried it? What do you think?
Custard Rhubarb Pie
I am not really a "pie person." I would prefer cookies, or brownies, or ice cream. Pie is sort of "meh" to me.
But this pie. OH THIS PIE. I can...
I am not really a "pie person." I would prefer cookies, or brownies, or ice cream. Pie is sort of "meh" to me.
But this pie.
OH THIS PIE.
I can (and may have) eaten an entire one of these pies all by myself. Tom can explain to you what this pie tastes like with words like "decadent, tangy, sweet, but not too sweet, buttery.."
This is his favorite pie. EVER. I get some serious wife points for that. He tells everyone about this pie, and if Tom is bragging about something, it's going to be worth bragging about. He's usually hard to impress. BUT THIS PIE.
Honestly, just try it.
Crust
2.5 C flour
2 sticks COLD butter
1 tsp salt
1 tsp sugar
6-8 tablespoons ice water
Pie Filling
4 C rhubarb, diced
3 eggs
2 C sugar
1/4 C flour
1 teaspoon vanilla
3 tablespoons milk
1 tablespoon butter (melted)
Don't forget to follow me on social media to stay up to date and connected. Feel free to message or email me with any content requests, ideas, or collaborations!

The Great Blogger Bake Along | Finale
Alright, friends. It only took a month for my mom and I to be able to coordinate a good day for this finale, but it's here! Honestly, having...
In case you're not up to speed, this is the tenth and final bake in The Great Blogger Bake Along series. Read about it here.
Alright, friends. It only took a month for my mom and I to be able to coordinate a good day for this finale, but it's here! Honestly, having finished these final THREE bakes, I realize we could have easily done this sooner, but I assumed they would be time consuming and fussy like some of the previous bakes. Surprisingly, I was able to do all three in just a few hours!
The Challenge
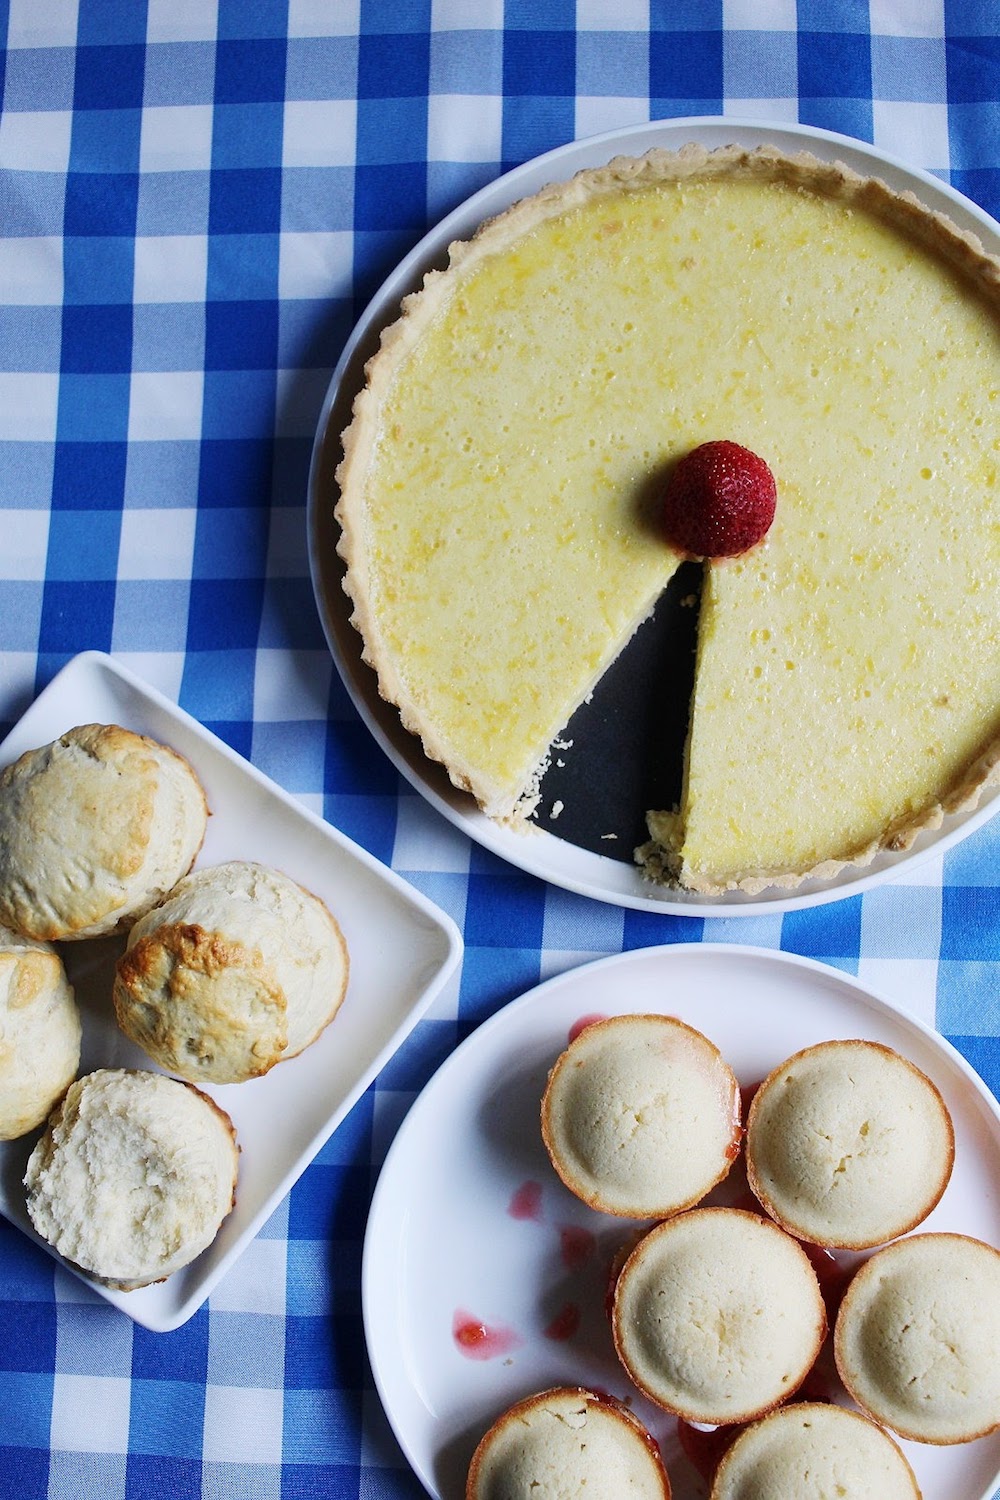
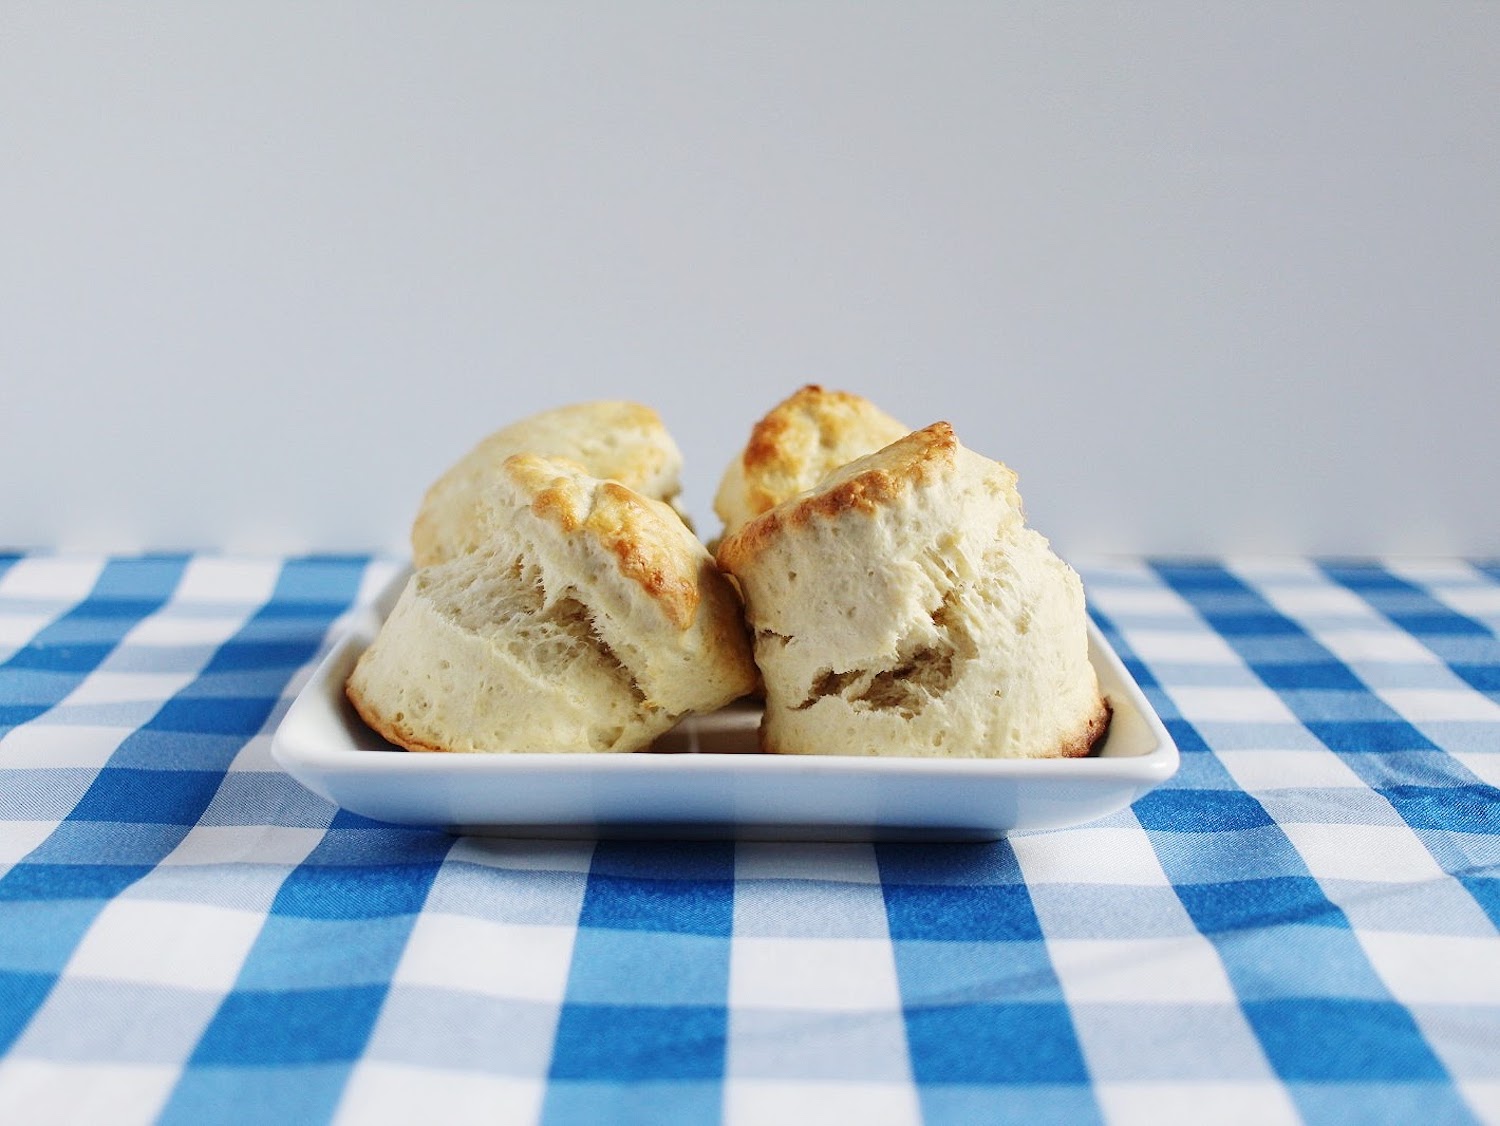
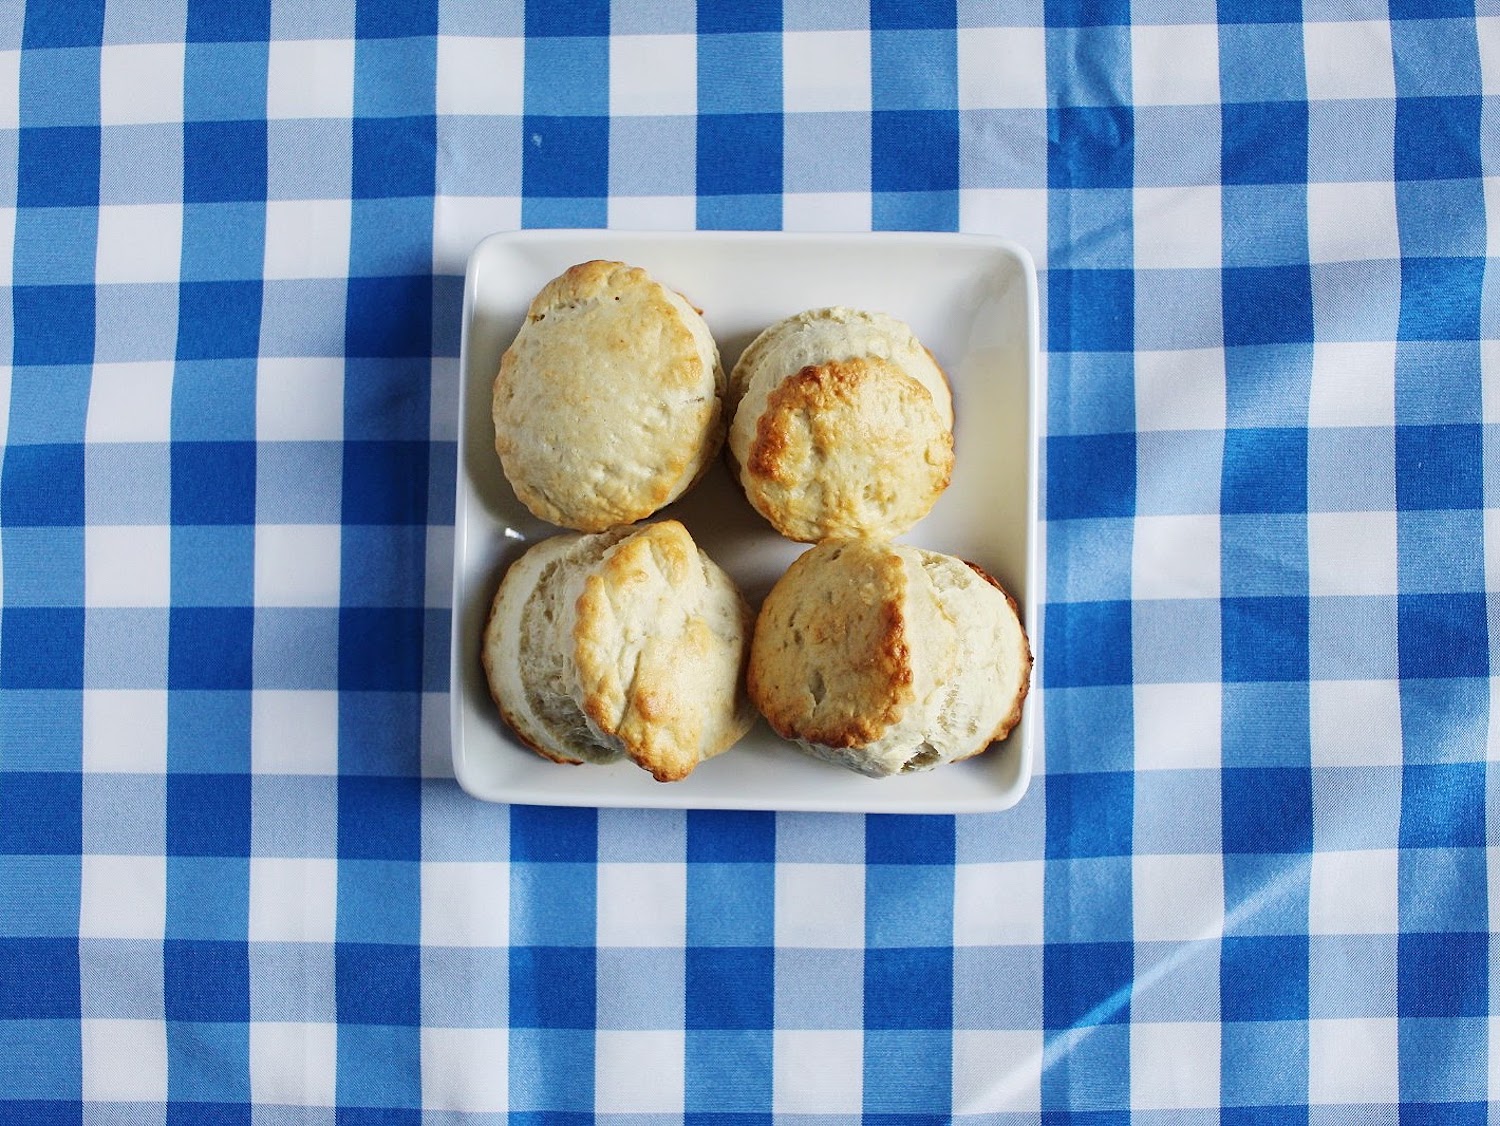
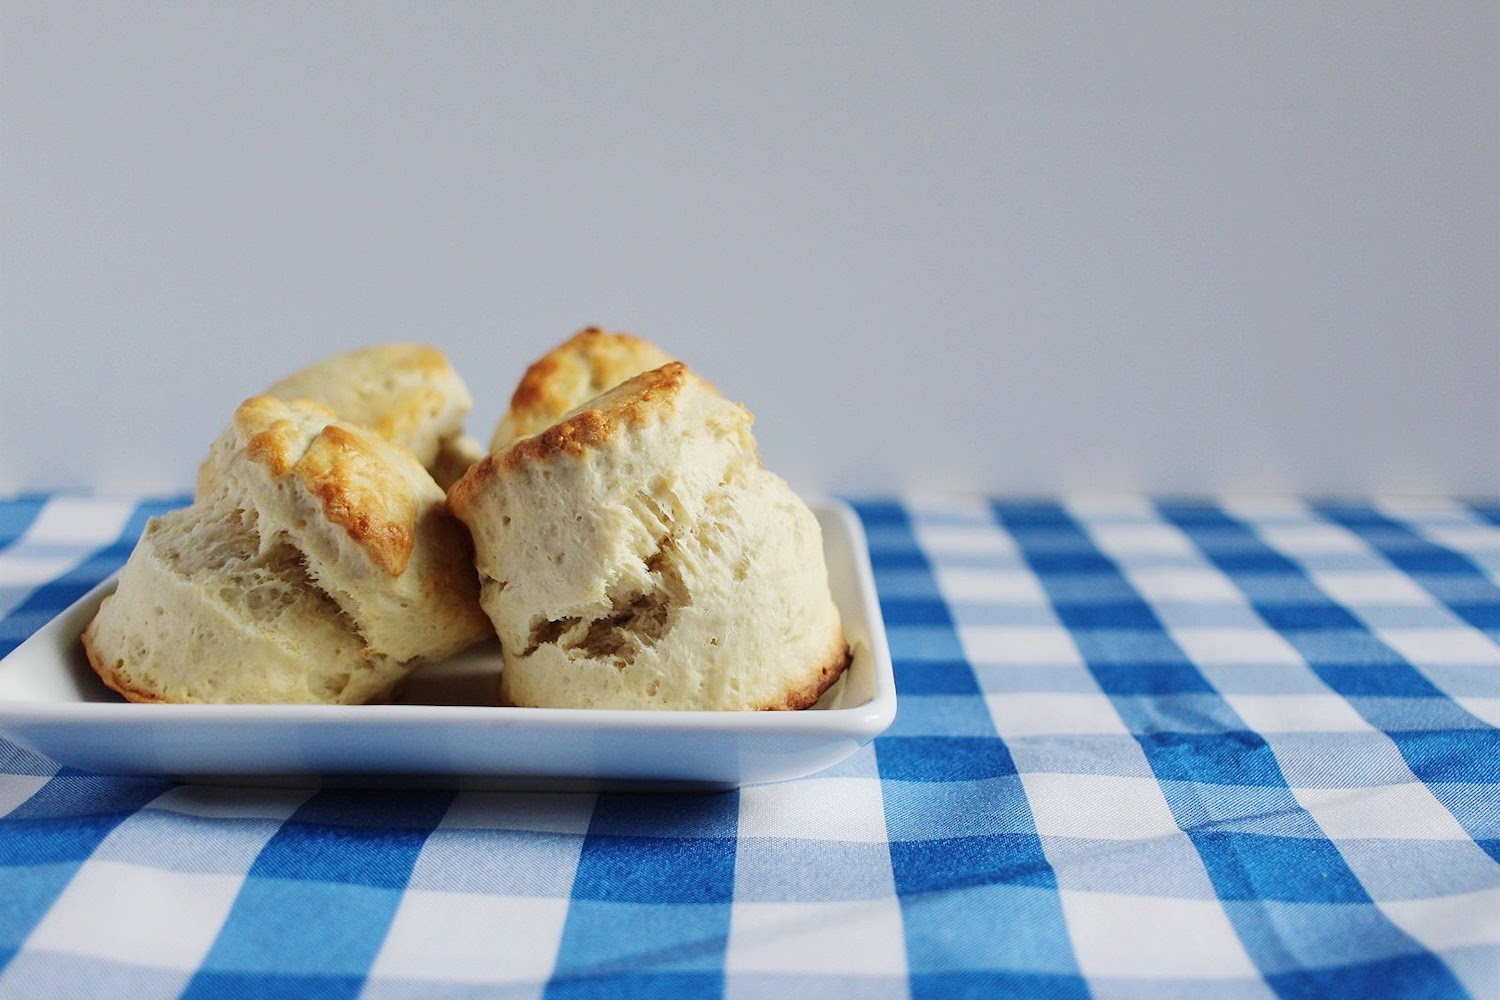
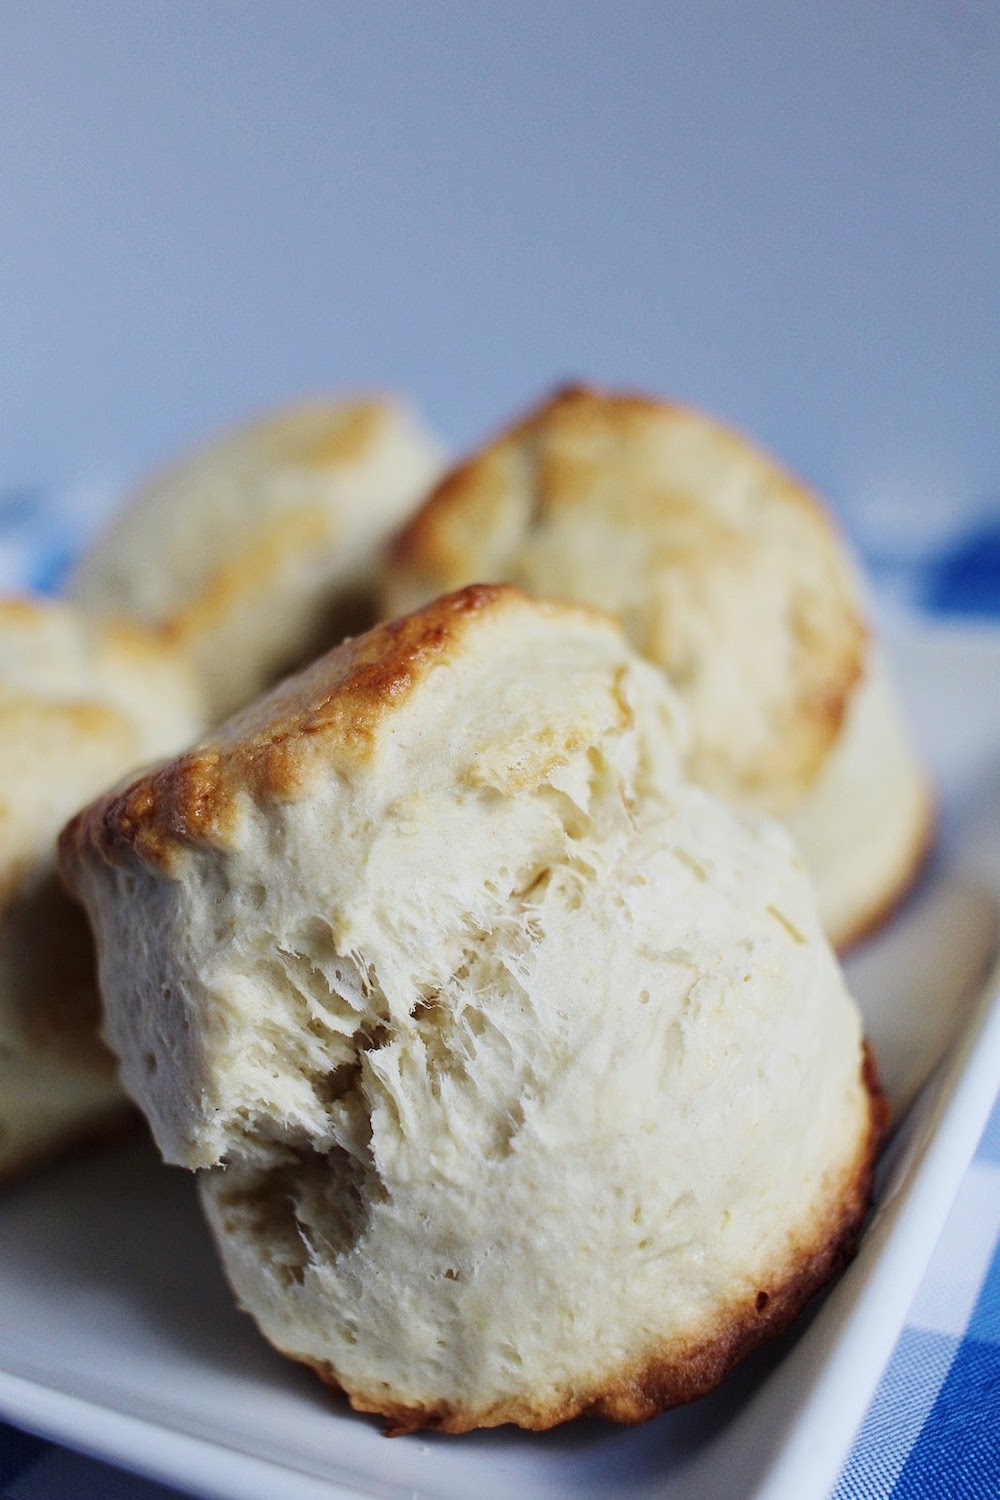
Tea Time Scones
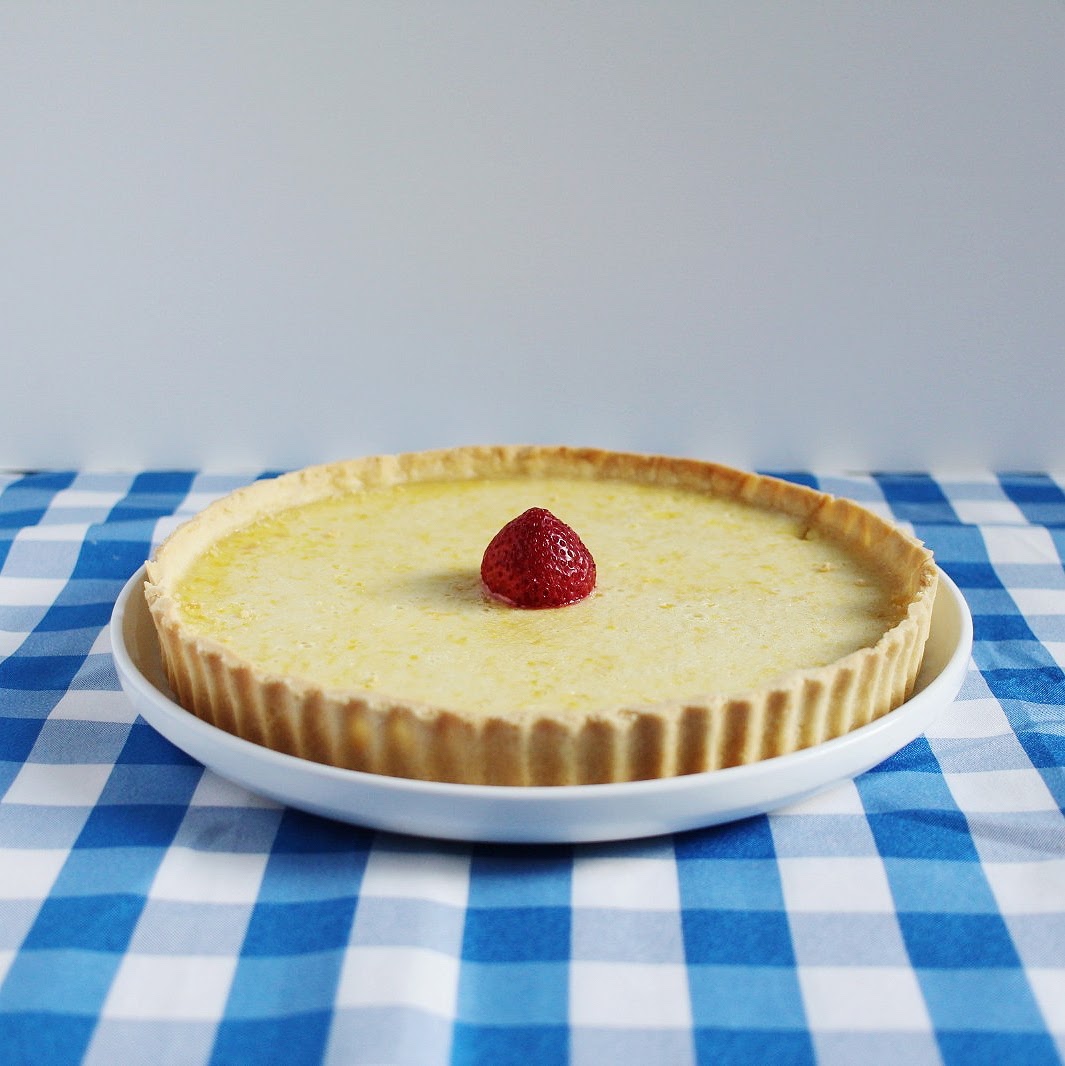
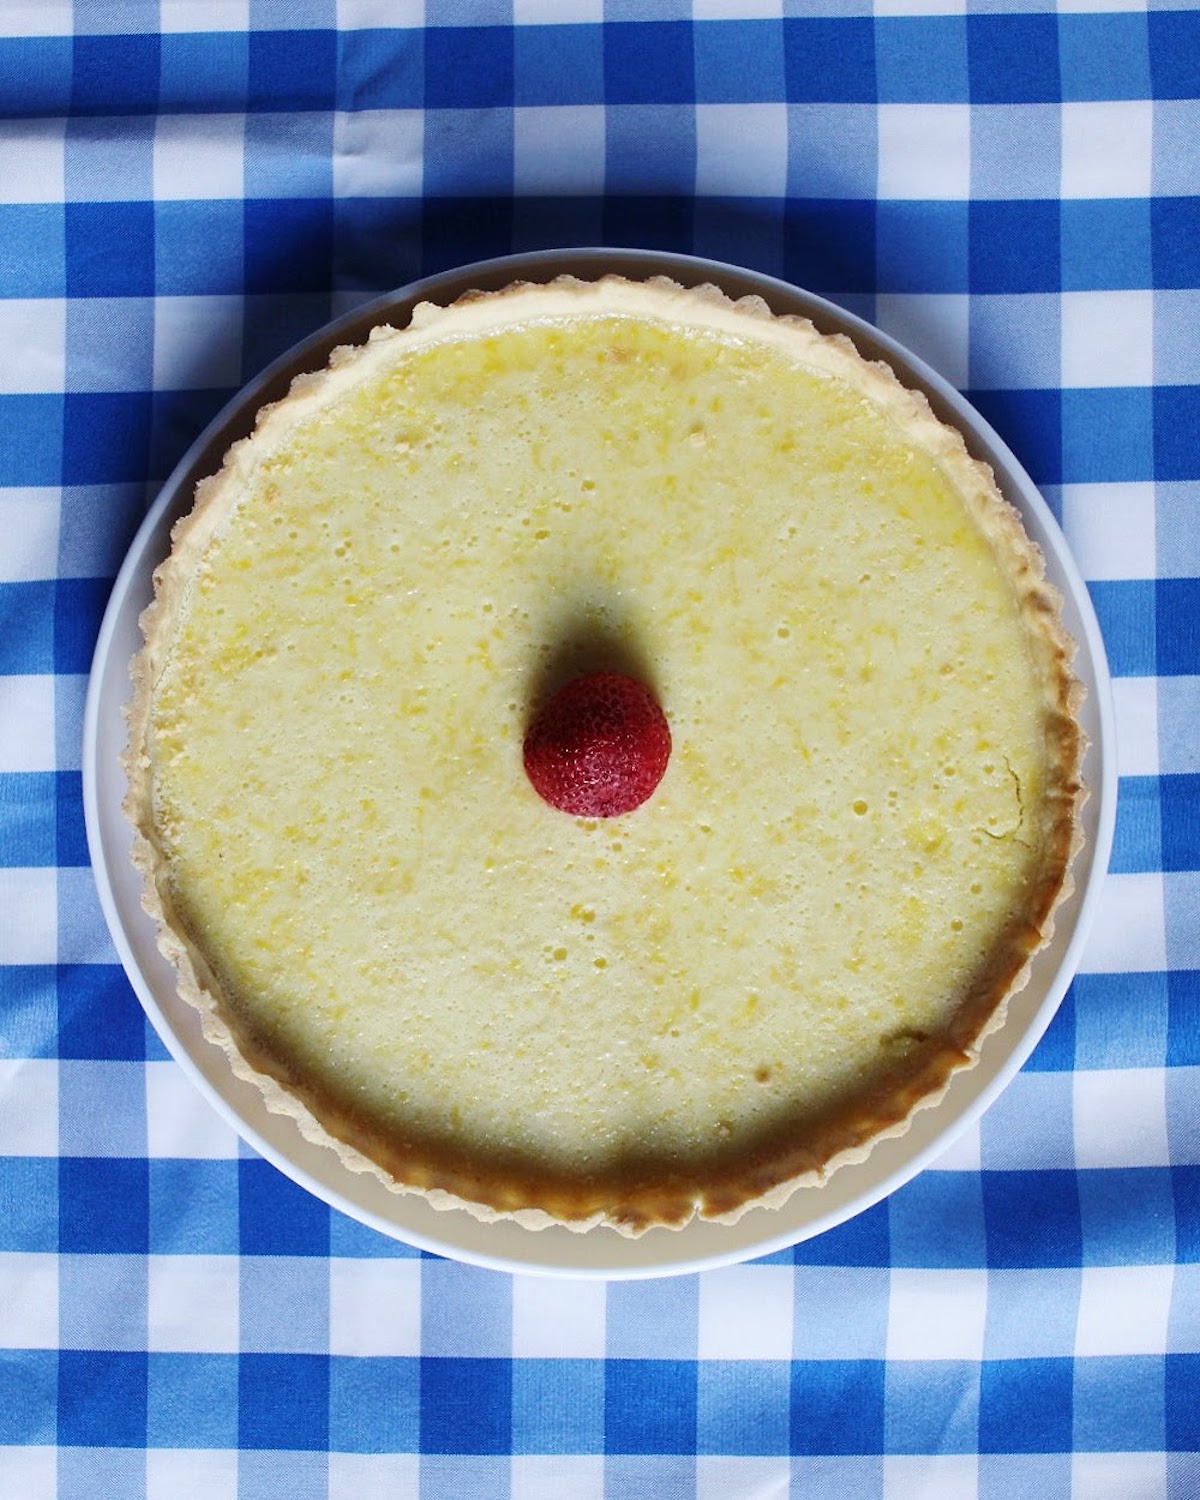
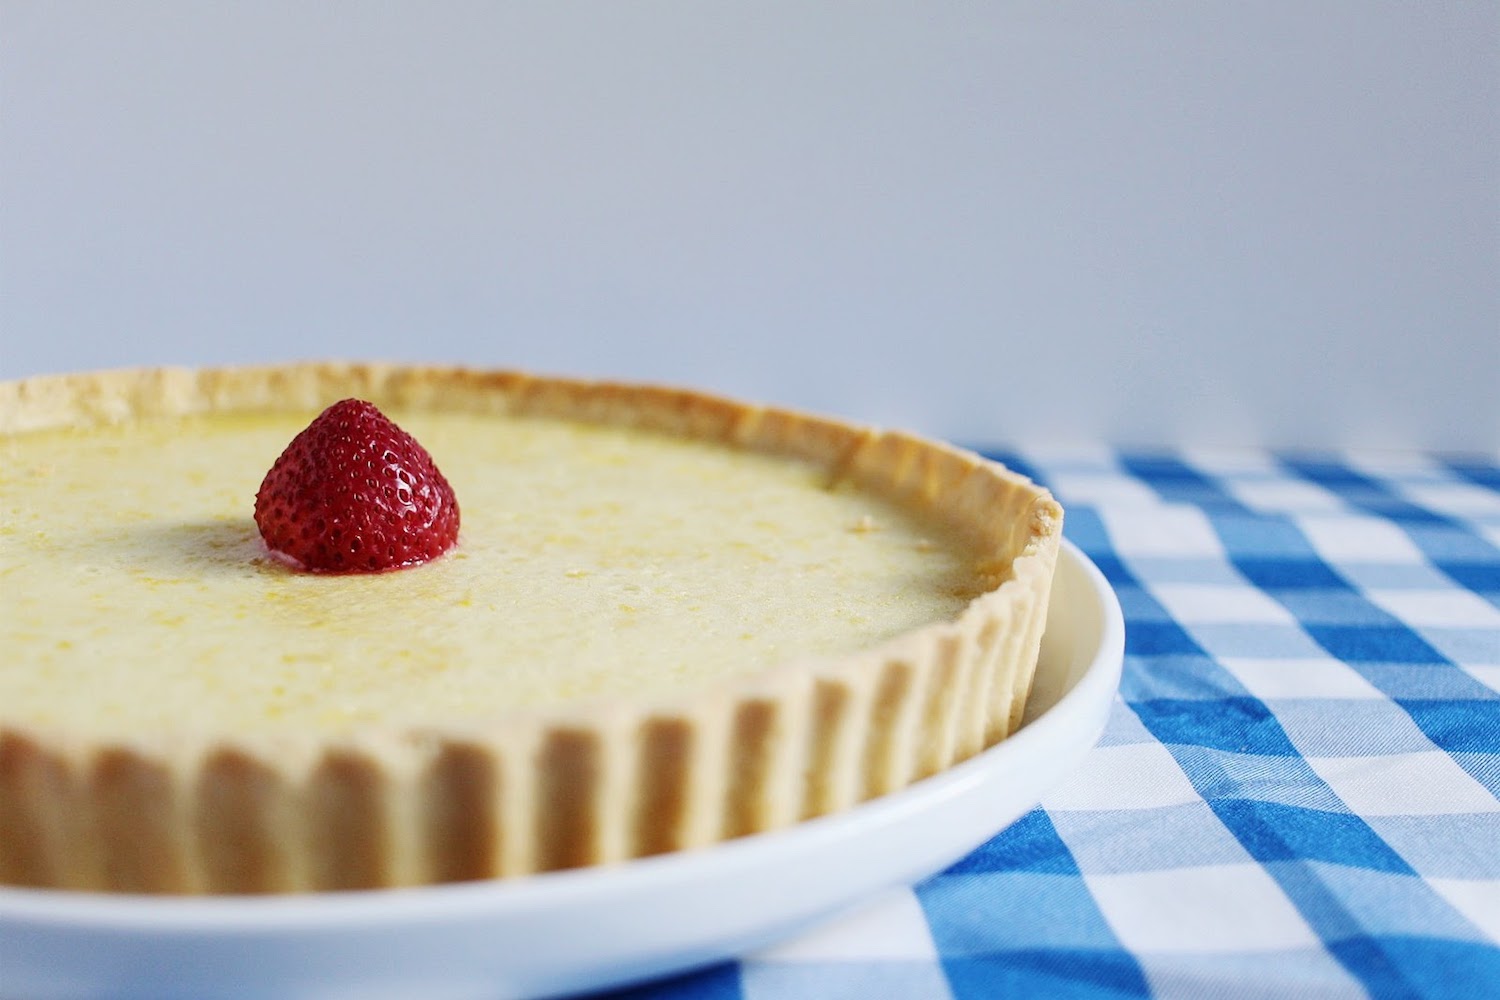
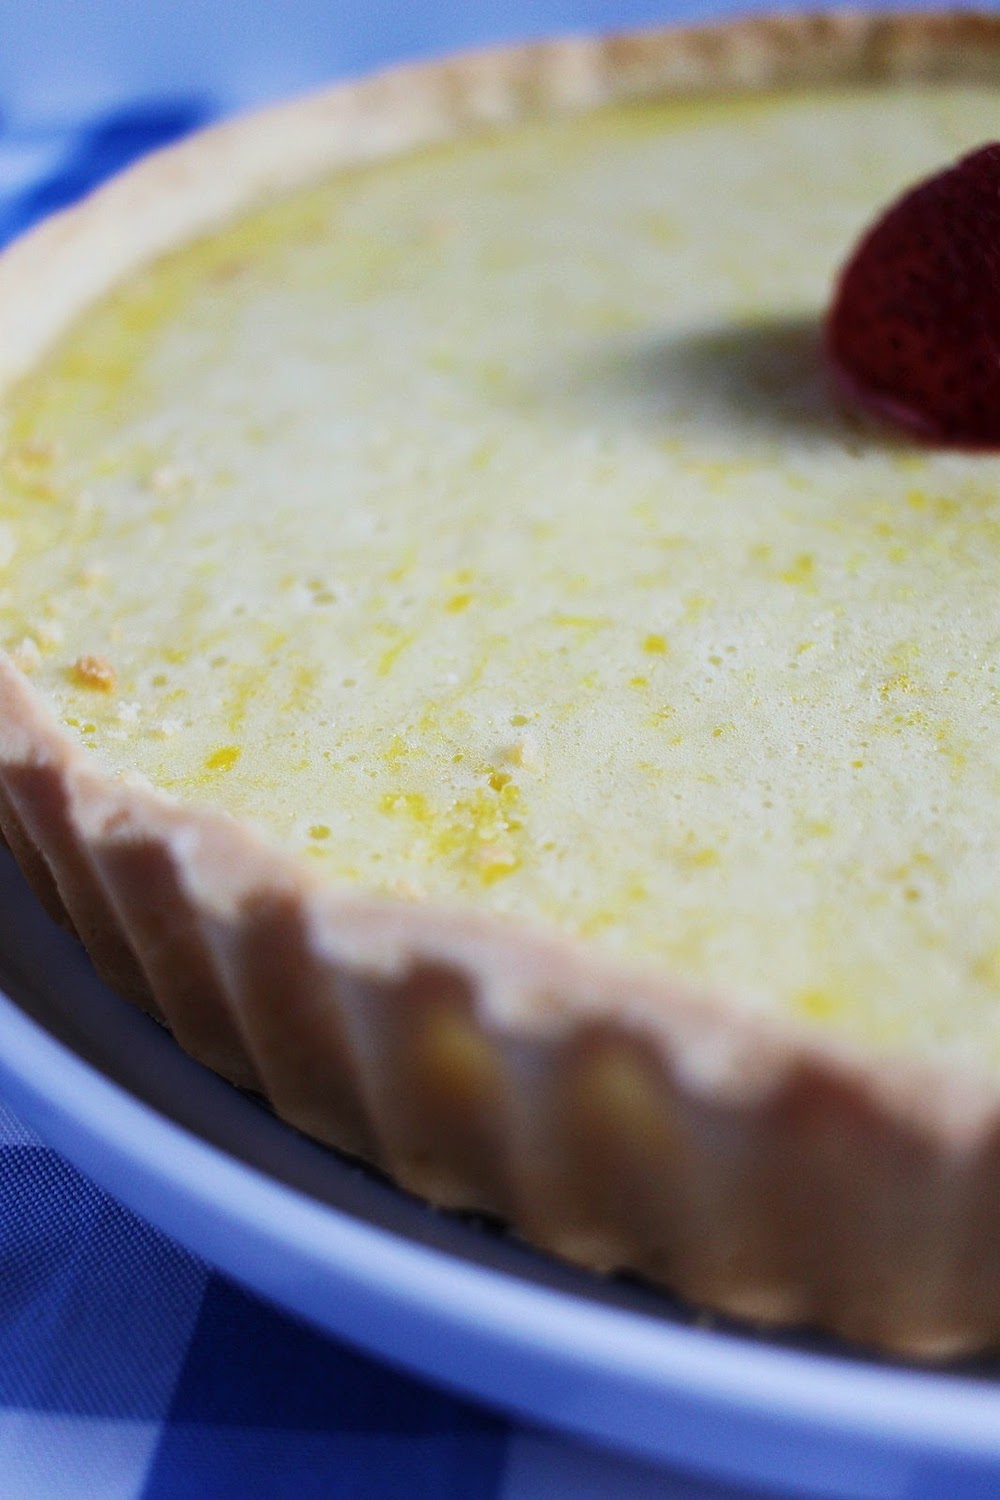
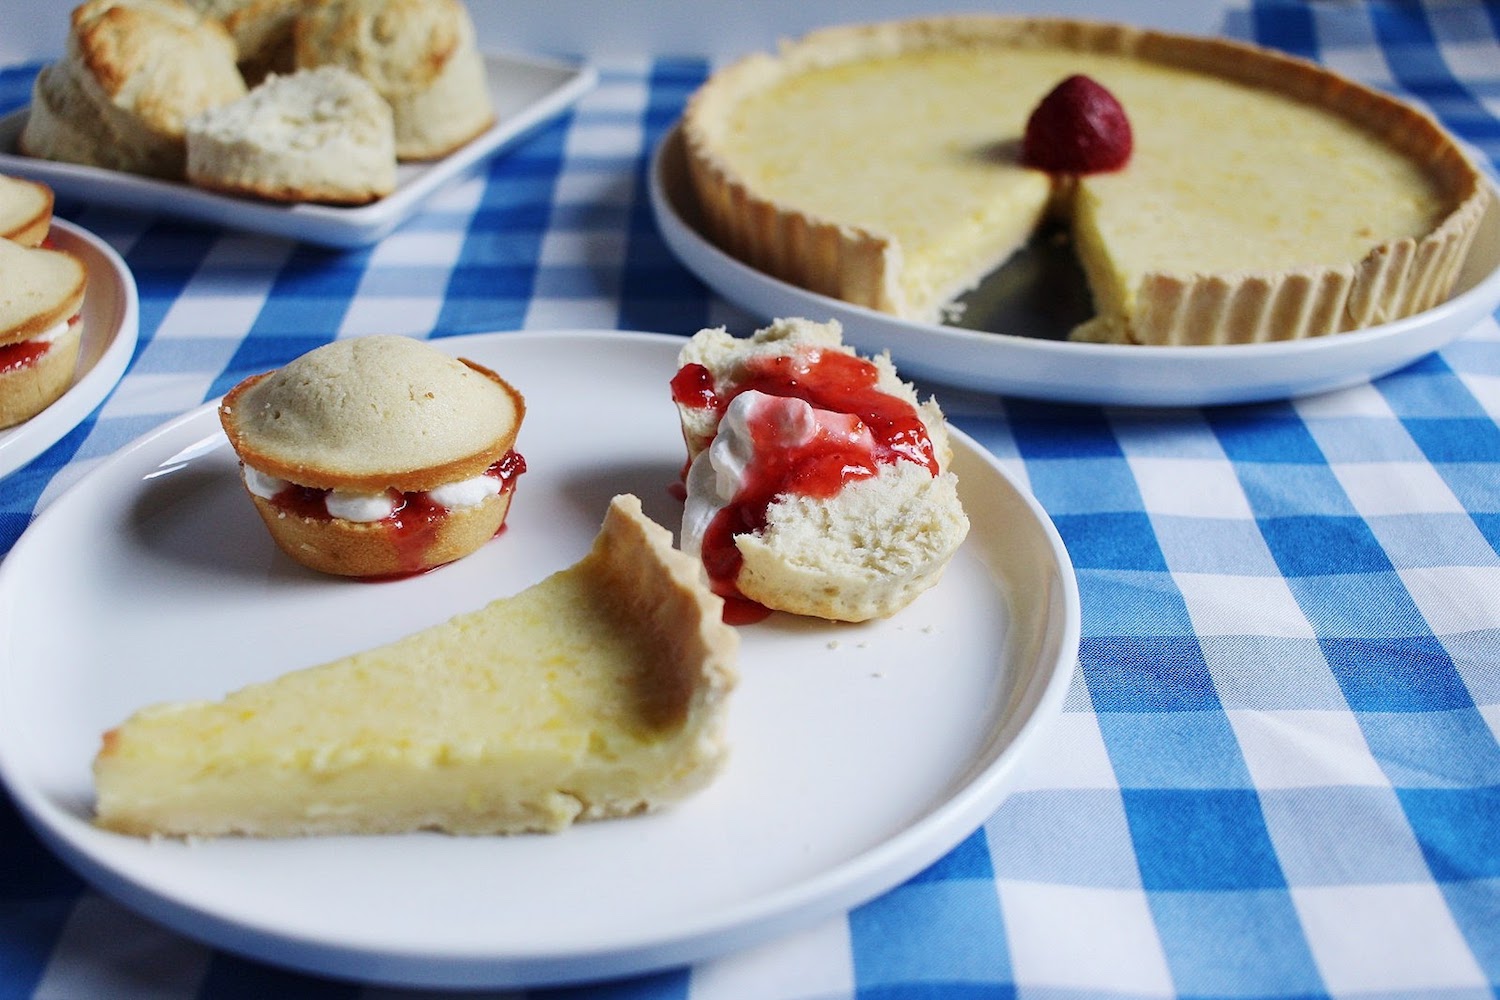
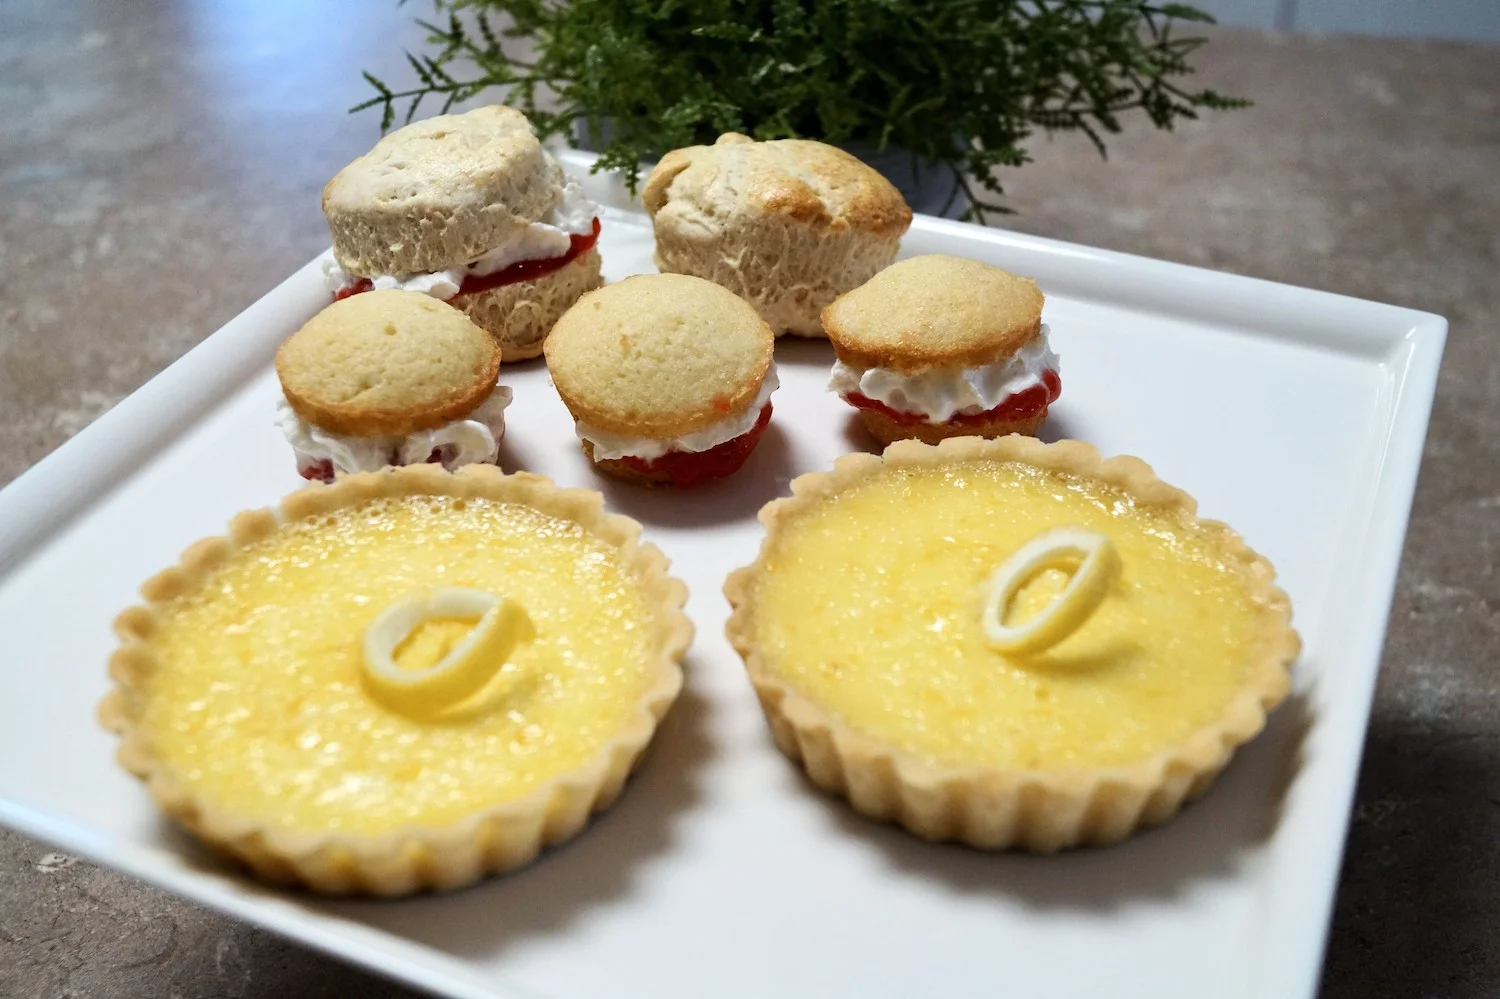
Lemon Tart(lets)
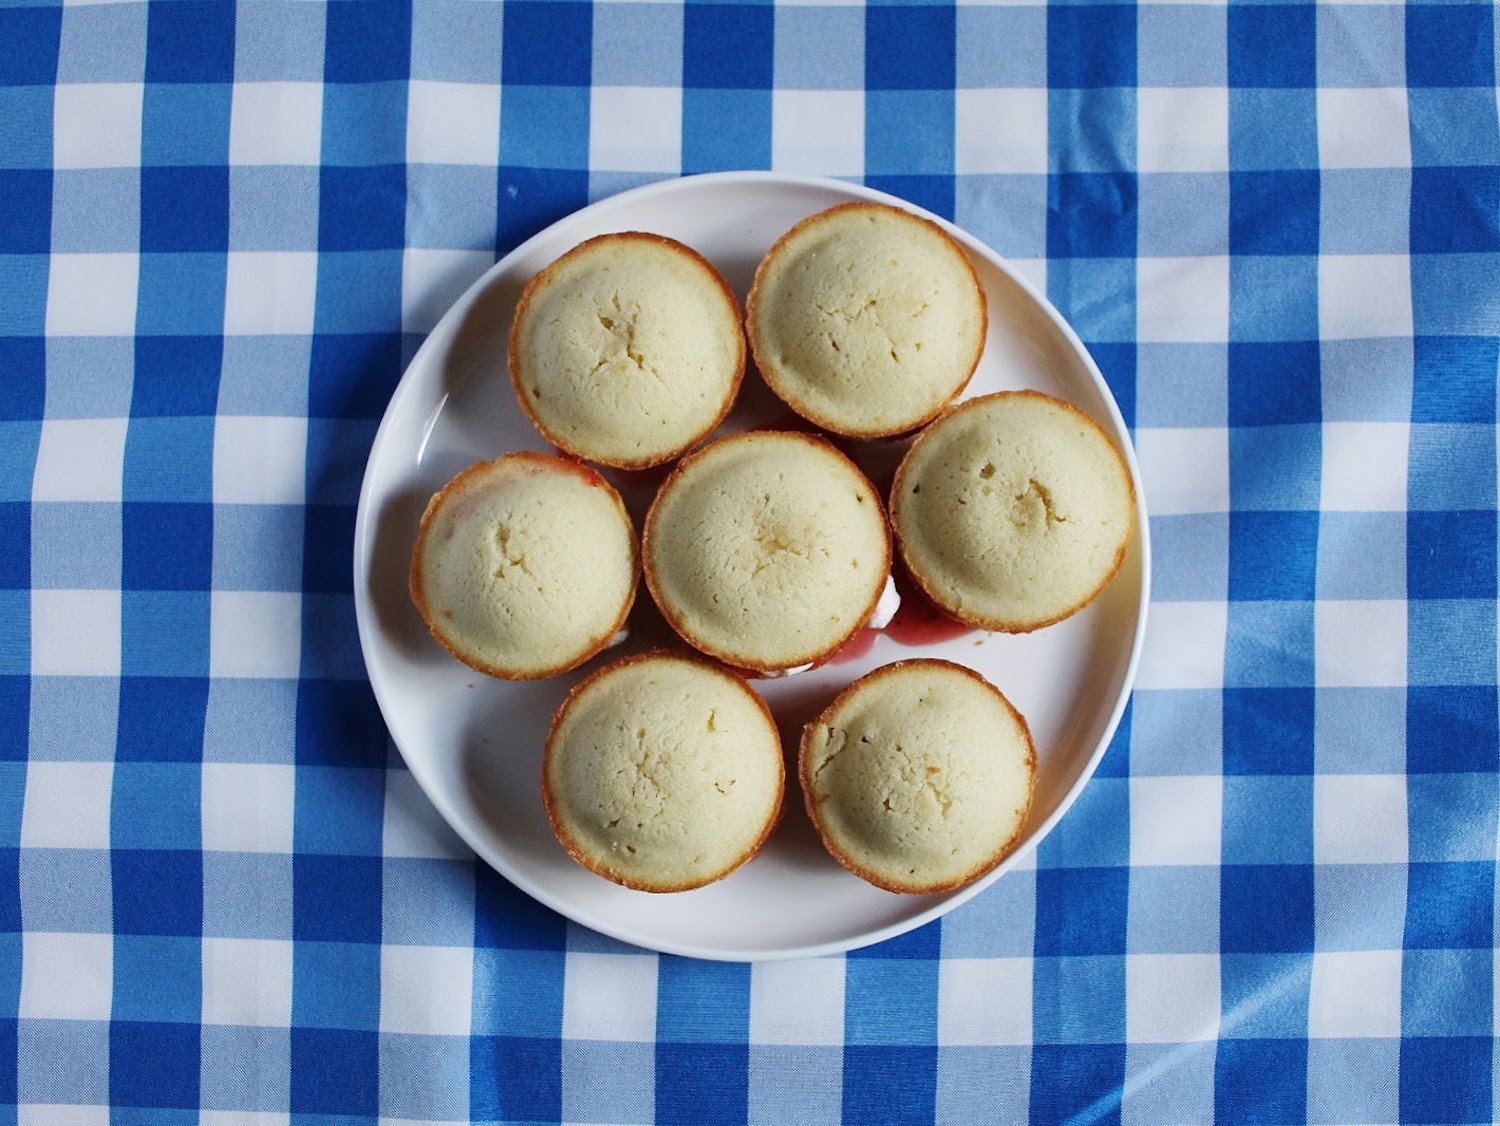
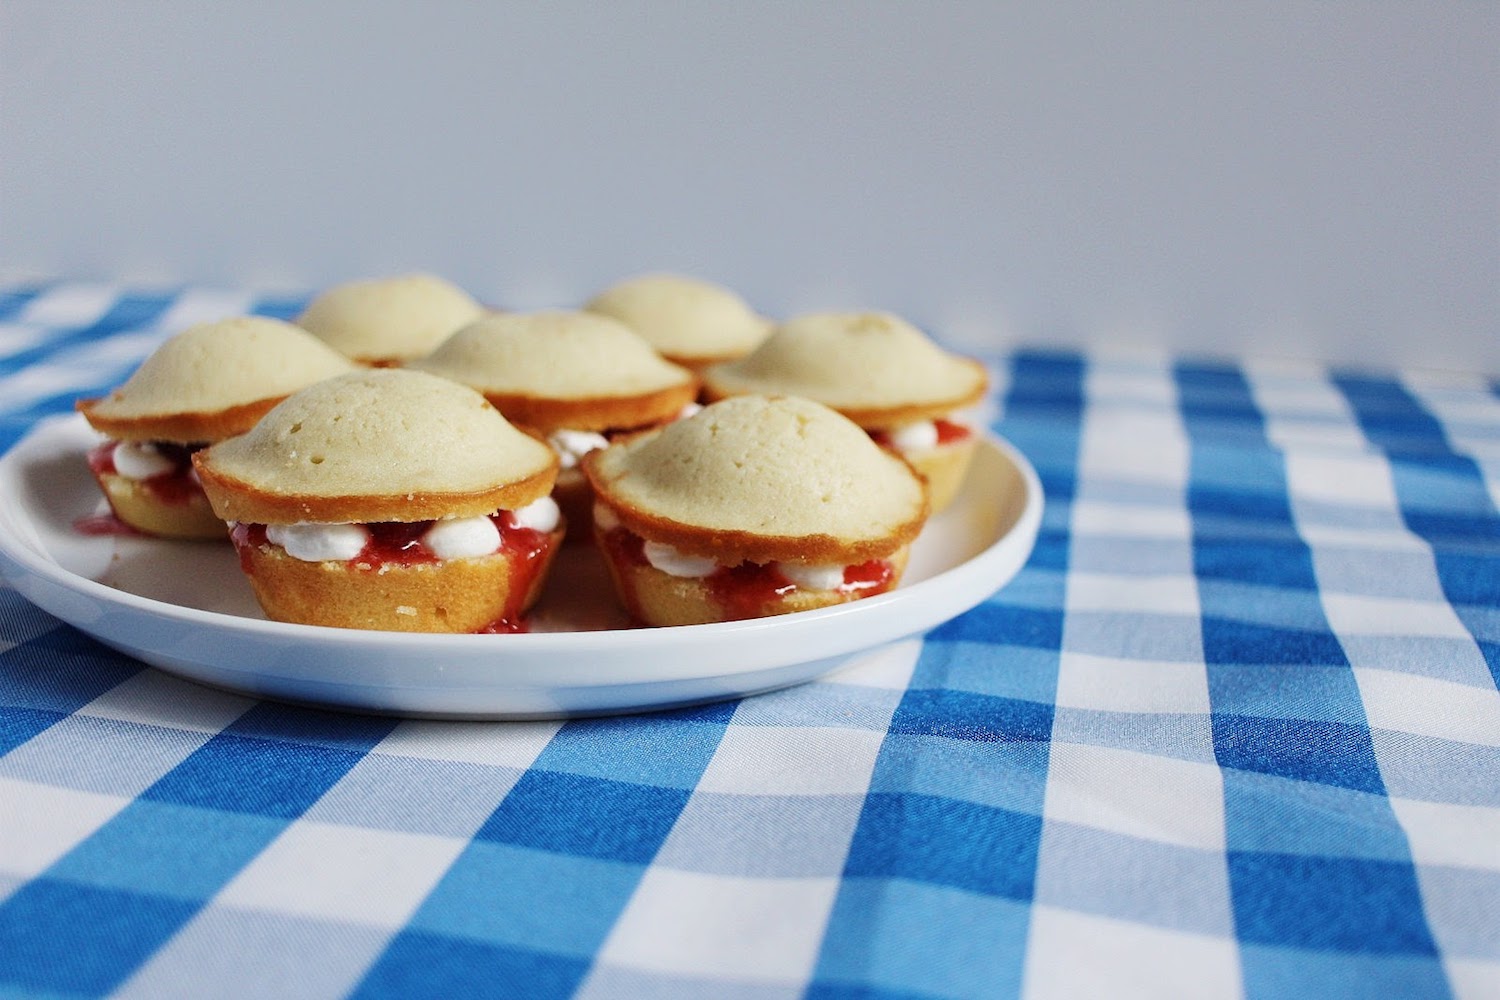
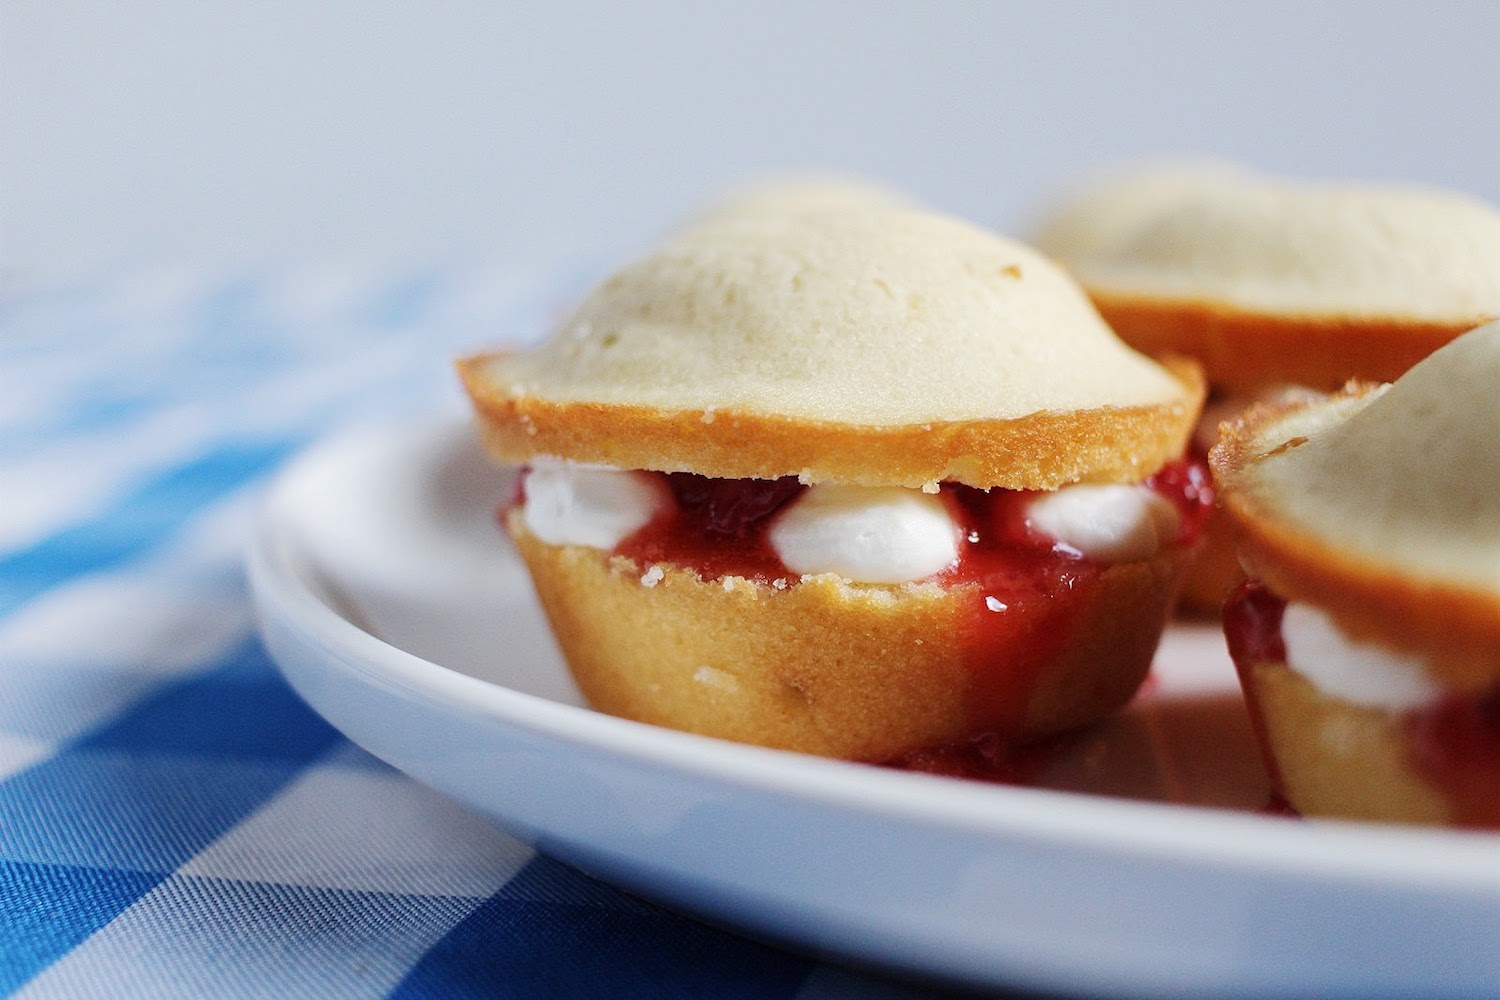
Mini Victoria Sponge Cakes
The Outcomes
Like I said, these bakes were really pretty quick. The ingredients were few and came together without fuss. The baking times were short, the prep work was minimal, and the final presentations were easy. Truthfully, anyone could have made these little bakes and I would encourage even the most amateur bakers to give one or all of these a try. The challenge here, was doing all three in an allotted time, I'm sure. However, I had all day, but still managed to breeze through them without a problem.
Some adjustments I made:
- I used a larger tart tin instead of mini ones
- I used a muffin tin instead of perfectly round mini cake tins
- I added sugar and vanilla to the whipped cream (because why the heck do they leave whipped cream plain?!)
- I nixed the chocolate on the lemon tart because I don't think lemon and chocolate are a good mixture.
Would either of us bake these again?
The scones tasted more like semi-sweet biscuits and I found them sort of blah. They are supposed to be served with jam and cream, and without those additions they are nothing to write home about. I think they make a good base for making the more Americanized scones we know (if that's more of what you're looking for). I'd bake again with adjustments.
The lemon tart was delicious. A little rich, so a small piece will do, but very yummy. This was the first tart I've ever made, so I really enjoyed trying my hand at it. The crust was sweet and buttery, and the filling came together quickly, and set into tangy, creamy perfection. I would definitely bake again, and now I want to try all kinds of tart flavors!
The mini Victoria sponges with strawberry jam and cream were delicious as well. This sponge mixture was far easier (and tastier, IMHO) than the sponges of some of the previous bakes. It was denser, a little dry, but the filling evened that out and made it the perfect tea-time cake. I'd bake a different batter altogether, but I love the mini versions and yummy filling.
Here's the glamour shots...

Here's my mom's report
The final bake! In a way I'm happy we are finished, but at the same time sad. When your daughter lives far away it is easy to begin to feel a "distance" that not being in each other's world can bring. What fun this has been. I highly recommend doing something like this if you have someone dear to you living away. We've talked regularly and our FaceTime conversations hashing over our experiences has been wonderful. We are people who find humor in just about everything and laughing with her is frankly, "the best." Love you Joy, Joy.
Now to the bake. These final three were very easy. The instructions were simple and the ingredients not unusual.
The mini Victoria sponge. The sponge actually tasted like I think a cake should be. While they were fresh they were delicious, but I think as they cooled they became dryer. This has been typical of most of the British sponges. DRY. The moisture of the jam and cream helped. I used mini muffin tins. I had home made jam already so I got to skip that step.
Lemon Tartlets. These were surprisingly simple. I've always wanted to make these and was happy to discover how easy they really are. Joy told me she had trouble rolling out the dough. Once I began I could see what she meant. To solve the issue I rolled mine out between two pieces of Saran Wrap. Beautiful, and problem solved. I will make this again only with different filling. While the lemon was very good, it would not be the pick in this house. Neither one of us garnished with chocolate as we didn't like the pairing of those particular flavors.
Tea Time Scones. Simply put, not a fan. Too dry.
Thanks for coming along with us on our Great British Baking Show challenge.
This entire challenge has been such fun. Expensive at times, and very frustrating at others, but worth the funny FaceTimes with my mom as we laughed over every hilarious misstep. As she mentioned, this series has been a great way to remain close even though we're far apart, and I couldn't agree more. I love talking to my mama regularly, but being able to enjoy one of our favorite hobbies together from miles away is extra sweet. And geez, we needed the "extra sweet" from all the annoyingly bland bakes we did!!! Haha!! I'm sad it's come to a close, but hopefully we can continue this tradition annually. Perhaps we'll even come back with our own showstoppers with the new techniques we've learned (and failed at!). I hope you all enjoyed this series as much as we did.
BIG thanks to Cameron, our Star Baker. She did an incredible job and her writing skills are just as beautiful as her bakes. If she gets a blog going, I'll be sure and let you know!
Do you have a favorite bake from this series? I'd love to know which ones caught your eye!
Don't forget to follow me on social media to stay up to date and connected. Feel free to message or email me with any content requests, ideas, or collaborations!

Towering Torte | Showstopper Bake by Cameron
This is the second and final bake (at least until we eventually start up the challenge again with the next season) from our Star Baker, Cameron! I never know what she has baked up for us until about the day before her post goes live, and let me tell you... when I opened her email my jaw about hit the ground (and so did my husband's!). This is a showstopper to be sure! Be sure and read through Cameron's process of this bake - she is a gifted writer as well as baker, and you feel as if you're watching her as a Great British Bake Off contestant!
If you missed her last bake, find it here: Mini Lemon Cakes
And be sure to find her on Instagram for more mouth watering photos: Cameron's Instagram
Sit Down for This One… A Towering Torte to Tempt Your Sweet Tooth
I have watched and baked along with The Great British Bake Off for years. When Joy sent me the schedule of the episodes that I could select from for my bakes, I thought….now is the time for a challenge. When it came to this post I had narrowed it down between multi-tiered pies and tarts or the decadent dobos torte.
Obviously, the legendary Hungarian delicacy would be uncharted territory, so I opted for the challenge rather than the tried and true.
I must be honest, once I started ladling layer upon layer of fluffy batter and flattening it with a pallet knife, a little part of me wished I had gone with something more familiar. Now don’t get me wrong, this towering rich cake was delicious and seems more overwhelming than it is!
First things first, this is based on Mary Berry’s dobos torte recipe. Never having attempted this bake, I looked to the “Queen” and master for guidance. Notice that I have taken liberties with Mary Berry’s recipe and added my own personal twist to this traditionally chocolate/caramel massively layered torte….a bit “cheeky” I know….but my taste testers validated my deviation from the traditional with resounding “oohs and ahhs”. I hope you find the modifications a delight to your palate as well should you also venture into the dobos torte baking adventure.
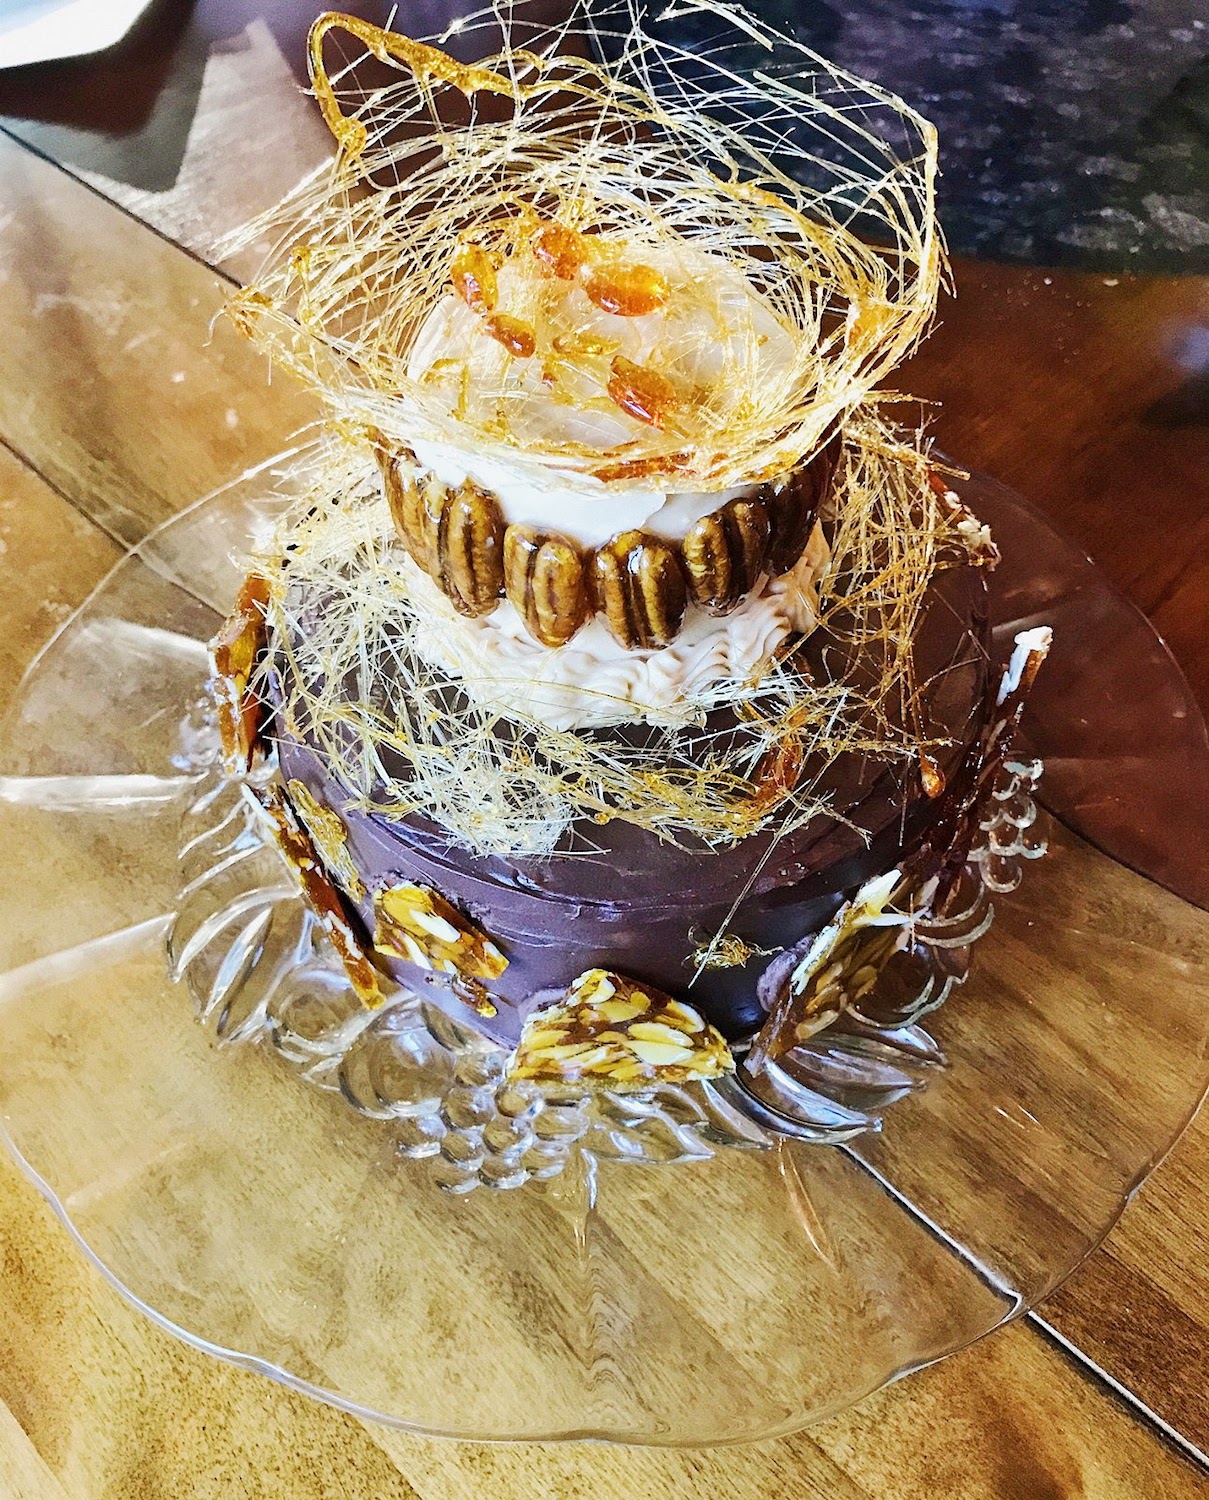
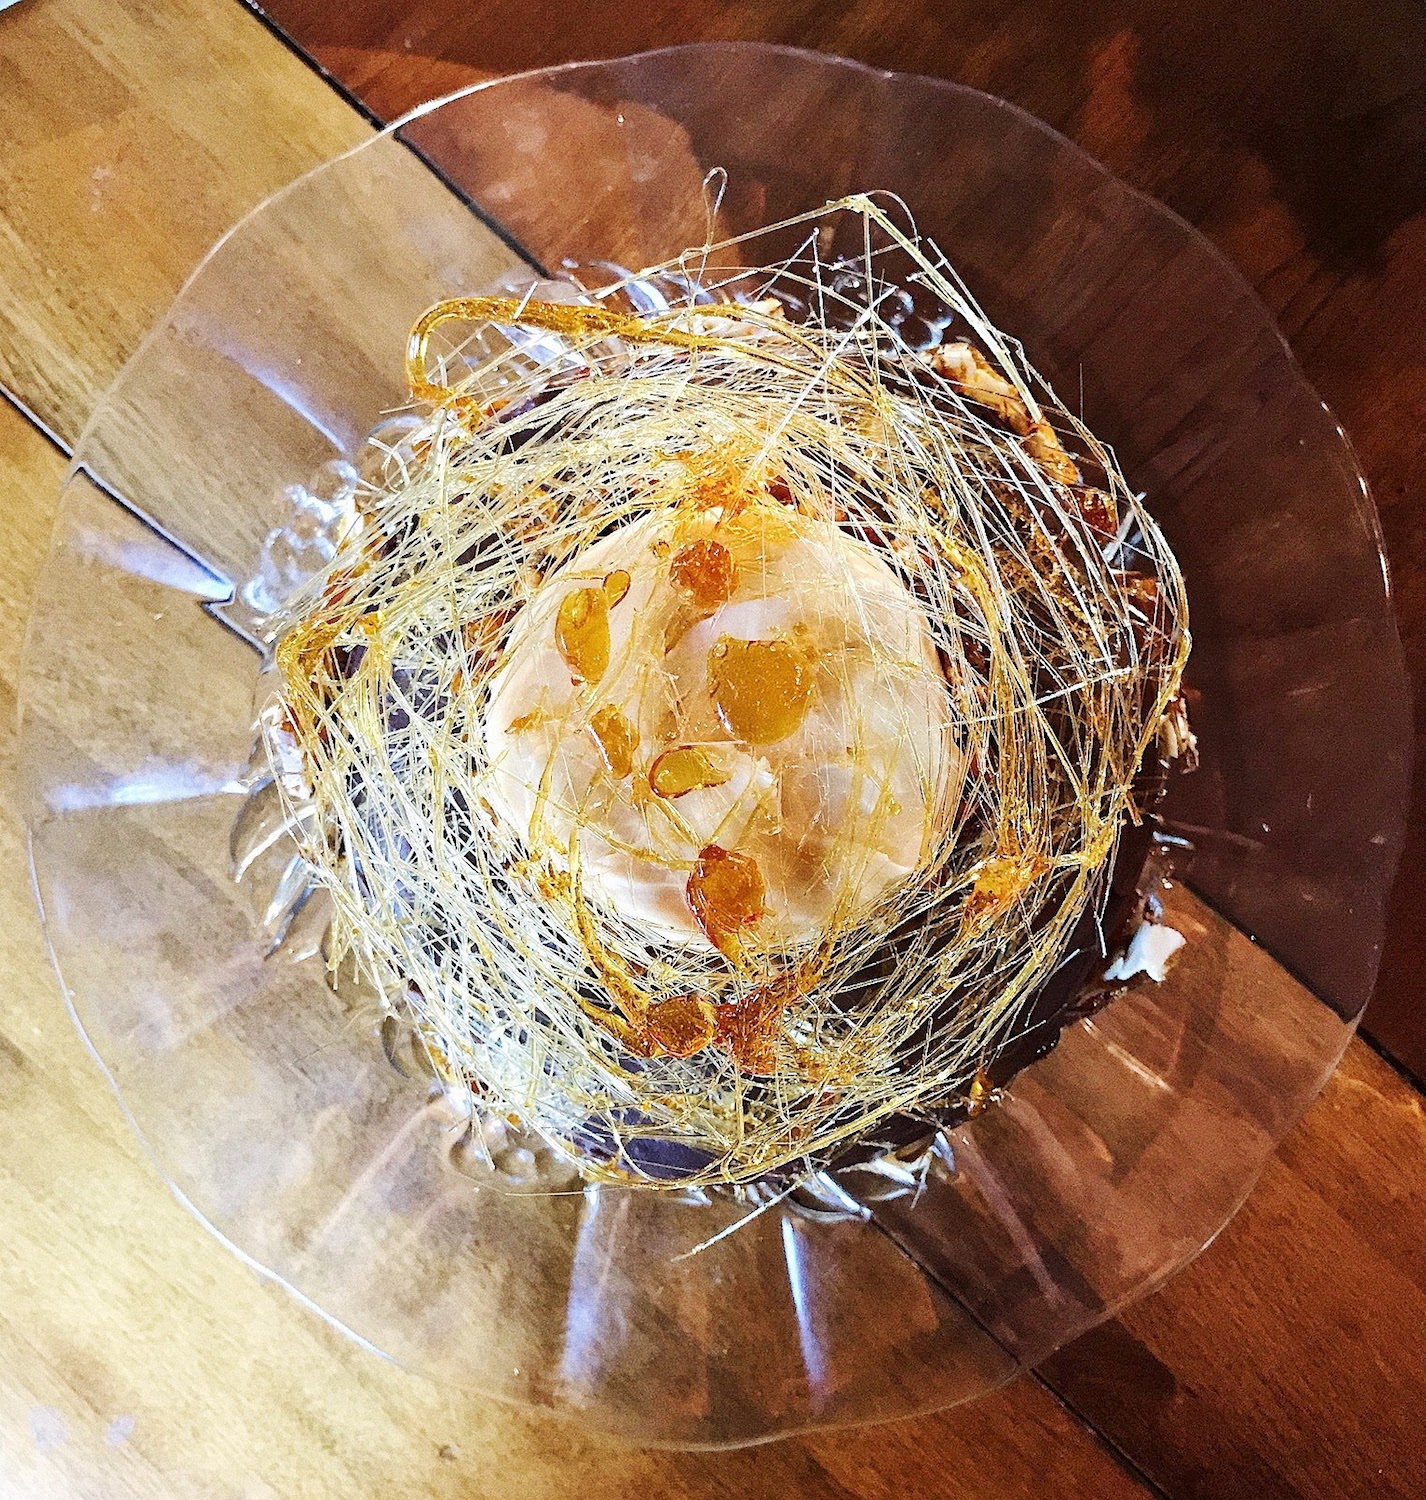
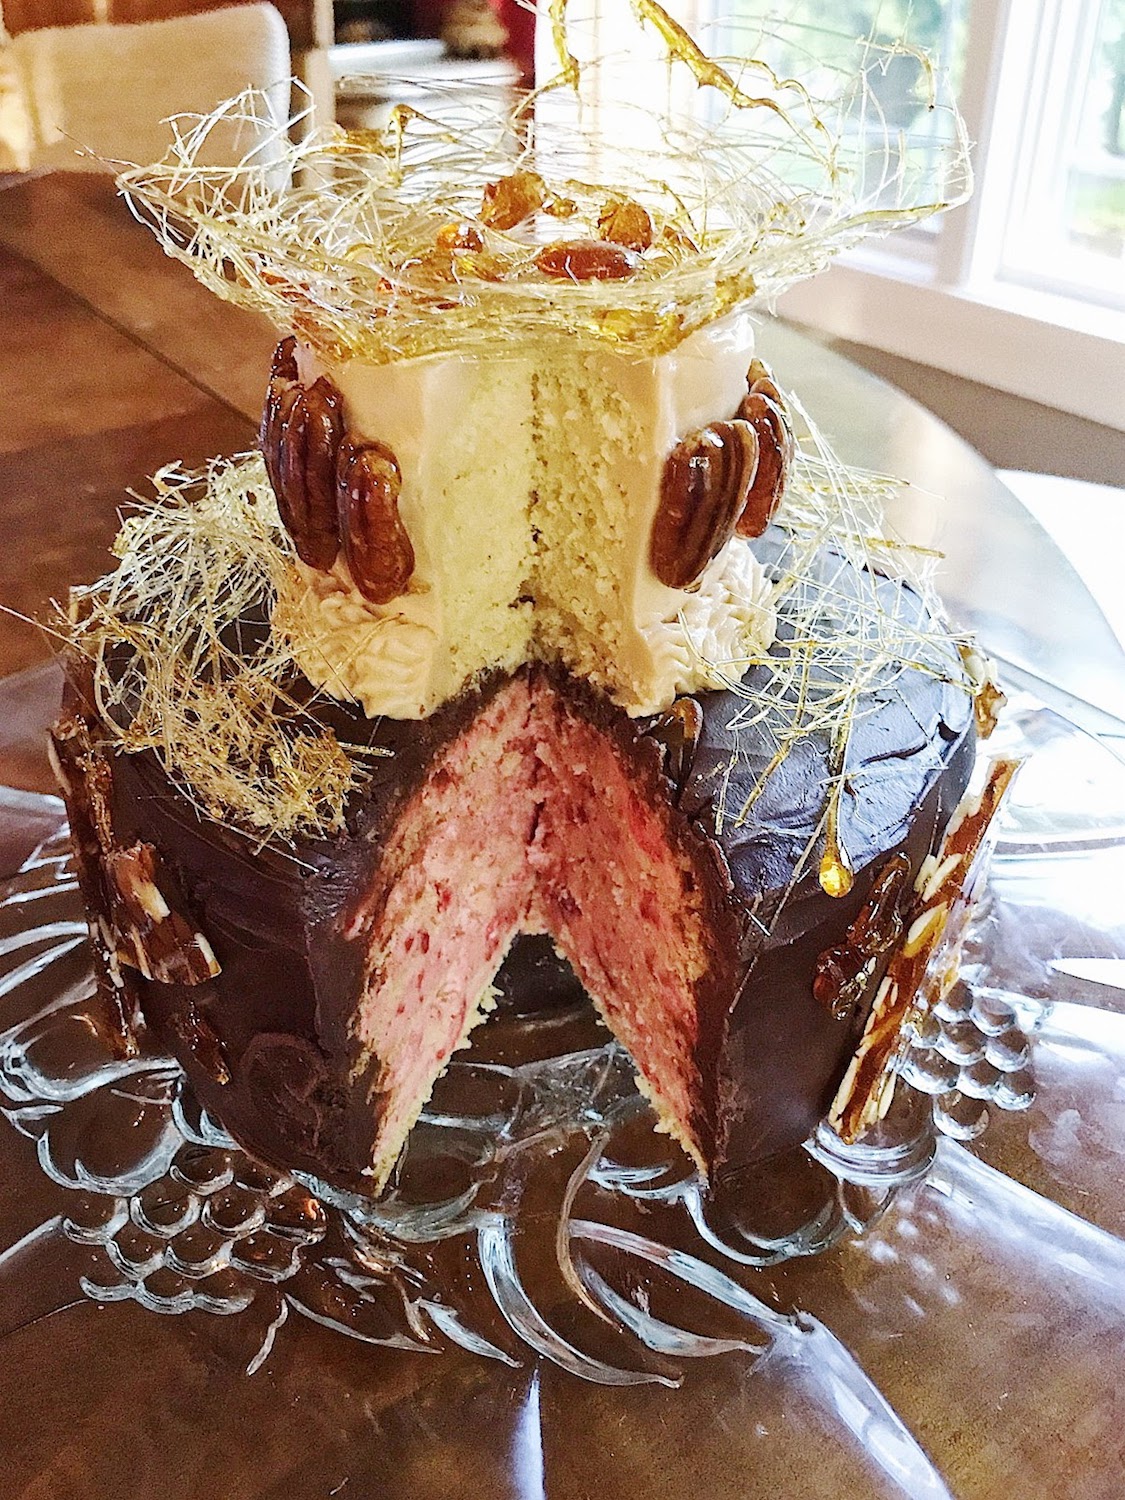
My heartbeat quickened when I saw self-rising flour as a primary ingredient. I’m not sure what it is, but I have never had much luck with self-rising flour or any recipe that calls for it. Often self-rising flour is a component gently folded into light airy egg laden sponge cakes. Nine times out of ten I either over mix the batter and it doesn’t rise or I under mix and have nasty little pockets of flour. This time the stars aligned and everything went according to the plan! I patiently took my time incorporating the flour which resulted in the intended light airy batter. The cake itself is sweet and heavenly, but the real flavor show stopper...an assortment of rich strawberry, caramel, and chocolate buttercream encased in rich silky chocolate ganache. Eye candy…. spun caramel golden threads, shards of caramel almond brittle, and caramel dipped pecans.
Initially, I wanted something a bit tarter as a juxtaposition to the sweetness of the caramel. My original flavor profile of choice was raspberry. After careful consideration, I had concerns about incorporating a juicy fruit into a buttercream. The multi-layered effect of the dobos is visually appealing but there is a structural weight issue to account for ...a tilted towering bake is not the look I hoped to achieve. This rationale leads me to freeze dried fruit. Unfortunately, I was unable to find freeze dried raspberries and opted for freeze dried strawberries…. a superior substitute! The buttercream legitimately tasted like strawberry ice cream if it were a buttercream!
The final personal hurdle of this cake was the caramel. There are few things in this world that I love more than salted caramel. One problem though…. I have the worst luck with caramel! I always burn myself and the caramel turns out crystalized or burnt.
It’s an affliction in this life to not be able to make that which one loves to eat!
This time however, like the self-rising flour, the stars aligned and everything went beautifully! I did manage to burn myself right at the very end with the caramelized pecans, but it wasn’t anything too traumatic. On this bake, I did allow myself to live on the edge and added a splash of bourbon in the caramel for a little bit of fun…. I would recommend it. It doesn’t blow you away but it does make you feel cozy.
Overall this was a bake of personal challenges, and I have to say I’m darn proud of myself and how it turned out. It was decadent and delicious. My “Ottoson Empire” dobos torte was carefully transported to share with co-workers (aka the culinary “test team). By the end of the day...it was fait accompli…. not a crumb nor a dollop of buttercream remained. I don’t think I’ve ever made something that looked so much like a showstopper. Hopefully Mary Berry would be favorably impressed. I’m very pleased with the outcome and would like to challenge everyone else to push themselves outside their comfort zone.
Happy Baking!
Towering Torte
Ingredients
Cake Sponge:
- 8 large eggs (room temperature)
- 350g sugar
- 300g self-rising flour
Caramel Buttercream:
- 800g sugar
- 400ml heavy whipping cream
- 450g softened butter
- powder sugar as needed
*A splash of bourbon optional should you feel adventuresome.
Strawberry Buttercream:
- 1- 34g/1.2 oz. bag of freeze dried strawberries
- 226g softened butter
- 448g powdered sugar
- 1tsp vanilla extract
- 1 tsp milk
- 1/8 tsp of salt
- powder sugar as needed
Chocolate Buttercream:
- 226g softened butter
- 448g powdered sugar
- 64g cocoa powder
- ½ tsp salt
- 2 tsp vanilla extract
- 4 tbsp. milk or heavy cream
Chocolate Ganache:
- 907g semi-sweet chocolate
- 350mL heavy cream
Caramel Work:
- 400g sugar
- 100g almonds
- 12 pecans
Method:
Chocolate Ganache
In a heavy bottomed pan heat heavy cream until it is at the point of boiling. Keep a close eye on it as you don’t want to scald the cream. Pour the warm cream over the chocolate. It is easier if the chocolate is in a wide shallow bowl so it will melt more easily. Once completely combined and there are no lumps, place in a bowl and allow it to cool and set a bit.
Caramel Buttercream
In a large heavy bottomed pan combine sugar and 100mL of water. On a low heat stir constantly and dissolve the sugar in the water. Once dissolved increase the heat and allow the mixture to turn a light golden-brown color (at this point you do not want to stir anymore). Once the mixture has reached the ideal color, the darker the color the stronger caramel flavor, remove from the heat and add the 400 mL of heavy cream. Be careful, as the mixture can often spit since you are adding a cool temperature liquid into something very hot. Combine entirely and leave to cool and set.
Once the caramel is cold and set you can start to beat the butter with a paddle attachment and slowly add the caramel. I found my buttercream needed a little extra help in reaching the best texture for frosting by the addition of powdered sugar ¼ cup at a time. Fill a piping bag with buttercream and set aside until ready to use.
Strawberry Buttercream
Beat your softened butter with a paddle attachment, then on a low speed add powdered sugar. Once it starts to combine, add vanilla extract, milk, and salt. Once the buttercream comes together add ¾ of the bag of freeze dried strawberries and allow them to break up a bit. Take remaining freeze-dried strawberries and crush them into a powder, then add that powder to the buttercream. This ground up version of the strawberries allows you to intensify the flavor without ruining the texture of the buttercream. Fill a piping bag with buttercream and set aside until ready to use.
Chocolate Buttercream
Beat your softened butter with a paddle attachment, then on a low speed add powdered sugar and cocoa powder. Once it starts to combine add the vanilla extract, milk, and salt. Fill a piping bag with buttercream and set aside until ready to use.
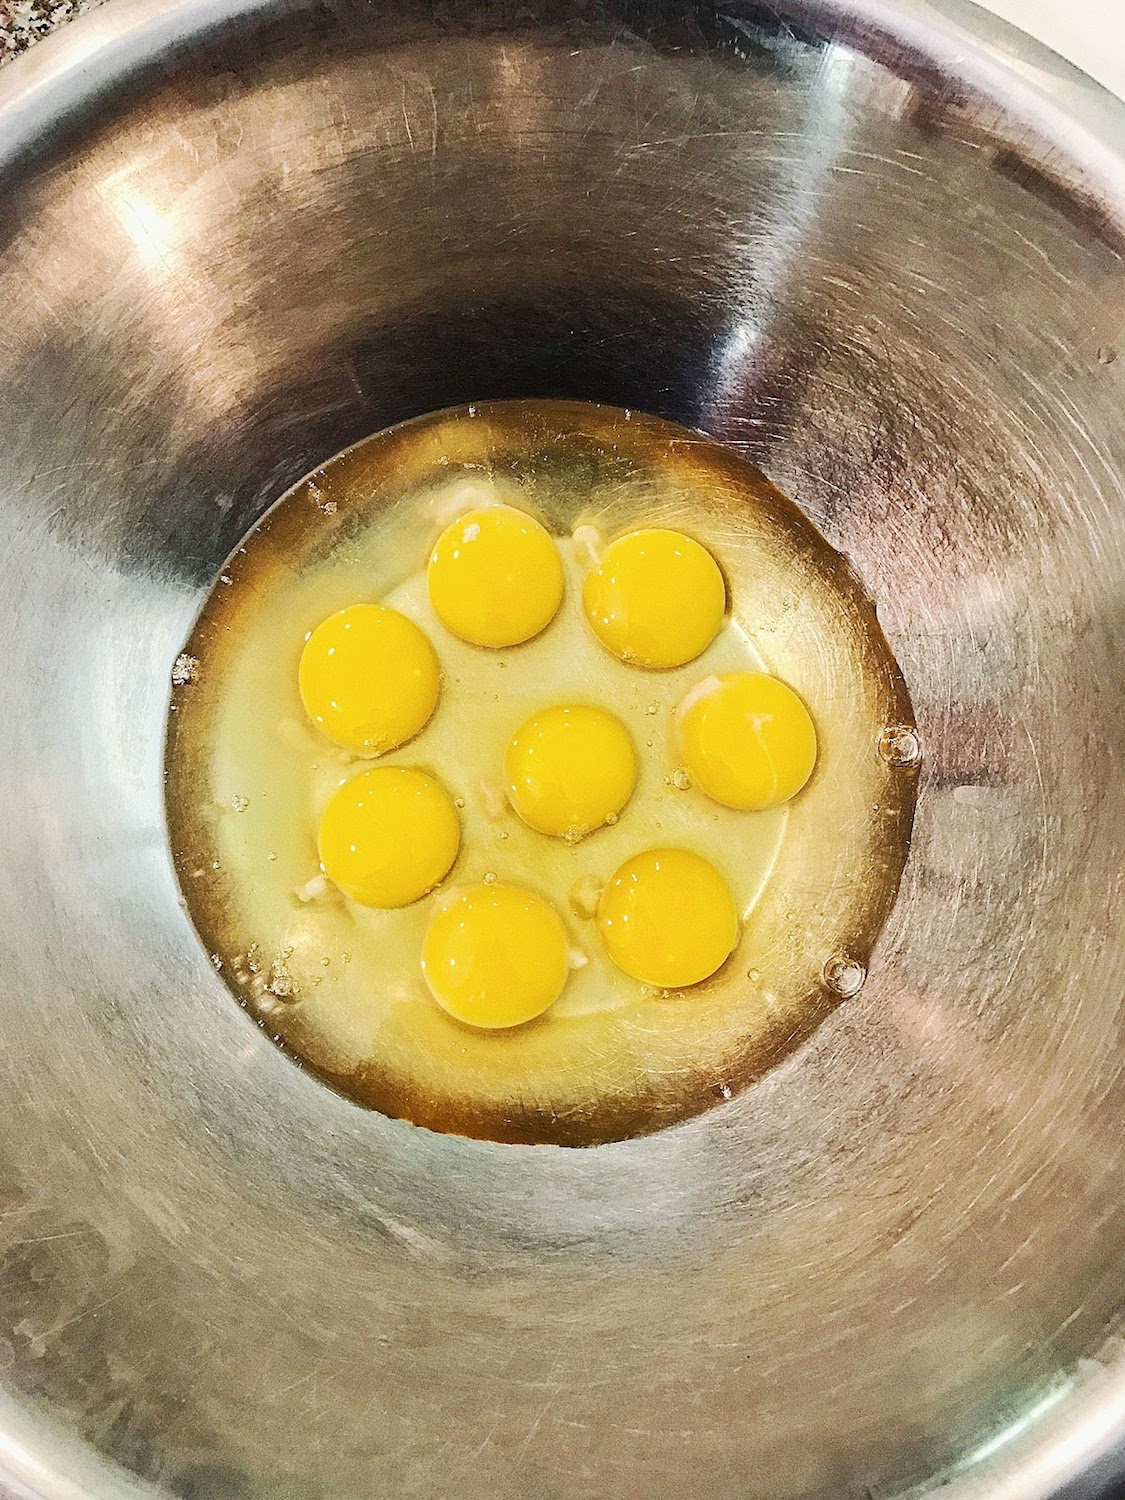
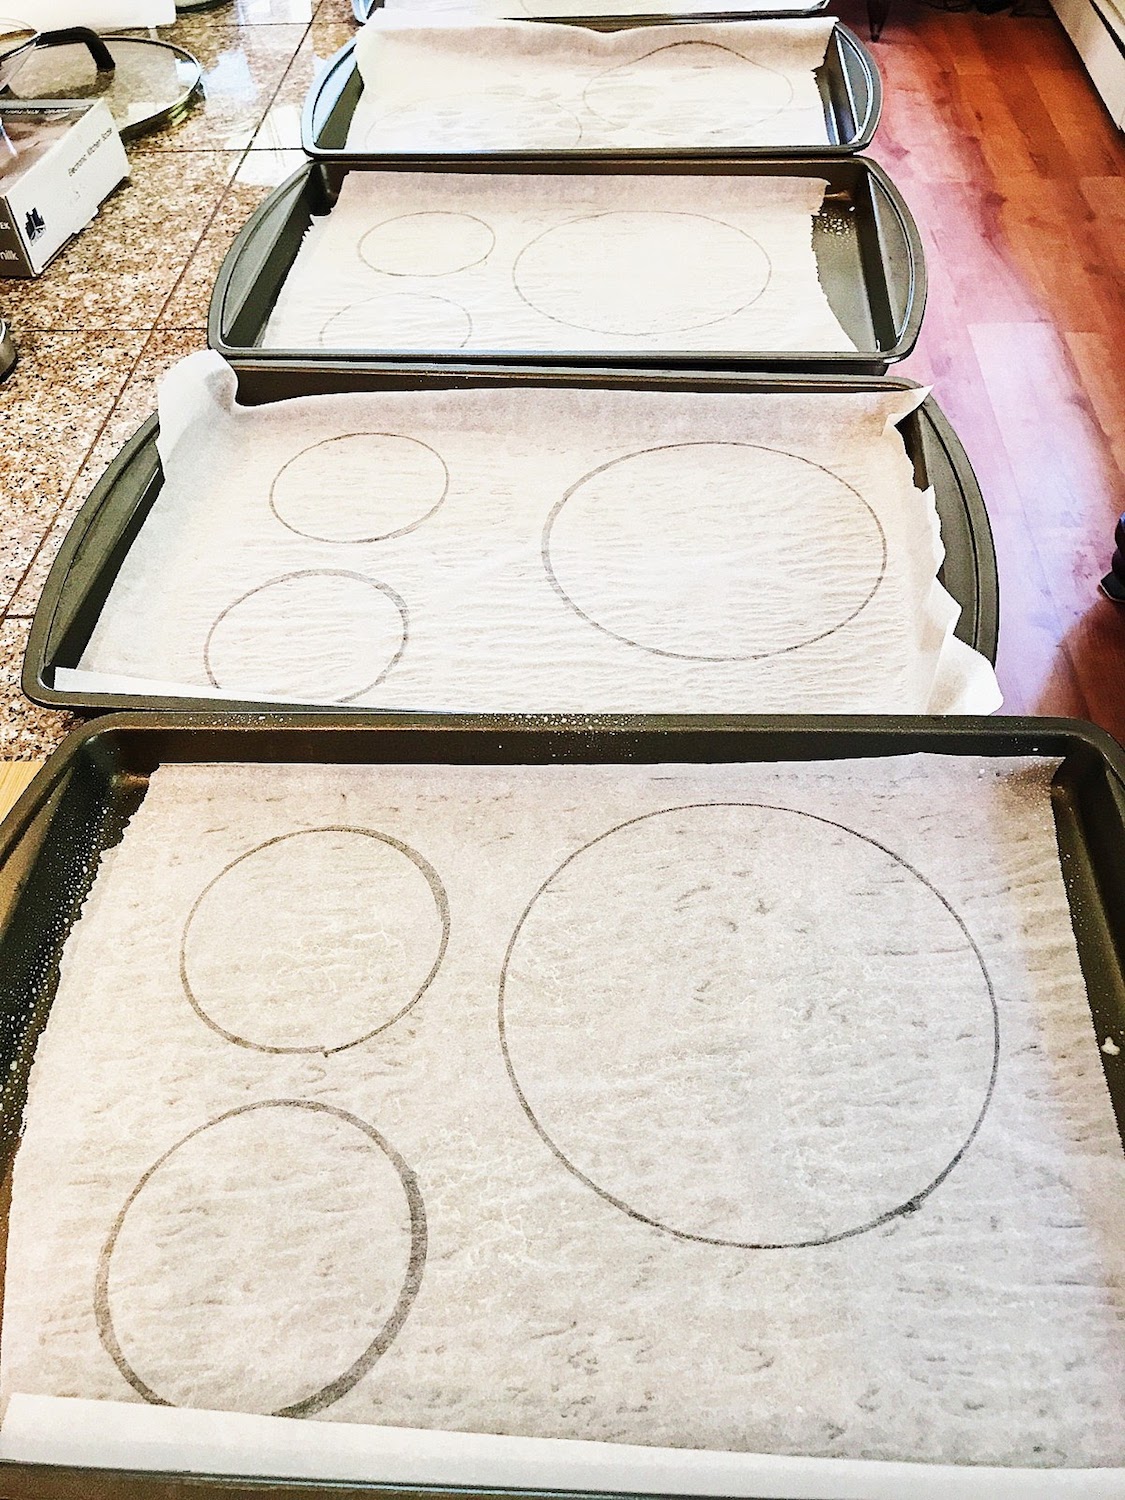
Cake Sponge
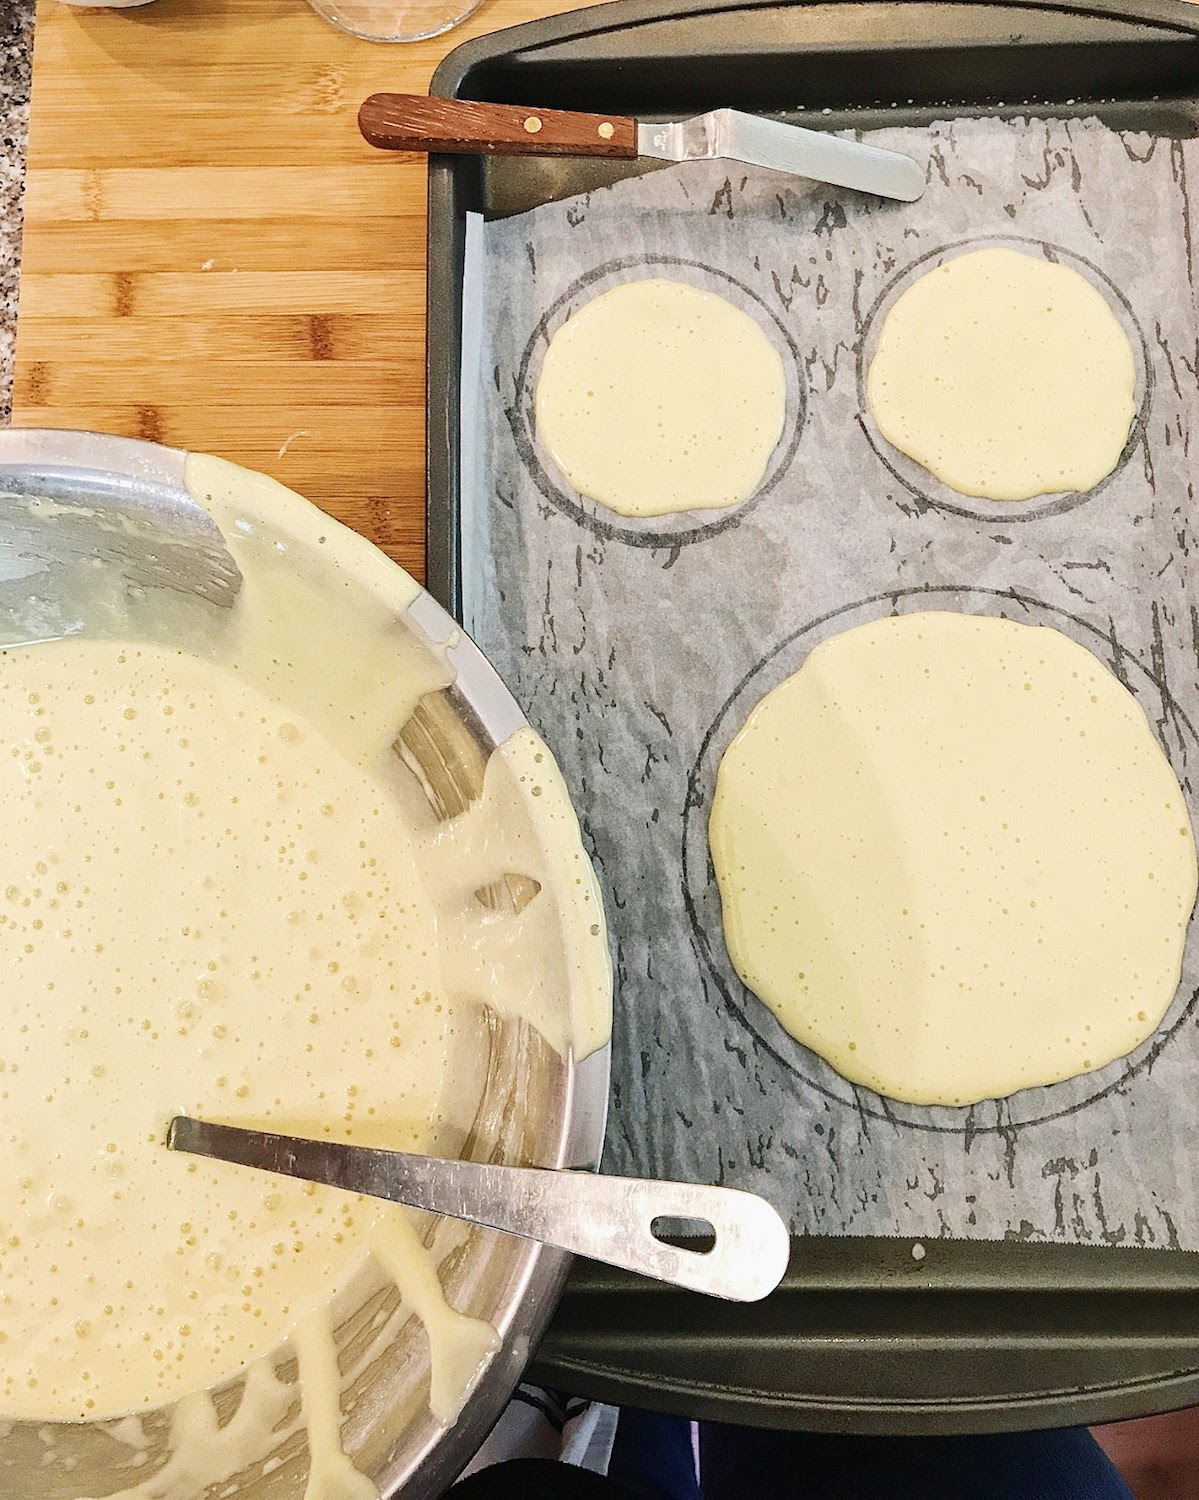
Preheat oven to 395 F and line 4 baking sheets with parchment paper. On each parchment paper trace one 8” circle and one 4” circle. You can start off with this and continue to reuse parchment paper or create more circles until you have used all the mixture or have reached your desired number of layers. Sift self-rising flour into a bowl. In a separate bowl, combine the eggs and sugar. Beat until it turns into a pale and fluffy mixture. Once eggs and sugar are combined, sift the self-rising flour in, ½ cup at a time. Be careful combining the flour into the egg mixture, this will prevent losing all the air you just created by beating the egg. Gently move a rubber spatula around the outside of the bowl and then move it thru the middle of the mixture. When the flour is fully combined the mixture will resemble a loose pancake mixture. Using a ladle, spoon mixture into your traced circles and smooth out with a pallet knife. You want the mixture to reach the edges you have traced out so the layers will be easy to trim. Place the baking sheets in the oven and watch carefully as then can overcook quickly, for my gas oven about 9 minutes was all that was needed. Repeat the process until you’ve reached the desired number of layers.
Assembly
Allow the layers to cool, this is pretty quick given the layers are so thin. Take individual 8” layers and lay them on parchment and place an 8” springform base on top and use that as a template to trim any excess off around the edges. Take one layer and place it on a cake stand, using your piping bag with strawberry buttercream (be sure not to use a tip, the strawberry bits will definitely get stuck) pipe buttercream on top of the layer and smooth with a pallet knife. Use the buttercream layers to help straighten any sloping edges. Once everything looks level, place another layer on top and repeat until you’ve reached your ideal height. You want to make sure that the final top layer does not have buttercream on top of it, otherwise it will compromise the smaller layer and be difficult to cover with the ganache.
Once the bottom tier is assembled you will want to crumb coat it. This is where the chocolate buttercream comes into play. Crumb coating prevents any loose cake bits disrupting the overall look of your frosting. Cover the entire outside of your bottom tier multi layered 8” inch tier in chocolate buttercream. You can now cover the outside with chocolate ganache and place in the fridge to set.
While the 8” base of the torte sets in the fridge, begin assembling the smaller second tier of the torte. You’ll repeat the same frosting concept as the bottom tier only now using the caramel buttercream. This tier does not have a separate frosting as a crumb coat, I just frosted the outside of the cake with buttercream. But if you wanted a more universal look you could also coat it with the ganache topping.
Decoration
On a baking sheet scatter your flaked almonds and using toothpicks, skewer pecans. In a heavy bottom pan combine 400g of sugar and 8 tbsp of water, and on a low heat dissolve the sugar. Once the sugar has dissolved stop stirring and allow it to caramelize, again the darker the color the more flavorful but it can burn very quickly. Once you’ve reached the ideal color, pour 2/3 of your mixture over the almonds and allow to set. The remaining caramel can be used to dip the pecans. Insert a toothpick into the pecan and run through the caramel. Once you have dipped them you can turn them over and insert the pick into an orange or grapefruit which will serve as a sturdy stand and allow them to cool and harden. Allow the caramel to cool completely before handling it to decorate otherwise it will melt the buttercream. To achieve the spun caramel effect, take a metal pick and dip it in the caramel, then quickly move it around an upside-down bowl. This will take some practice to get the temperature of the caramel right so it will start to stick. Keep making circular motions around the bowl until you’ve achieved the look you want.
I hope you all are as impressed and inspired as I am over Cameron's torte! For every relatively failed bake I've been having with my mom throughout this challenge, Cameron has made up for it with her incredible prowess and creativity in these showstopper bakes. Don't forget to follow Cameron on Instagram for more mouth-watering bake photos!
We're going to do the last three bakes a little differently. On the show, these bakes were done all together as part of the finale show. Because of some travel and general life circumstances, we're going to have these bakes presented together on Wednesday, July 19th... so, you'll really have to hang tight for our little Great Blogger Bake Along Finale!